Curvegen
- By
Turn ellipses, equations and Bézier curves into blocks, slabs, stairs, walls and more. Preview the build in game, then place it or export it to Litematica.
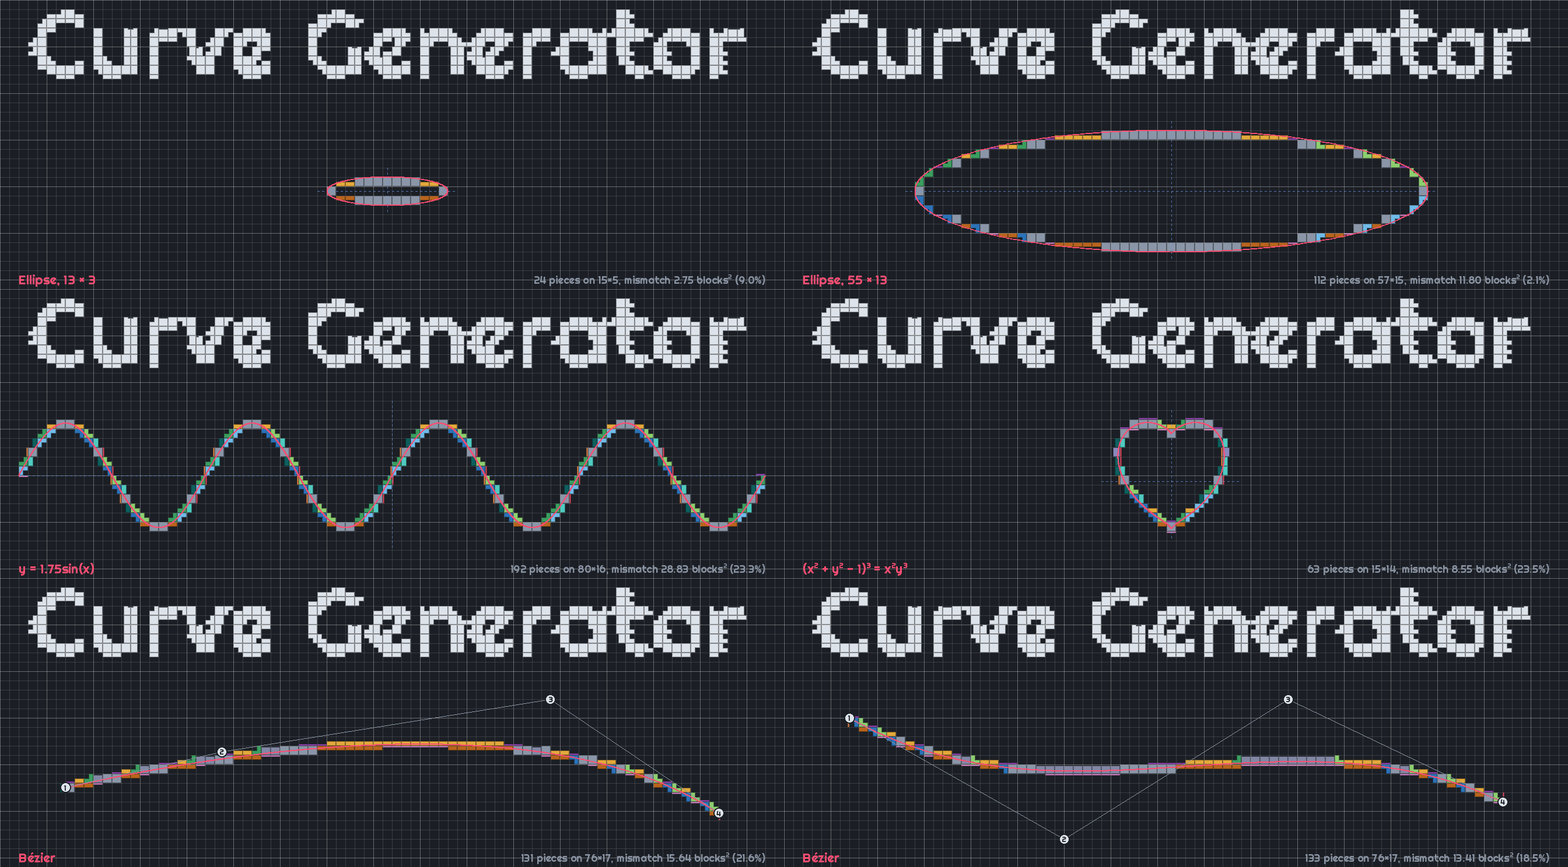




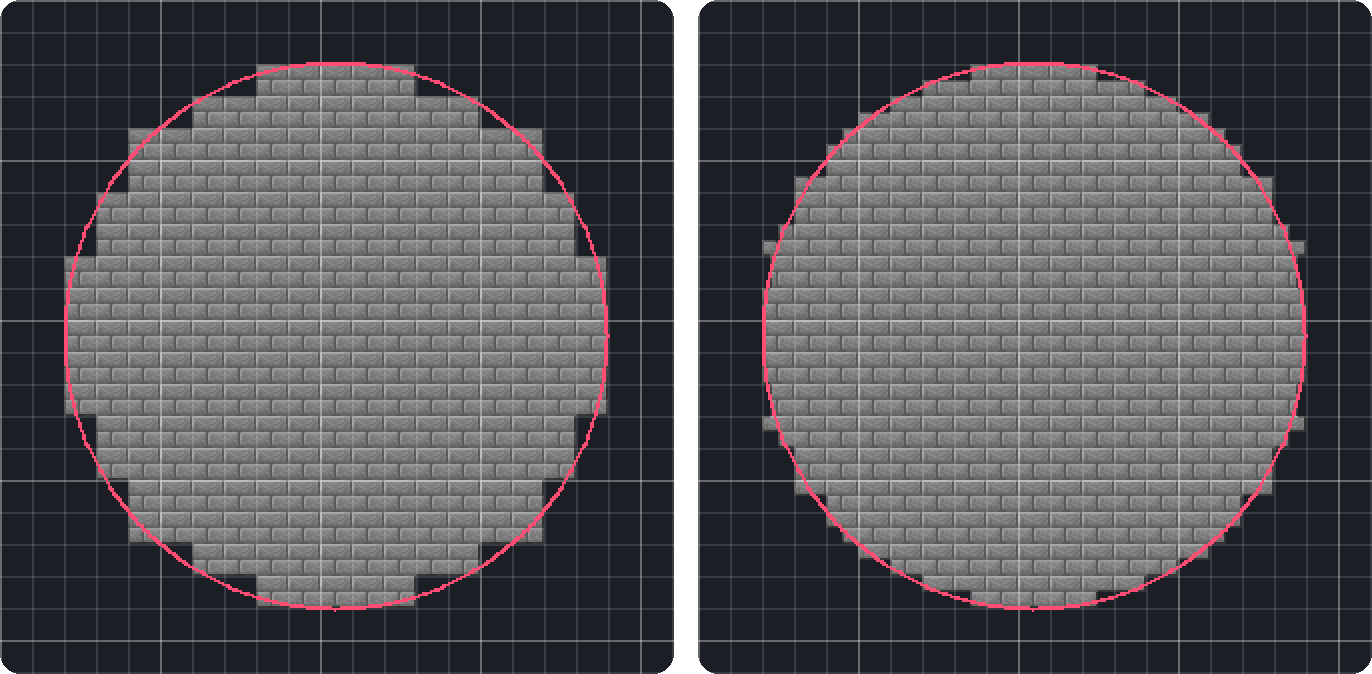
Curve Generator turns ellipses, equations and Bézier curves into blocks. For every cell along the curve it picks the full block, slab, stair, trapdoor, shelf, fence, glass pane or wall that matches the curve most closely, so a circle looks rounder than one built from full blocks alone.
You see the result in a preview before anything is built. Then you place it in your world, or export it as a Litematica schematic.
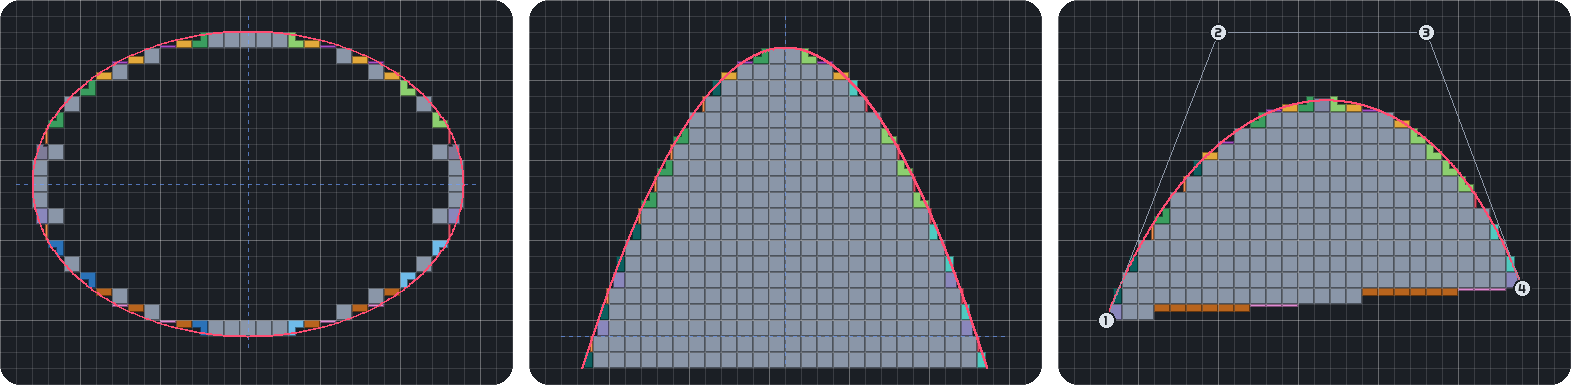
The preview on the Ellipse, Equation and Bézier tabs. The pink line is the true curve.

How to use it
- Press G to open the generator.
- Pick a tab: Ellipse, Equation or Bézier. Equations use Desmos-style syntax, like
y = 2sin(x),x^2 + y^2 = 16ory < 9 - x^2/4. On the Bézier tab, drag the numbered handles in the preview. - On the Blocks tab, choose a block for each piece type, or use Match a colour… to pick blocks whose textures are closest to a colour.
- Choose Upright to build it like a wall or Flat to build it like a floor.
- Check the Count tab to see how many of each block you'll need.
- Press Place to position a hologram in the world, then press Enter to build it. Or press Export to save a
.litematicfile.

The pieces it chooses from: full block, slab, stair, trapdoor, shelf, fence, glass pane and wall.
Good to know
- Placing needs operator permissions, the same as
/setblock. In singleplayer, cheats must be on. Exporting works anywhere. - The mod runs on the client. A server doesn't need it. If the server has it too, large builds place faster.
- It follows Minecraft's connection rules, so fences, panes and walls join in the preview the same way they join in the world.
- Chains and end rods are there for thin lines. They start switched off; turn them on in the Blocks tab.
- Presets save a shape with its block choices.
- Resource packs and modded blocks work. Colour matching reads the textures you have loaded.
- You can rebind every key under Options → Controls → Key Binds → Curve Generator.
The wiki covers placement keys, Replace and Carve, presets and exporting.
Curvegen Team