Immersive Tanning
- By
Immersive Tanning completely overhauls the process of tanning and working with leather, gear and armor to make it more immersive and engaging through mini-games and more complex processes.
Description

Immersive Tanning
Leather has a story now. Immersive Tanning turns a simple animal drop into a hands-on craft: clean a hide, steep it with bark, decide how to finish it, then cut and stitch your own gear. Your choices and your work determine what the finished leather can do.
The mod is made for Minecraft 1.20.1 with Forge. It stands on its own, and it pairs naturally with Immersive Smithing if you want more of your equipment to feel handmade.
To set up a tannery, craft a Tanner's Rack, Tanner's Vat, and Leatherworker's Bench from basic materials such as sticks, planks, string, and iron. You will also need a Tanner's Knife and an Awl. The knife has flint and iron recipe options, and the awl has bone and iron nugget options.
From hide to leatherwork
1. Collect hides and bark. Animals drop raw hides in place of their usual leather. Hide size determines the amount of finished leather you get:
| Hide | Common examples | Leather from one hide |
|---|---|---|
| Small | Rabbits and foxes | 1 |
| Medium | Pigs and sheep | 2 |
| Large | Cows and horses | 3 |
Other creatures can provide hides too. Some carry a natural trait, such as a hoglin's Tough hide, a polar bear's Insulating hide, or a strider's Heatproof hide. These traits stay with the leather as you work it. To gather Bark for tanning, use a Tanner's Knife on a log that can be stripped.
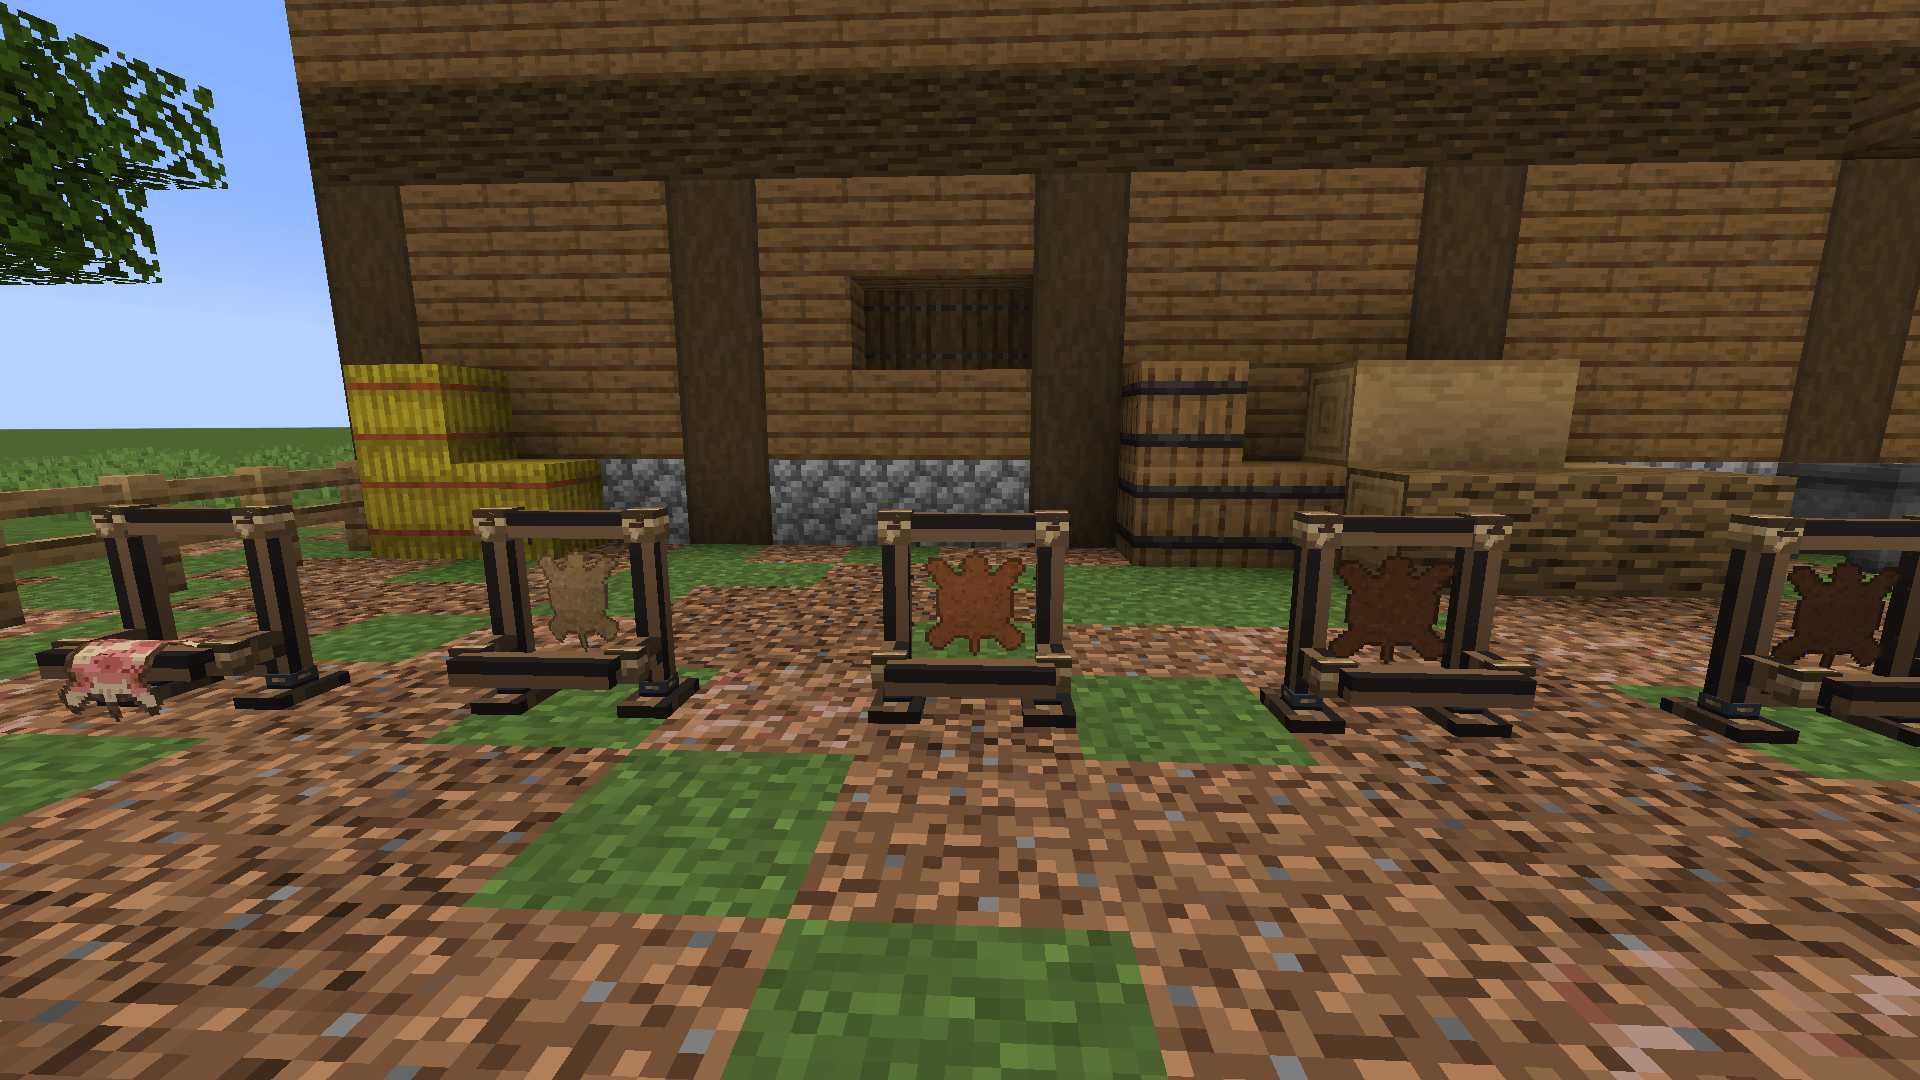
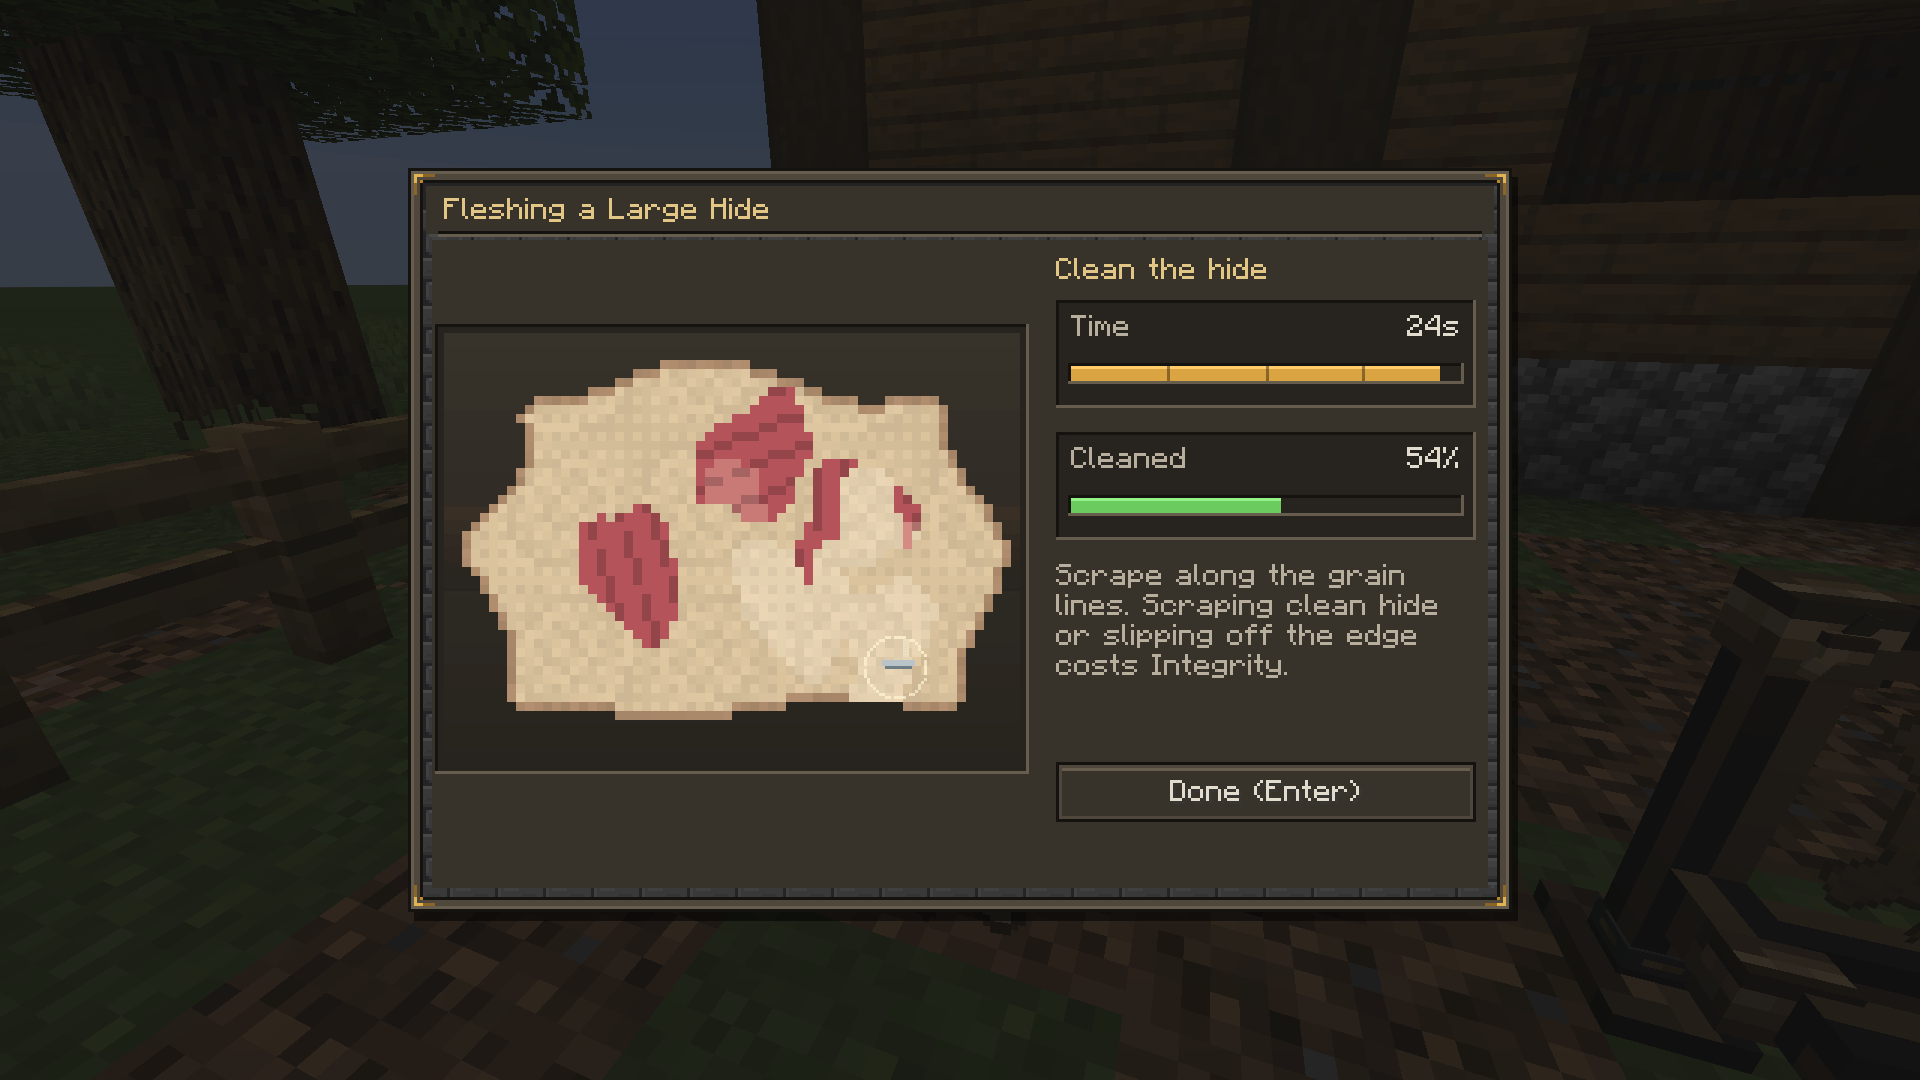
2. Flesh the hide on a Tanner's Rack. Place a raw hide on the rack, then use the Tanner's Knife to start scraping. Hold the mouse button and drag across the fleshy patches. Follow the visible grain lines to clear a patch faster, lift the knife between patches, and keep it on the hide. How carefully you work determines the hide's Integrity. Running out of time does not destroy the hide. If you are processing several, the Next hide button lets you carry on without leaving the screen.
3. Steep it in a Tanner's Vat. Add one bucket of water and Bark, then place your scraped hides into the vat. You can load up to four hides at once by default, and each begins tanning when it has enough water and tannin. Small and medium hides use one bark charge each; large hides use two. Stripping a log gives two Bark by default. Tanning takes about three minutes of game time, leaving you free to do other things. Use an empty hand to collect the wet tanned hides when they are ready. The vat's appearance changes as you fill and charge it, and a comparator can tell you when hides are ready.
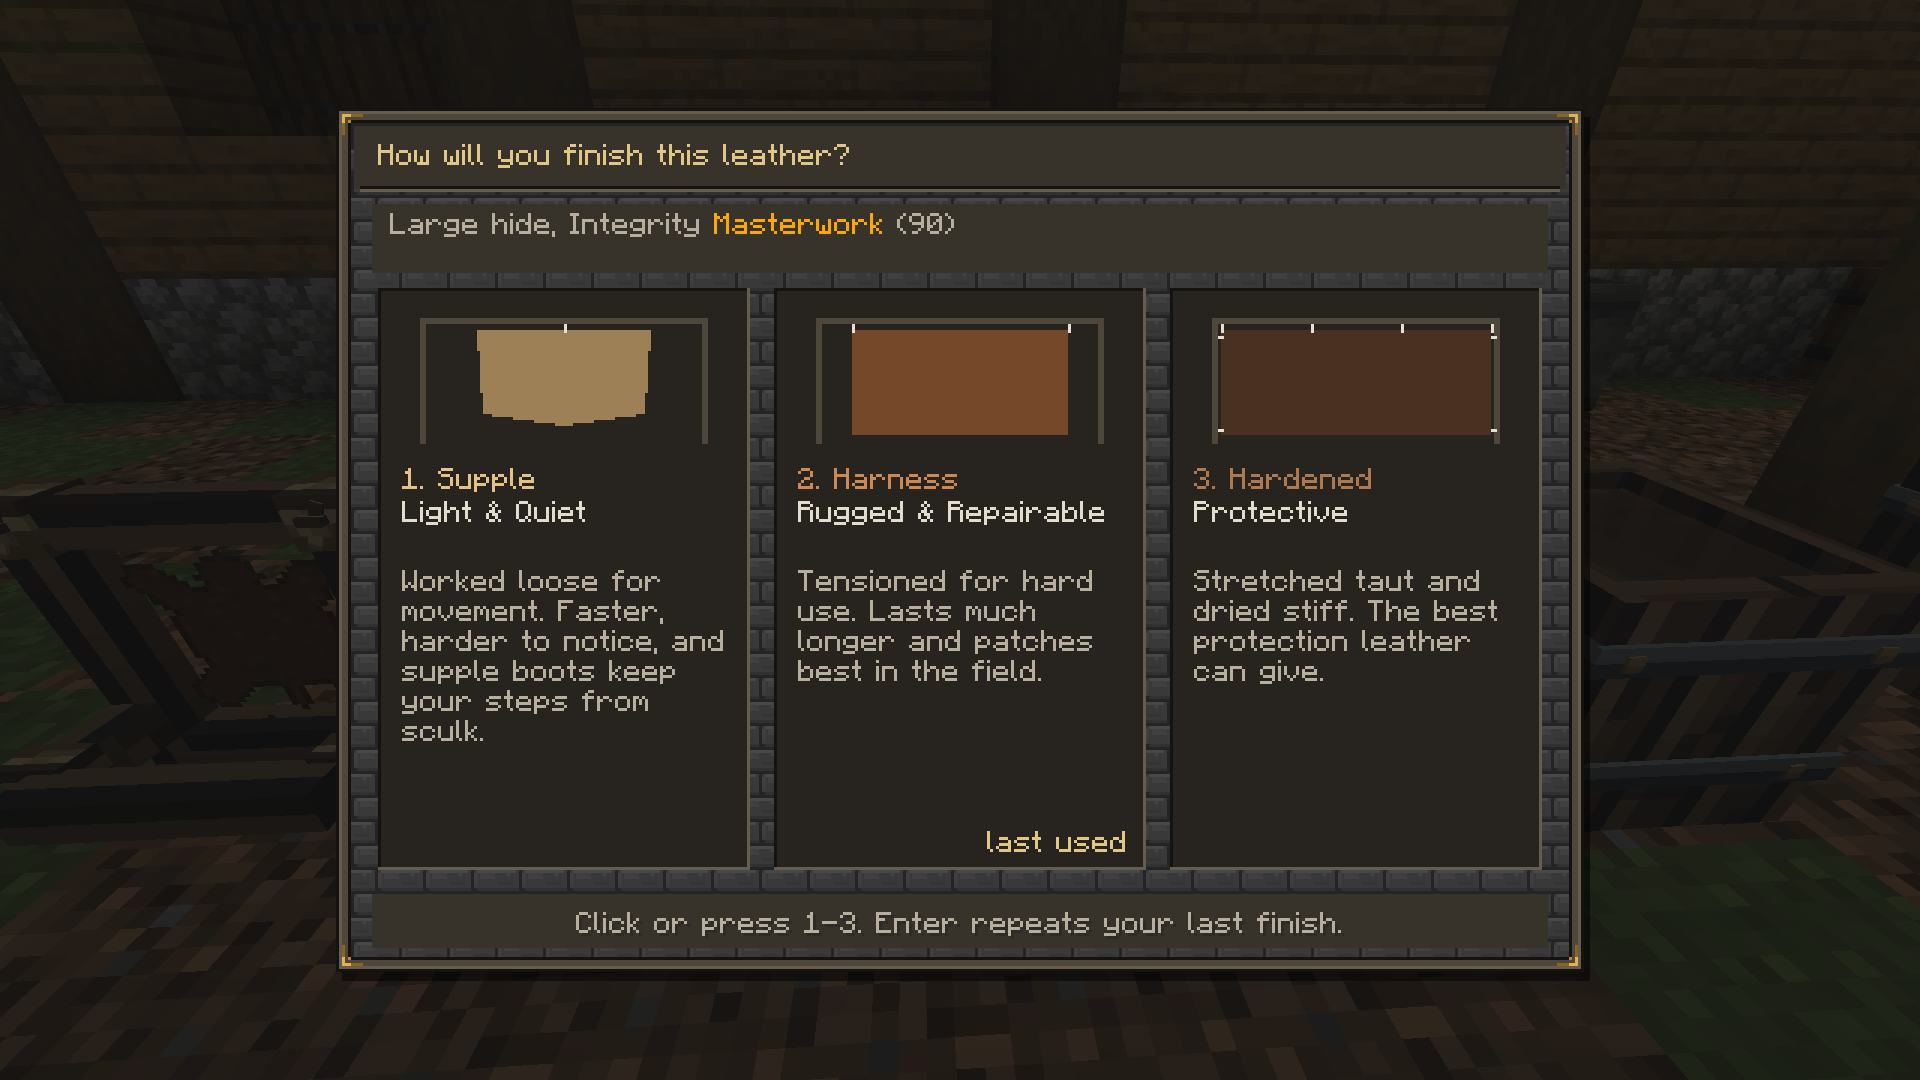
4. Choose a finish and let the hide dry. Place a wet tanned hide on the Tanner's Rack to choose Supple, Harness, or Hardened. The rack shows the hide stretching and drying, which takes about two minutes of game time by default. Once it is dry, collect the finished leather. Sneak and use the rack with another wet hide to repeat your last finish.
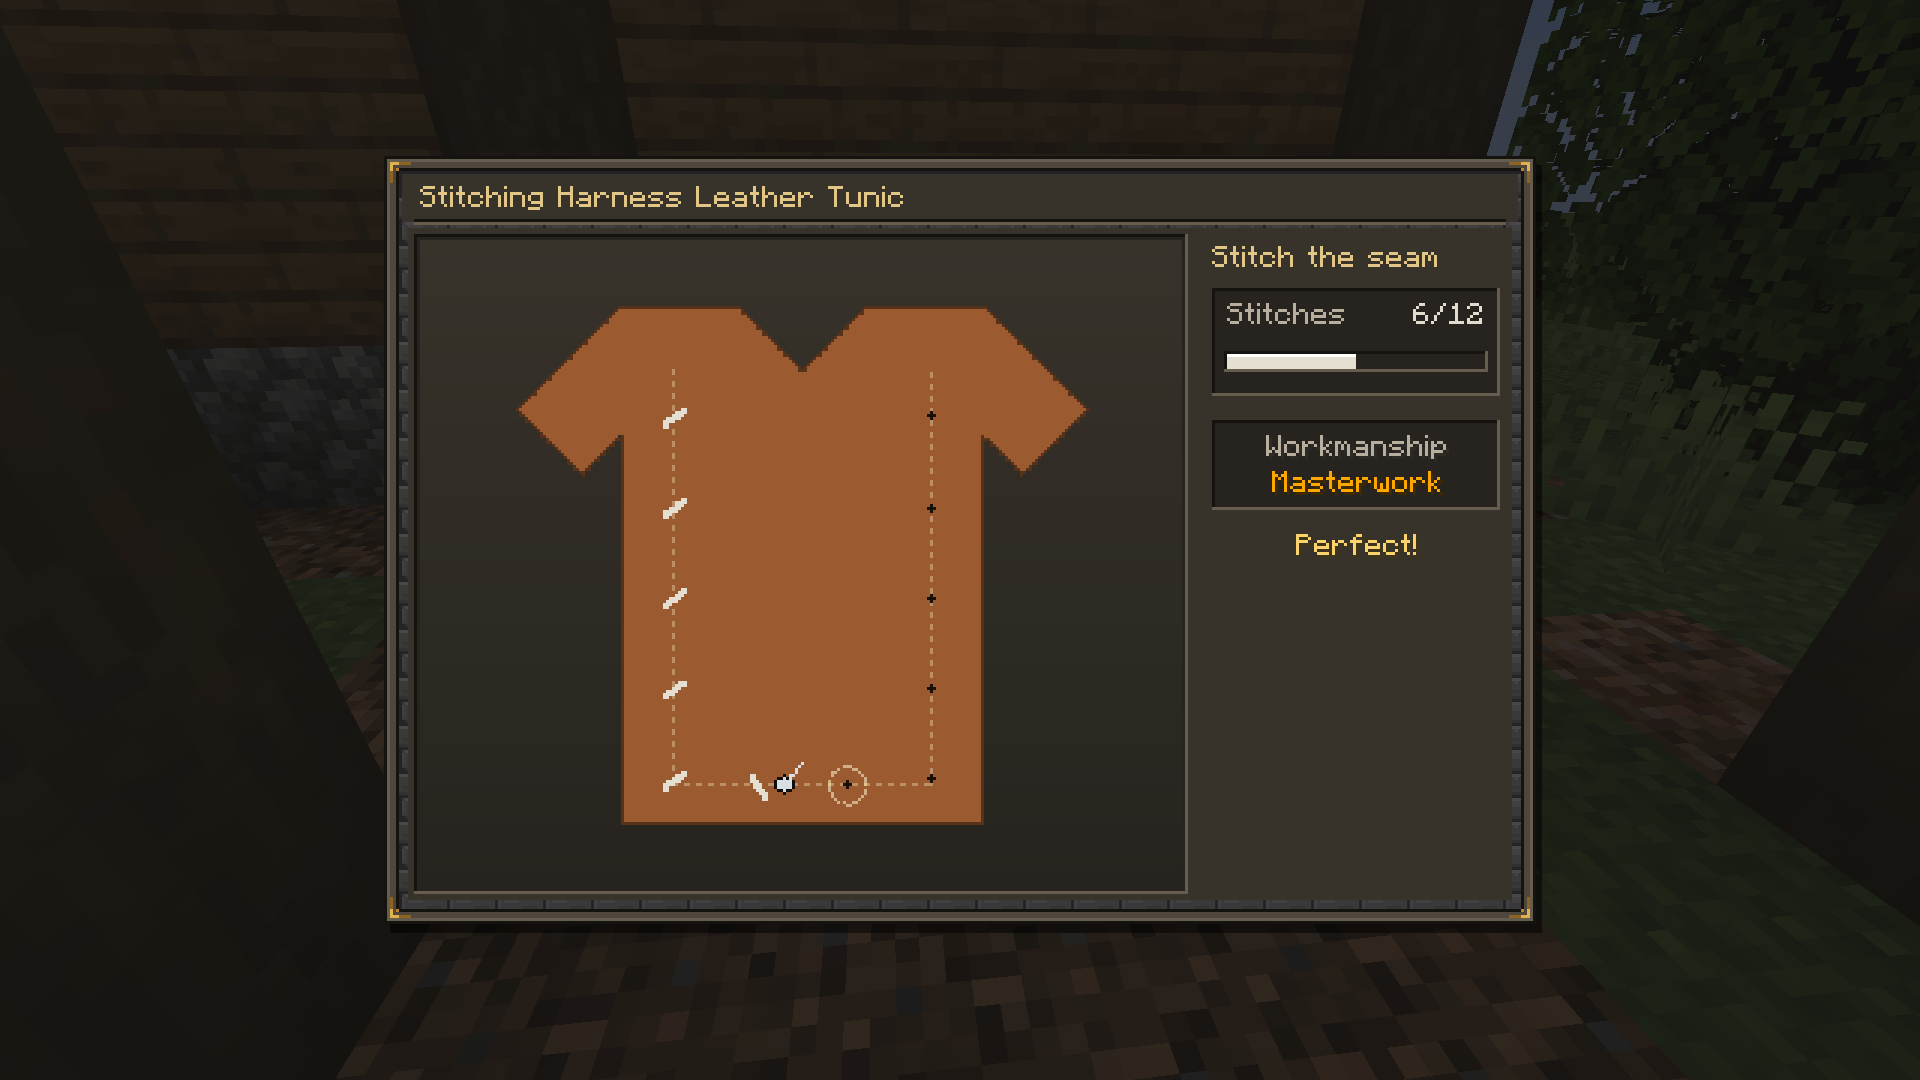
5. Make something at the Leatherworker's Bench. Keep an Awl, finished leather, and any other recipe materials in your inventory. Use the Awl on the bench to choose what to make and which leather to use. The bench cuts the pieces, then you stitch the seams by clicking or pressing Space as the needle reaches each hole. Your timing determines Workmanship. Missed stitches lower the quality, but the item still gets made. The bench can make leather armor, leather horse armor, saddles, and supported leather equipment from other mods. It also gives back Leather Scraps from offcuts.
By default, leather armor and leather horse armor are made at the bench rather than in the crafting table. For a saddle, bring five finished leather, one iron ingot, and two string.
Pick the leather that fits your plans
The finish is a real choice, not just a different color. These are the default effects for each armor piece you wear, so you can mix finishes instead of committing to a full set.
| Finish | What it is good for | Default effect per worn piece |
|---|---|---|
| Supple | Moving lightly and staying less noticeable | 2.5% more movement speed and a shorter range at which mobs notice you. Supple boots also muffle movement for sculk sensors and wardens. |
| Harness | Equipment that lasts and is easy to maintain | 1.5 times the effective durability and twice the benefit from field repairs. |
| Hardened | Getting the most protection from leather | 75% more armor from that piece and 0.5 armor toughness. |
Some hides add another advantage when made into equipment:
| Hide trait | What it does on worn armor |
|---|---|
| Heatproof | Reduces fire damage. |
| Insulating | Reduces freezing and other supported cold damage. |
| Lightweight | Adds movement speed. |
| Tough | Increases effective durability. |
| Water-Resistant | Improves swimming speed and reduces drowning damage. |
Rare creatures can have stronger versions of these traits, including Ironhide and Tidehide. Trait benefits add up across the pieces you wear.
Quality you can feel
Your two hands-on steps leave different marks on the result:
- Integrity comes from fleshing the hide. Better Integrity means the equipment lasts longer.
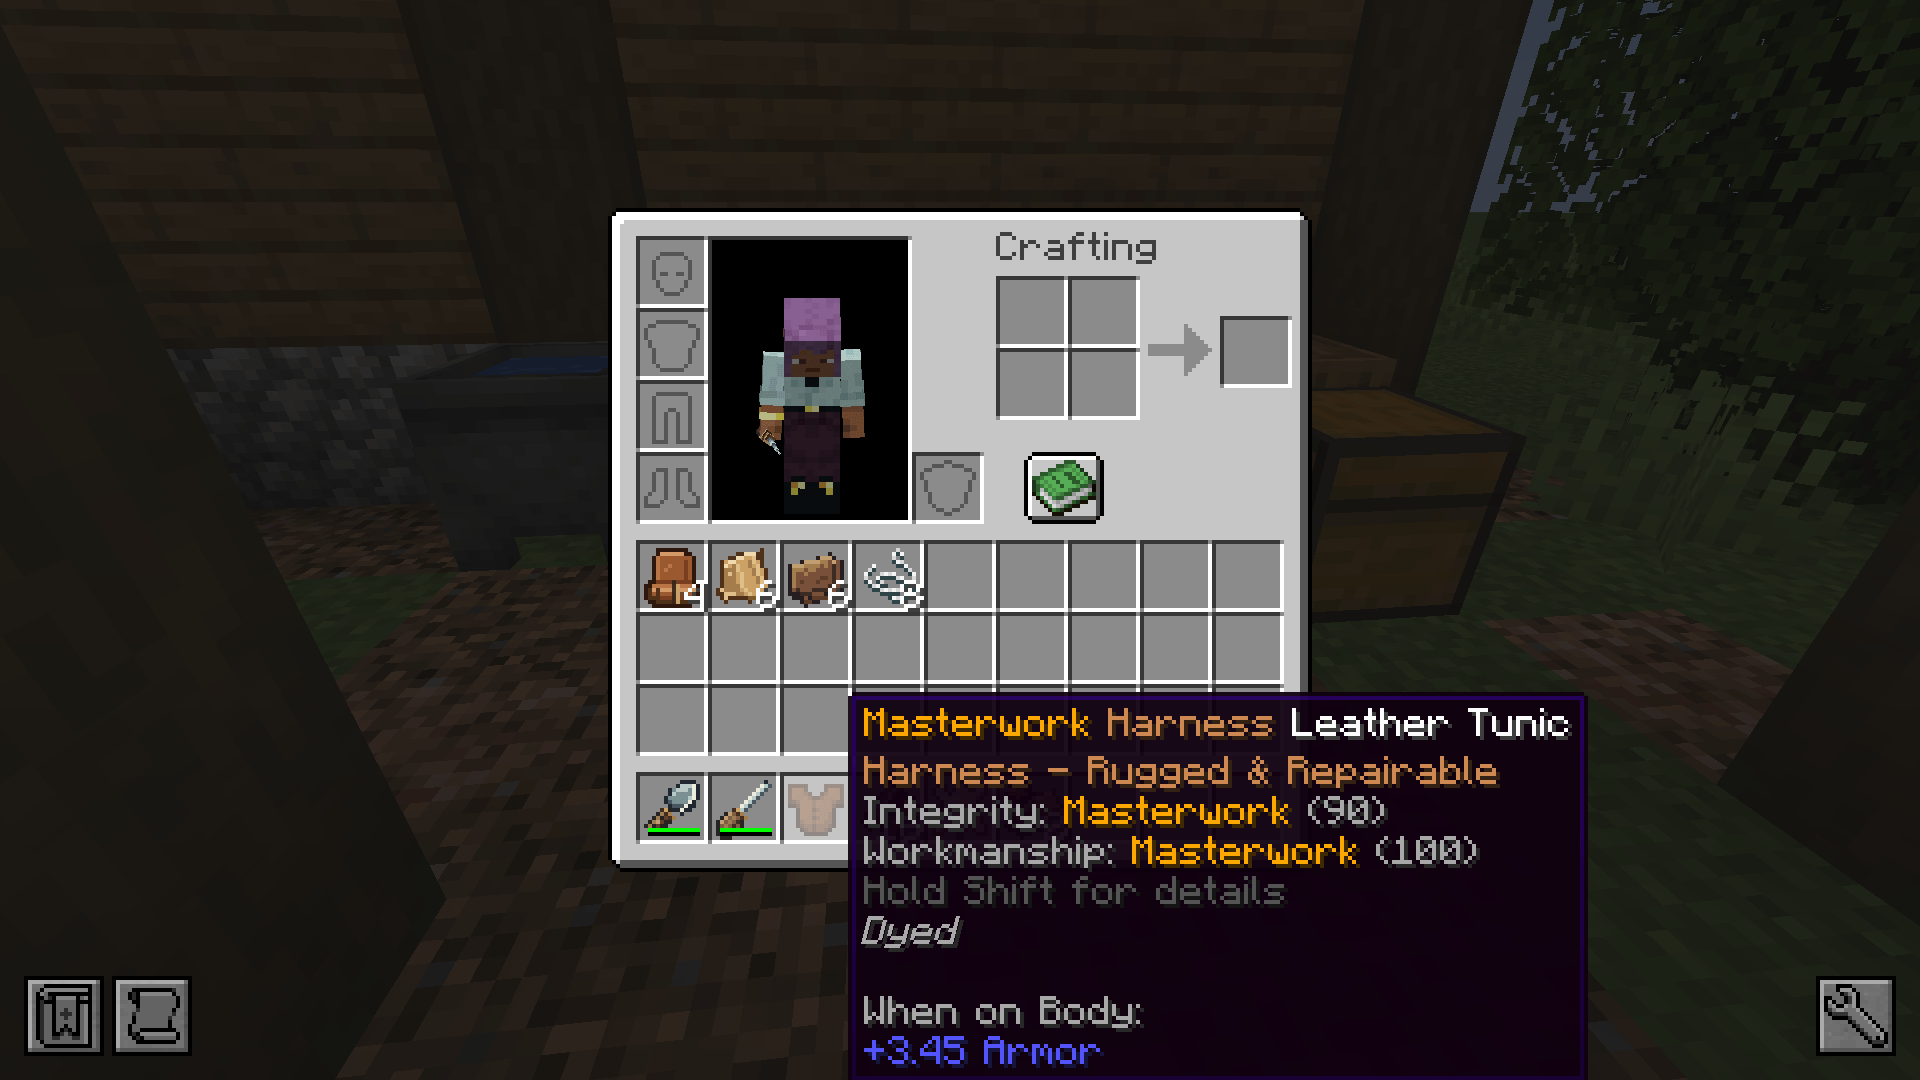
- Workmanship comes from timing the stitches. Better Workmanship improves armor and the effect of its finish.
Equipment is graded Crude (0 to 34), Standard (35 to 69), Fine (70 to 89), or Masterwork (90 to 100) from the two scores together. Its tooltip shows the finish, quality, and any hide trait, so you can tell what you made. The minigames reward practice, but a rough attempt still gives you usable material or equipment.
Use every scrap
Binding Leather takes the place of ordinary Minecraft leather in everyday recipes. Use it for things like books and item frames, while saving your finished Supple, Harness, and Hardened leather for the bench. You can cut one piece of finished leather into one Binding Leather when you need it. Existing vanilla leather can be converted one for one in a crafting grid. Loot and villager trades that normally provide leather also provide Binding Leather by default.
Leather Scraps help keep your work in service. Carry an Awl, then right-click scraps onto a damaged leather item in your inventory to patch it. You can also hold and use the Awl with scraps in your inventory to repair the most worn repairable piece you have equipped. Repairs keep the item's enchantments, finish, and quality. Harness leather gets more repair out of each scrap.
Fits into a larger world
Immersive Tanning supports many modded animals and can accept supported skins and pelts from Butchery on the rack. It includes hide sources for creatures from mods such as Alex's Mobs, Lycanites Mobs, Ice and Fire, and Livestock Overhaul. Supported modded leather gear can be stitched at the bench too. These integrations are optional; you do not need those mods to play.
Leatherworkers can trade tanning supplies, hides, and their own leatherwork. With compatible village mods, you may find additional hide trades. JEI shows the tanning steps and bench recipes, while Jade can show the state of the rack and vat. Hoppers and pipes can supply water, bark, and scraped hides to the vat and take out wet tanned hides. Fleshing, choosing a finish, and stitching remain in your hands.
World settings let a pack maker adjust hide drops, recipes, tanning and drying times, quality, finishes, repairs, trades, and automation. Client options include grain hints, larger stitch markers, timing sounds, and color accessibility settings.
Whether you are preparing quiet boots for an ancient city, tough gear for a long trip, or a hardened set for a fight, Immersive Tanning makes the leather you wear feel like something you actually made.
The Immersive Tanning Team


Owner