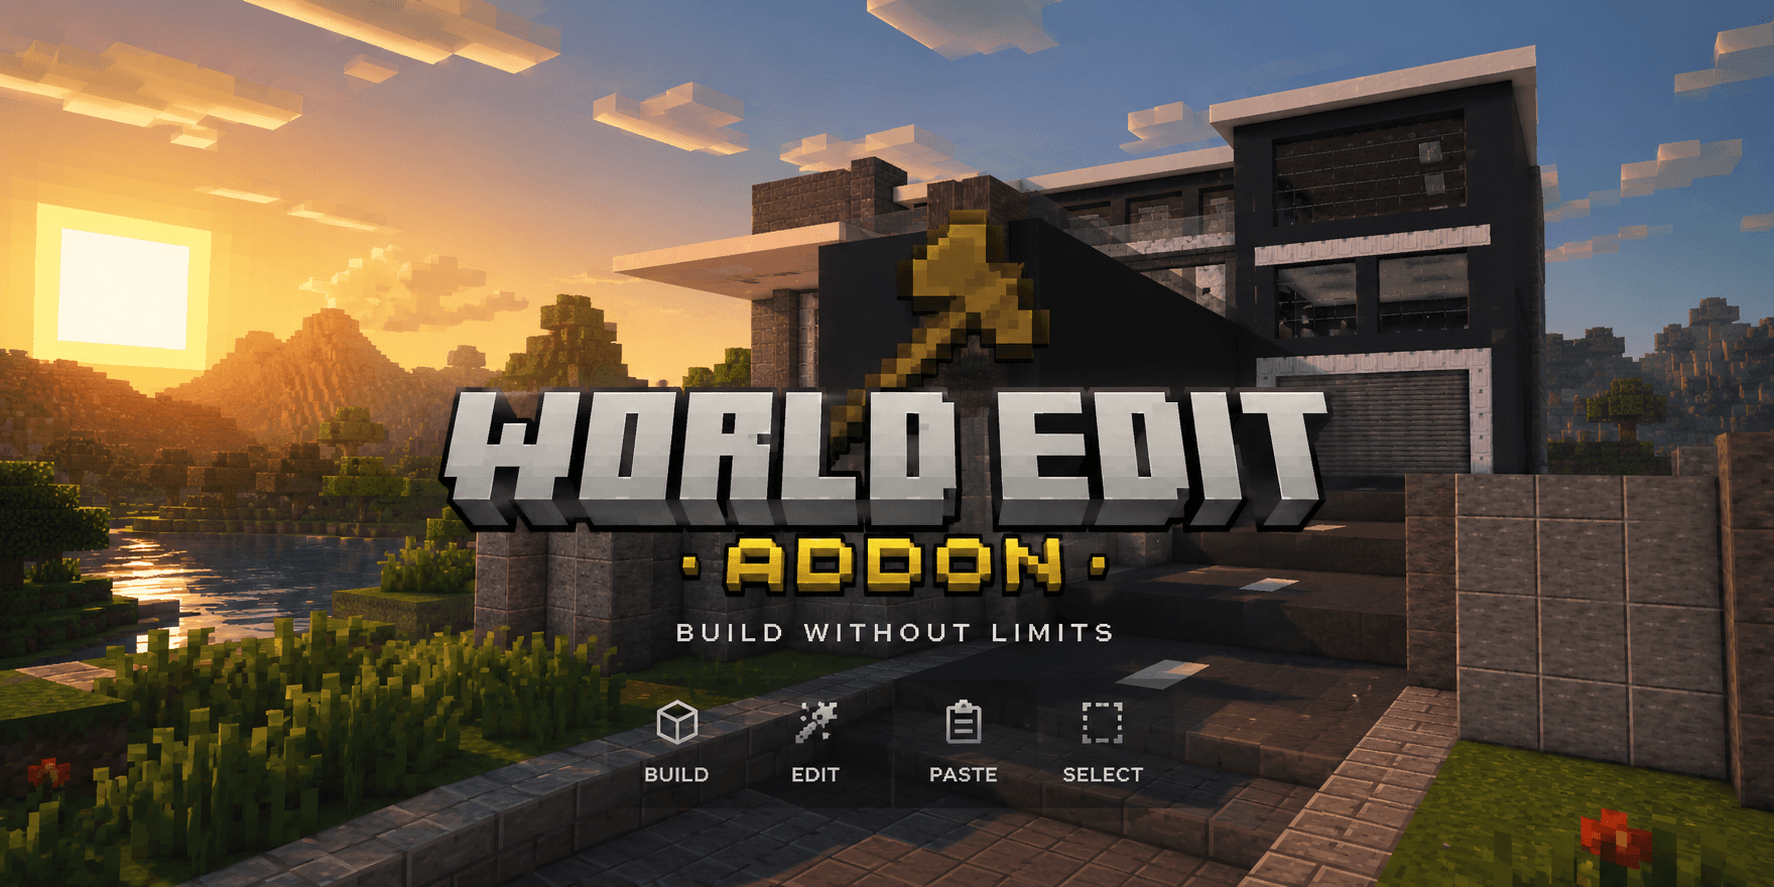
This world edit addon helps players in creative mode when building projects of any size. The addon utilizes the wooden axe to allow players to do what would normally be a hard task of finding coordinates and running commands, by just doing a much simpler set of steps.
The addon allows players to use the wooden axe in creative mode to easily complete a task. To start off, the player must break a block with the wooden axe to set their first position. Next, they must break another block while crouching to set their second position. These two positions together will be used to create a "box" this invisible box is a rectangular prism with the opposite corners being at the two positions. These two positions will not be changed unless the player uses the axe to do so.
Once the player has selected two positions, they may run any of the following short commands to modify the blocks in the selection to their desire. Note: the player must have operator commands enabled.
/set
The /set command can be used to fill the selection with a specific type of block. The full syntax is /set <block>
/replace
Similar to the /set command, the /replace command can be used to fill the selection with a specific block, however only replacing a specific block type. The full syntax is /replace <old block> <new block>
/keep
The /keep command is very similar to the /set command exept it is used to replace all blocks but one specific type. The full syntax is /keep <keep block> <new block>
/center
The /center command is useful when a player wishes to find the center of their selection. The player can run the /center command to place a block in the exact center of the selection. If the center is two blocks, it will place two. The full syntax is /center <block type>
/walls
The /walls command can be useful when the player wishes to create walls in their selection. This command will build walls in the selection on the sides. The full syntax is /walls <block type>
/box
Similar to the /walls command, the /box command will place walls in the selection. However, it will also place a floor and a roof. The full syntax is /box <block type>
/floor
Similar to the /walls fommand, the /floor command will place blocks at the lowest y value in the selectiom. The full syntax is /floor <block type>
/roof
Similar to the /walls fommand, the /roof command will place blocks at the highest y value in the selectiom. The full syntax is /roof <block type>
/drain
The /drain command can be used to remove liquids from a selection. It will remove lava and water. The full syntax is /drain
/itemlist
The /itemlist command can be used to create a list of all the items in container blocks inside the selection. It will provide you with a list that you can copy to your clipboard. To do this on pc, click on the text box, press Ctrl + A, and then press Ctrl + C. This cannot be copied on all devices. The full syntax is /itemlist
/blocklist
The /blocklist command can be used to create a list of all the blocks inside the selection. It will provide you with a list that you can copy to your clipboard. To do this on pc, click on the text box, press Ctrl + A, and then press Ctrl + C. This cannot be copied on all devices. The full syntax is /blocklist
/entitymove
The /entitymove command can be used to force entities to pathfind to a particular position - either the first position or second position (set with axe). It is not incredibly reliable, and as of now, will only move entities in a strait line. The full syntax is /entitymove <entities> [position type: first | second]
/entitystop
The /entitystop command is intended to be used with the /entitymove command. It stops the current movements on entities. The full syntax is /entitystop <entities>
/color
The /color command can be used to change the color of any "colorizeable" blocks in the selection. Blocks considered "colorizeable" are carpets, glass panes, glass, wool, concrete powder, concrete, glazed terracotta, terracotta, and shulker boxes. Note that only glass panes, glass, terracotta, and shulker boxes can have their color set to "none". The full syntax is /color <color>
/sphere
The /sphere command can be used to make a sphere centered at the middle of the selection. By default, it will not be hollow, and will have a radius so that it fits perfectly inside the selection. The full syntax is /sphere <block type> [hollow: true | false] [radius: Number]
*If you experience crashes with this command, read the instructions later in the page to attempt a fix
/ellipsoid
Similar to the /sphere command, the /ellipsoid command is intended to create an ellipsoid centered at the middle of the selection. By default, it is not hollow and has radiuses so it fits inside the selection. It can be rotated along any axis. The full syntax is /ellipsoid <block type> [hollow: true | false] [radiusX: Number] [radiusY: Number] [radiusZ: Number] [rotationX: Int] [rotationY: Int] [rotationZ: Int]
*If you experience crashes with this command, read the instructions later in the page to attempt a fix
/cylinder
Similar to the /ellipsoid command, the /cylinder command can be used to place a cylinder centered at the middle of the selection. By default, it is not hollow and is sized to fit inside te selection. It can be rotated to any rotation by using rotateX and rotateZ. The full syntax is /cylinder <block type> [hollow: true | false] [radiusX: Number] [radiusZ: Number] [height: Number] [rotationX: Int] [rotationZ: Int]
*If you experience crashes with this command, read the instructions later in the page to attempt a fix
/structureblock
The /structureblock command can be used to easily select the selection with a structure block. It will place a save structure block right outside one corner of the selection, and it will place a corner structure block right outside the opposite corner. After running the command, go to the save structure block and click "detect". If this does not work, ensure you have broken any other corner structure blocks generated from this command, and try again. After this, it is recomended to break the corner block generated. *Ensure you do not change the name in the structure block until you have pressed "detect". The full syntax is /structureblock
/save
The /save command can be used to save the selection as one or multiple structures. If the selection is too big to fit in one structure, it will save it in pieces. The saved structure can either be loaded by using /load, or using a structure block. If no name is provided for the structure, it will save it to a default name, unique to that user. The full syntax is /save [name: String]
/load
The /load command is intended to be used with the /save command, but it doesnt have to be. It allows you to load in a structure at a eiter the first or second position. That position will be the most negitive corner of the structure. If no name si provided, the default structure acquired by running /save will be loaded. *The "ZNum" parameter should be set to 1 if there is ony one piece of the structure. Eitherwise, it dennotes how many structures will have the same X position. It basically tells the game how to align multi-part structures. It is recomended only to use it with the /save command. The full syntax is /load [name: String] [position type: first | second] [rotation: 0 | 90 | 180 | 270] [mirrorX: true | false] [mirrorZ: true | false] [ZNum: Int]
/undo
The /undo command can be used to undo the previous world edit command. It only works for commands that place blocks, excluding /structureblock and /load. It is important to note that /undo may not be able tp perfectly replace the blocks destroyed from the previous command, for blocks like minecart rails that are placed back may not be in the same orientation as before. Also, the /undo command can only undo up to 1 previous command. The full syntax is /undo
All of these commands are easy to use and a very efficient way to build any size project. Comment down below if you have any suggestions for more commands or if you find any bugs!
*CRASHES CAUSED BY /SPHERE, /ELLIPSOID, OR /CYLINDER:
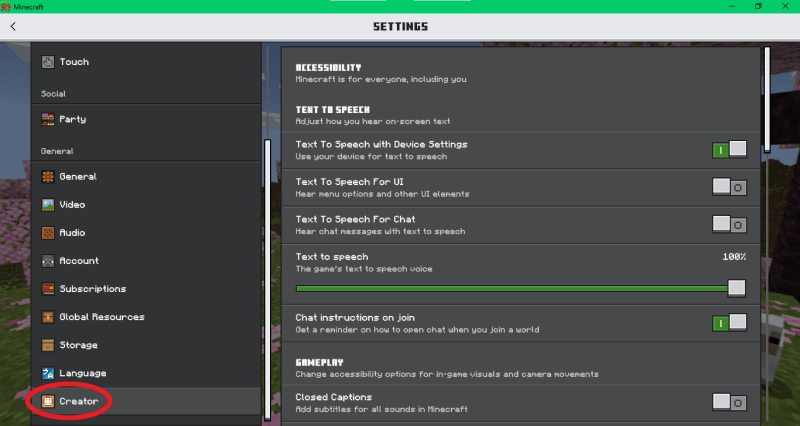
These crashes may be due to the generation of such shapes taking too long due to their size. They are likely cuased by trying to generate a large shape. A way to fix this is to go to settings, and select Creator:
Next, scroll down and drag the slider all the way to the end:
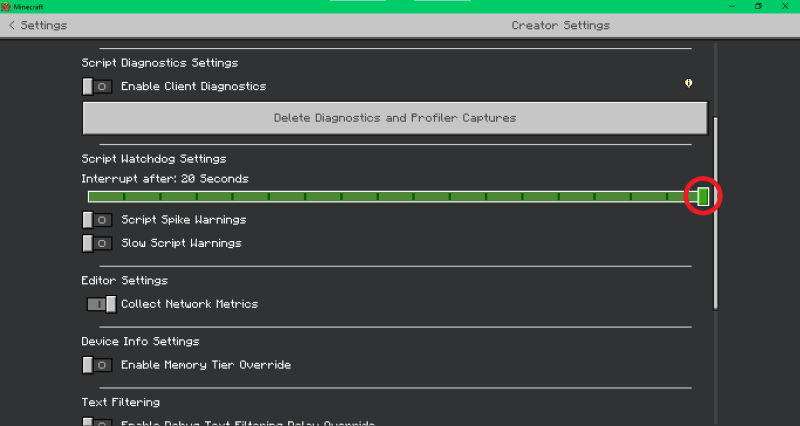 This should increase the amount size shape you should be able to make, but it does not mean that it will be infinite. If this fix doesn't work, then either your computer is too slow or you are trying to make a shape that is too big.
NO EXPERIMENTS REQUIRED!!!