

Kehaan Spawn Eggs
- 135.1K
- Resource Packs
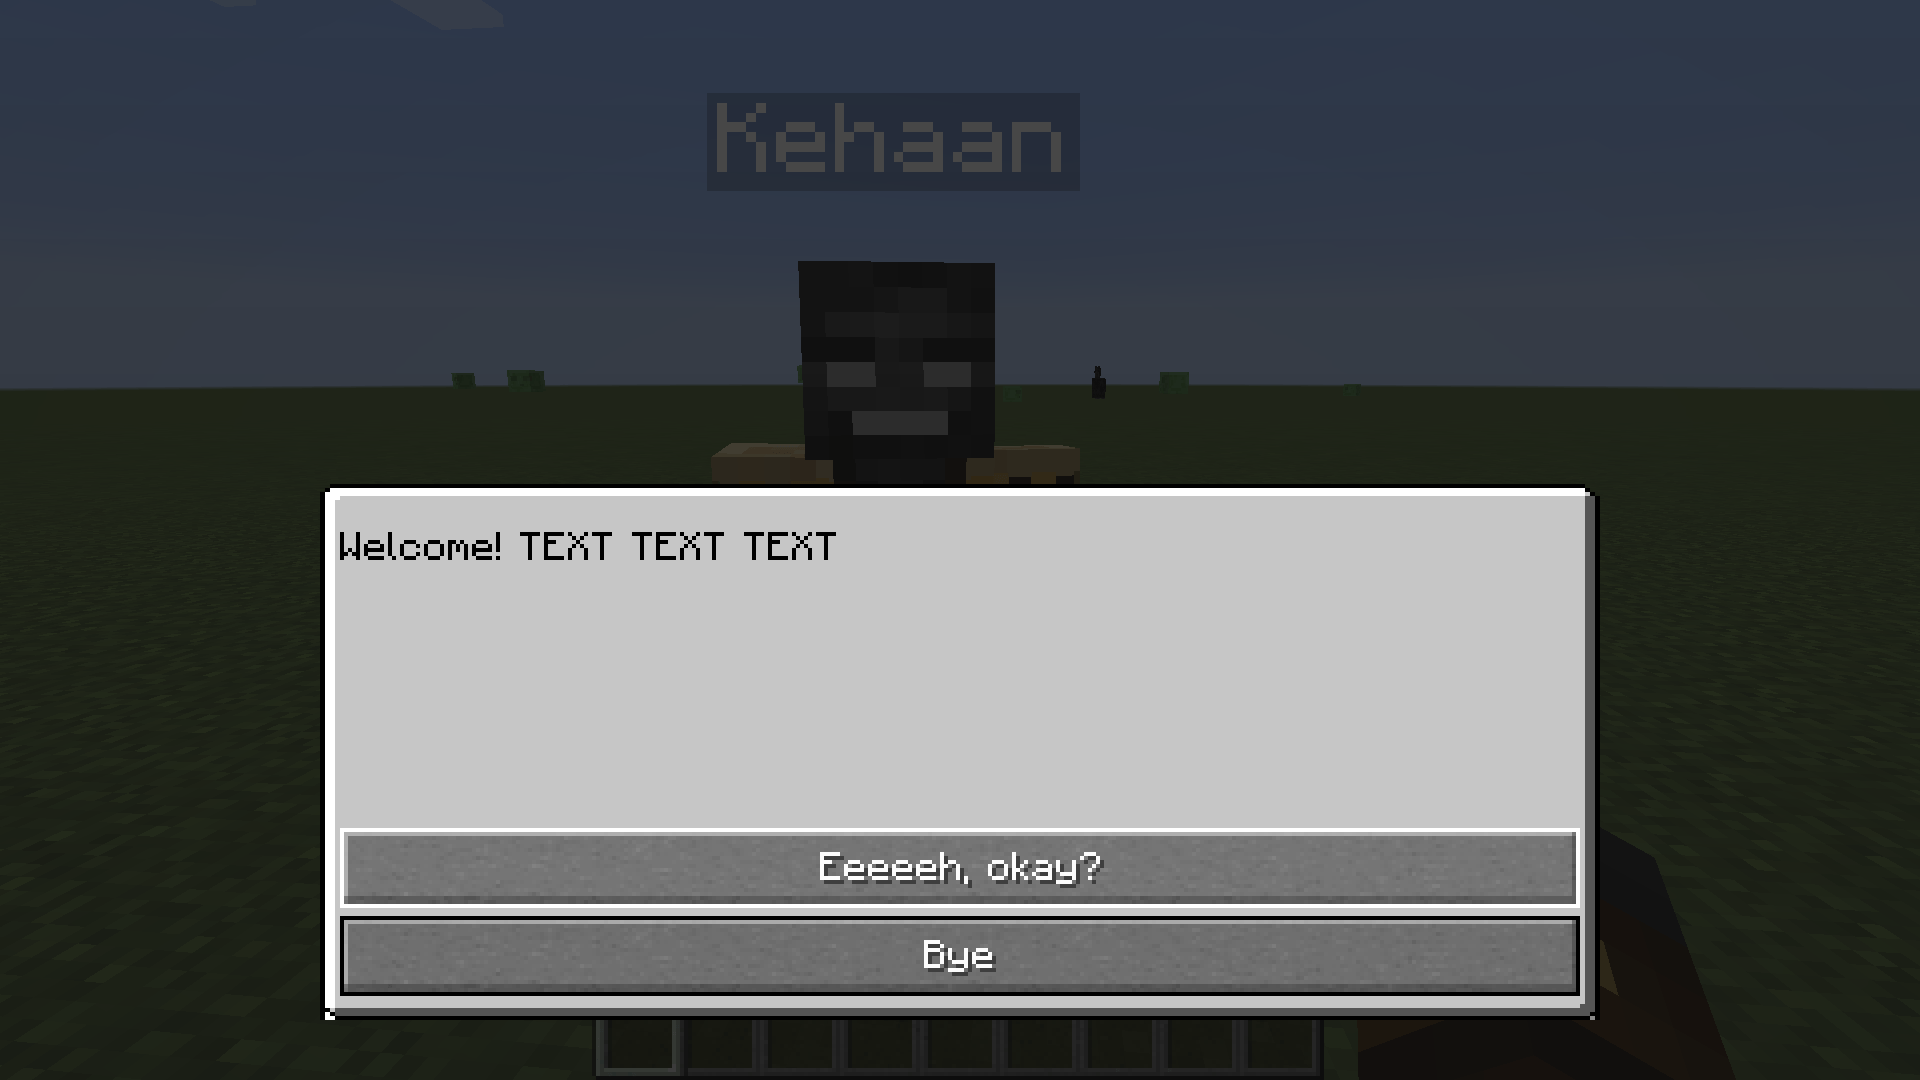
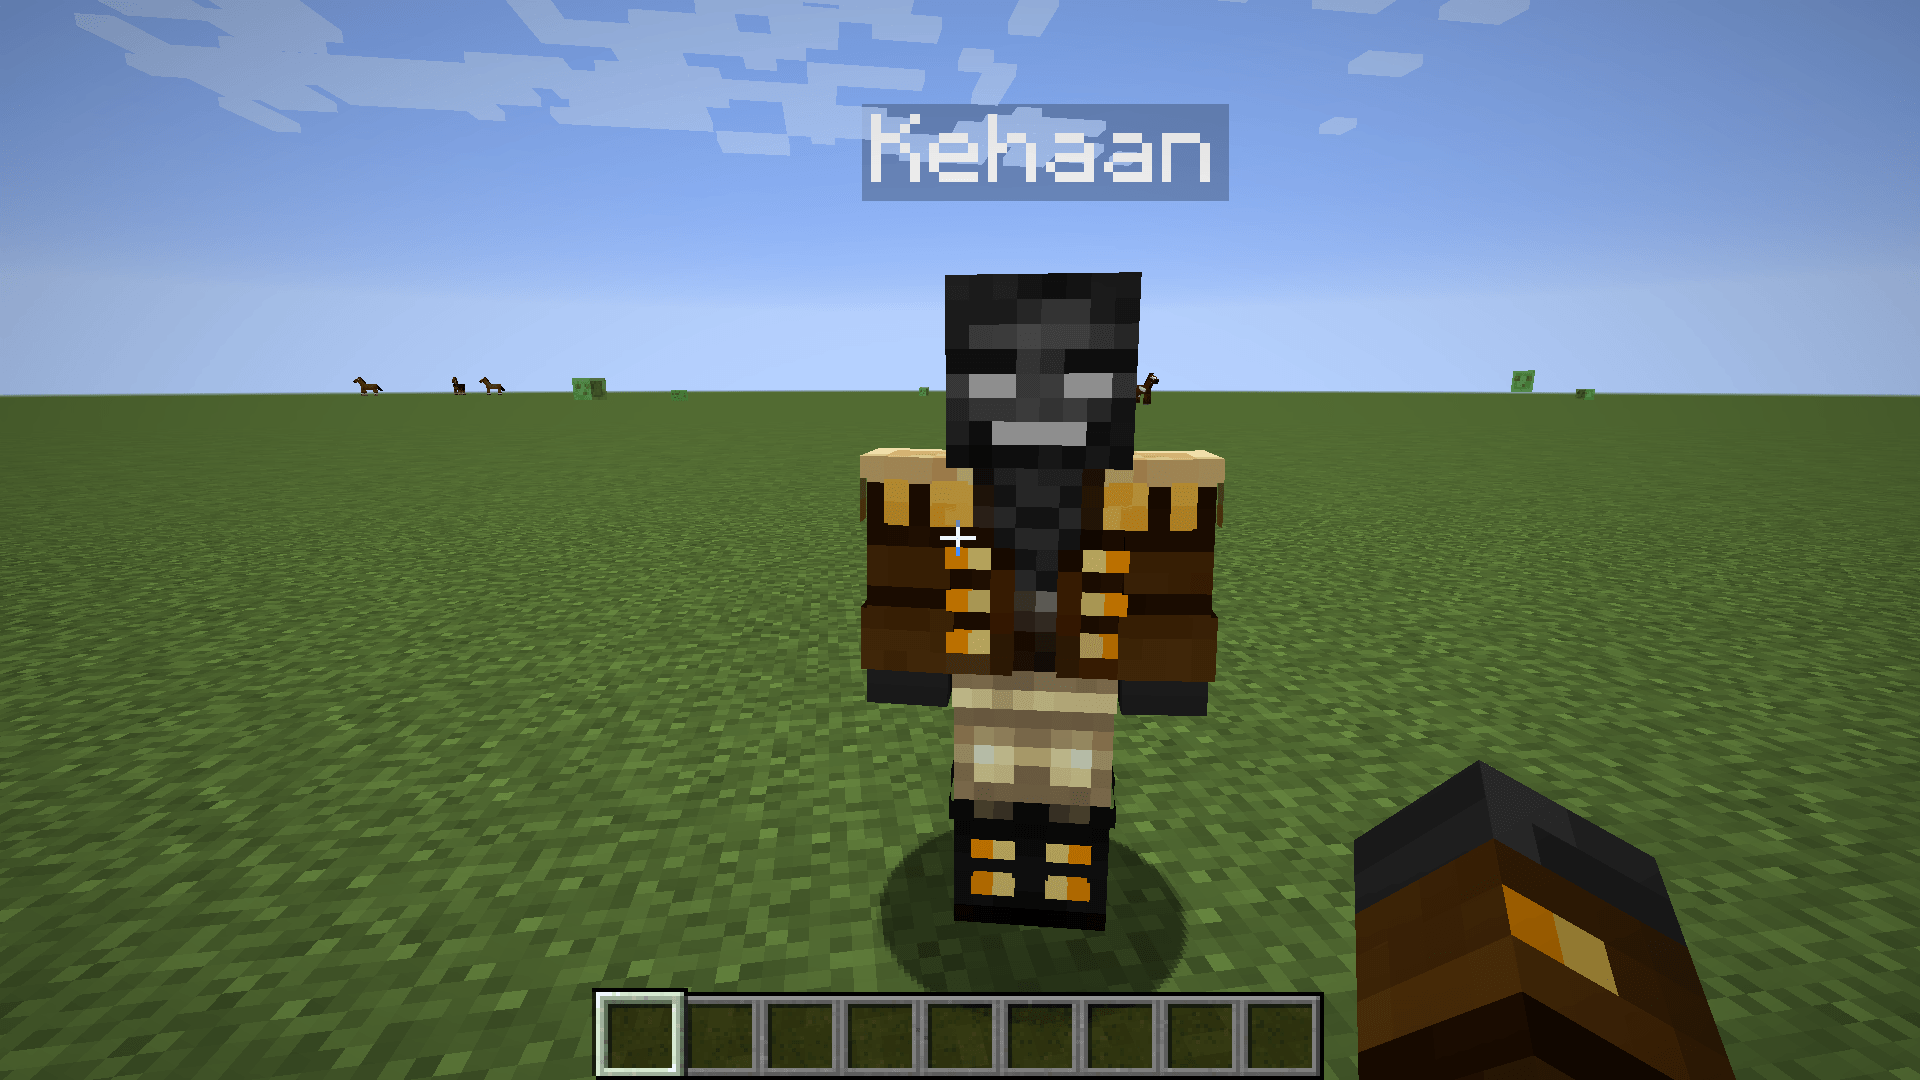
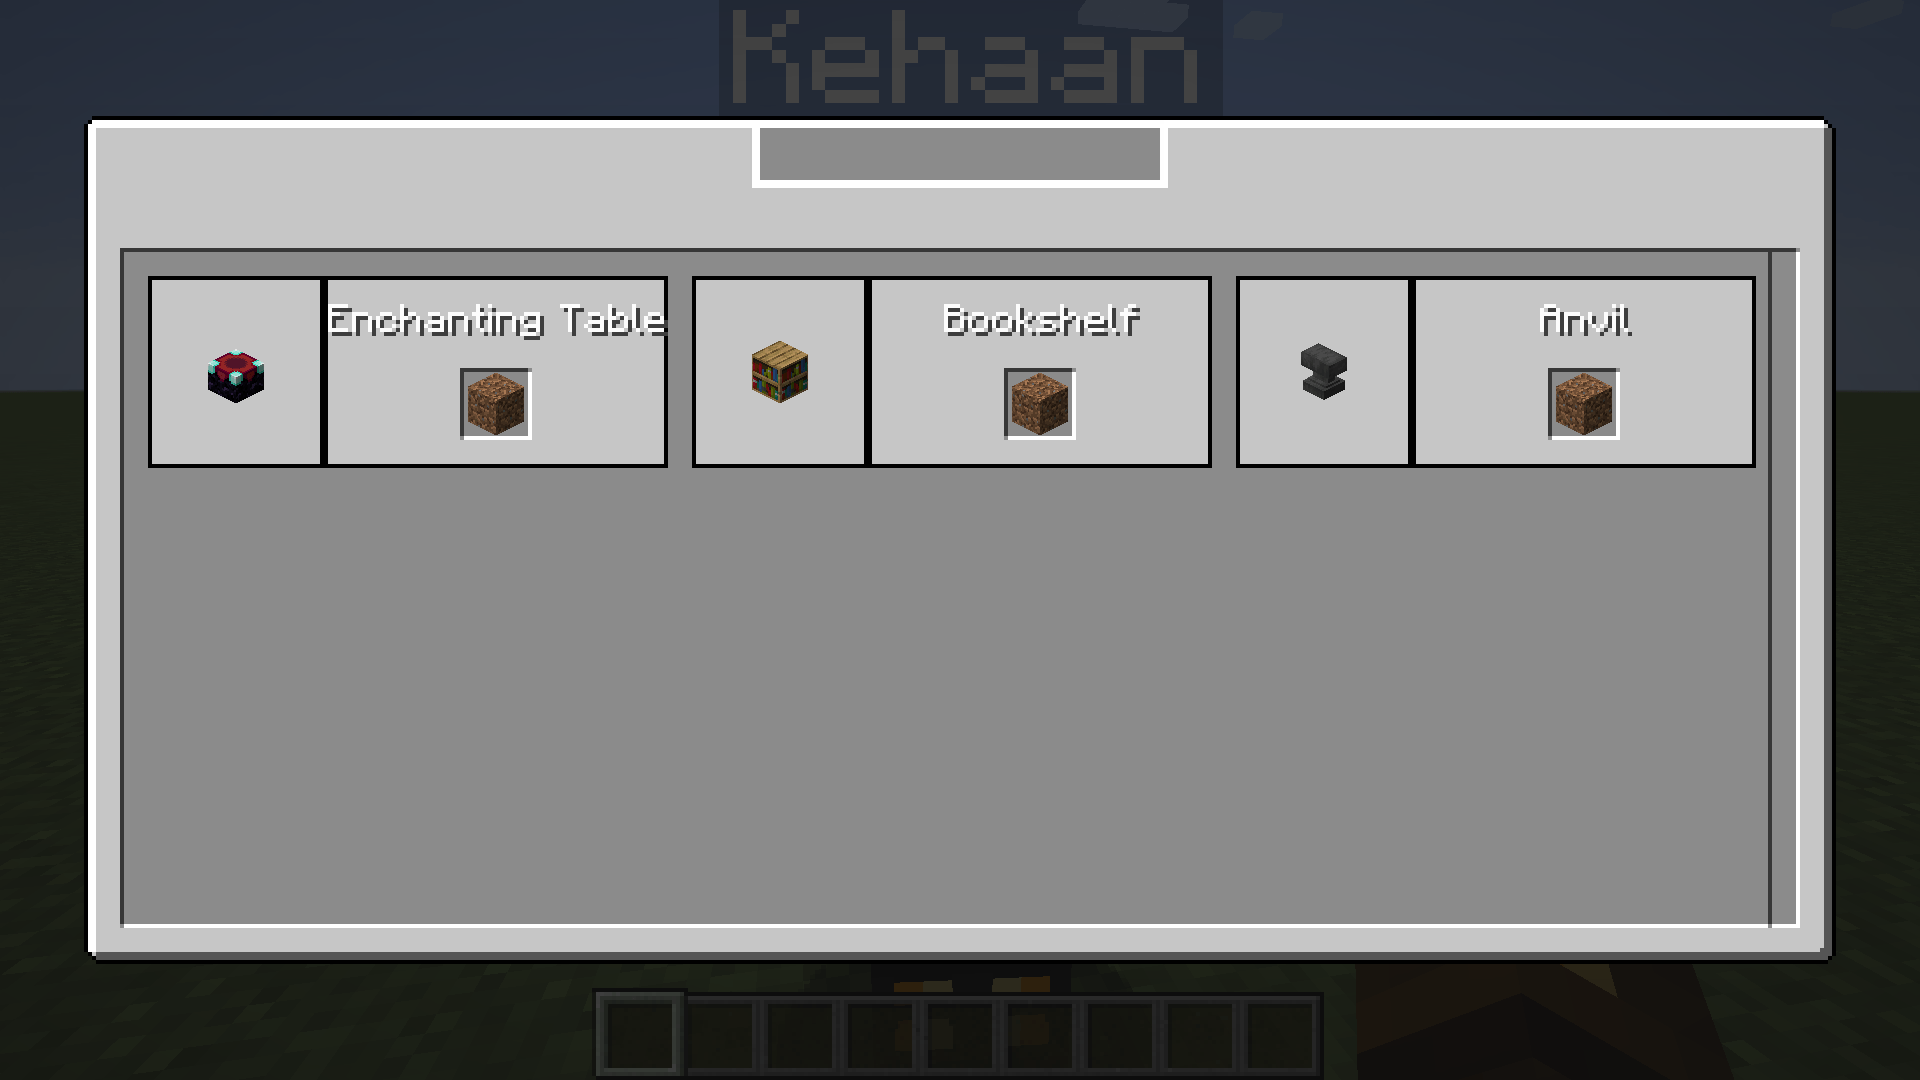
Re-textures all spawn eggs in a similar style to the new creeper spawn egg, adding unique mob faces to each one.
- 135.1K
- April 6, 2026
- Resource Packs
- +1
Pokehaan Craft 2 - Lite
- 6.5K
- Modpacks
This is a Lite version of Pokéhaan Craft 2. This is a much smaller/lighter modpack, with less content for people with older computers.
- 6.5K
- April 6, 2026
- Modpacks
- +4
Pokehaan Craft 2
- 884.7K
- Modpacks
Pokéhaan Craft 2 is a Pixelmon Modpack, with Pokestops, quest and much more. This is a successor to Pokehaan Craft.
- 884.7K
- April 6, 2026
- Modpacks
- +4
Pokehaan Craft - Lite
- 33.3K
- Modpacks
Pokéhaan Craft - Lite, is a light version of Pokehaan Craft, which is a Pixelmon Modpack, with Pokestops, Challenges and much more. Newer version of Pokemon Craft.
- 33.3K
- April 6, 2026
- Modpacks
- +4
Kehaan Spawn Eggs
- 135.1K
- Resource Packs
Re-textures all spawn eggs in a similar style to the new creeper spawn egg, adding unique mob faces to each one.
- 135.1K
- April 6, 2026
- Resource Packs
- +1
Pokehaan Craft 2 - Lite
- 6.5K
- Modpacks
This is a Lite version of Pokéhaan Craft 2. This is a much smaller/lighter modpack, with less content for people with older computers.
- 6.5K
- April 6, 2026
- Modpacks
- +4
Pokehaan Craft 2
- 884.7K
- Modpacks
Pokéhaan Craft 2 is a Pixelmon Modpack, with Pokestops, quest and much more. This is a successor to Pokehaan Craft.
- 884.7K
- April 6, 2026
- Modpacks
- +4
Pokehaan Craft - Lite
- 33.3K
- Modpacks
Pokéhaan Craft - Lite, is a light version of Pokehaan Craft, which is a Pixelmon Modpack, with Pokestops, Challenges and much more. Newer version of Pokemon Craft.
- 33.3K
- April 6, 2026
- Modpacks
- +4