Litemacro
- By
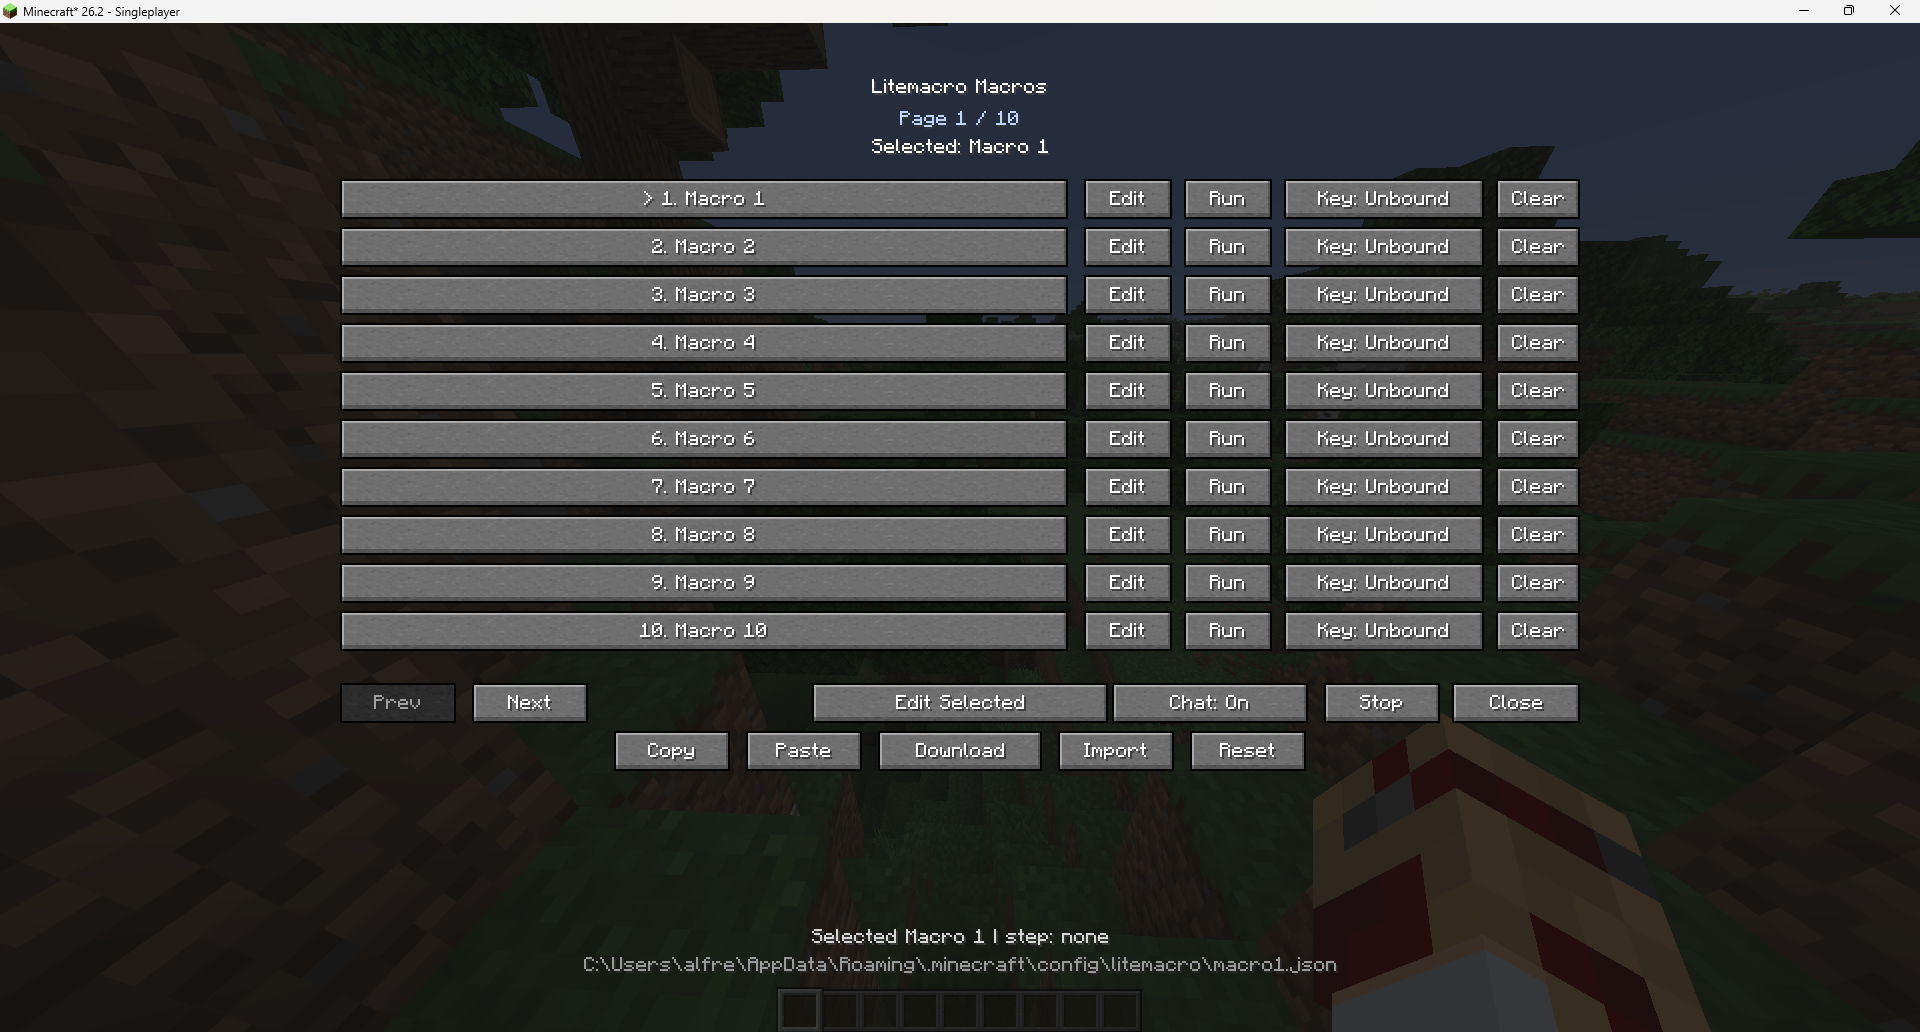
Screenshot 2026-06-18 121636.png
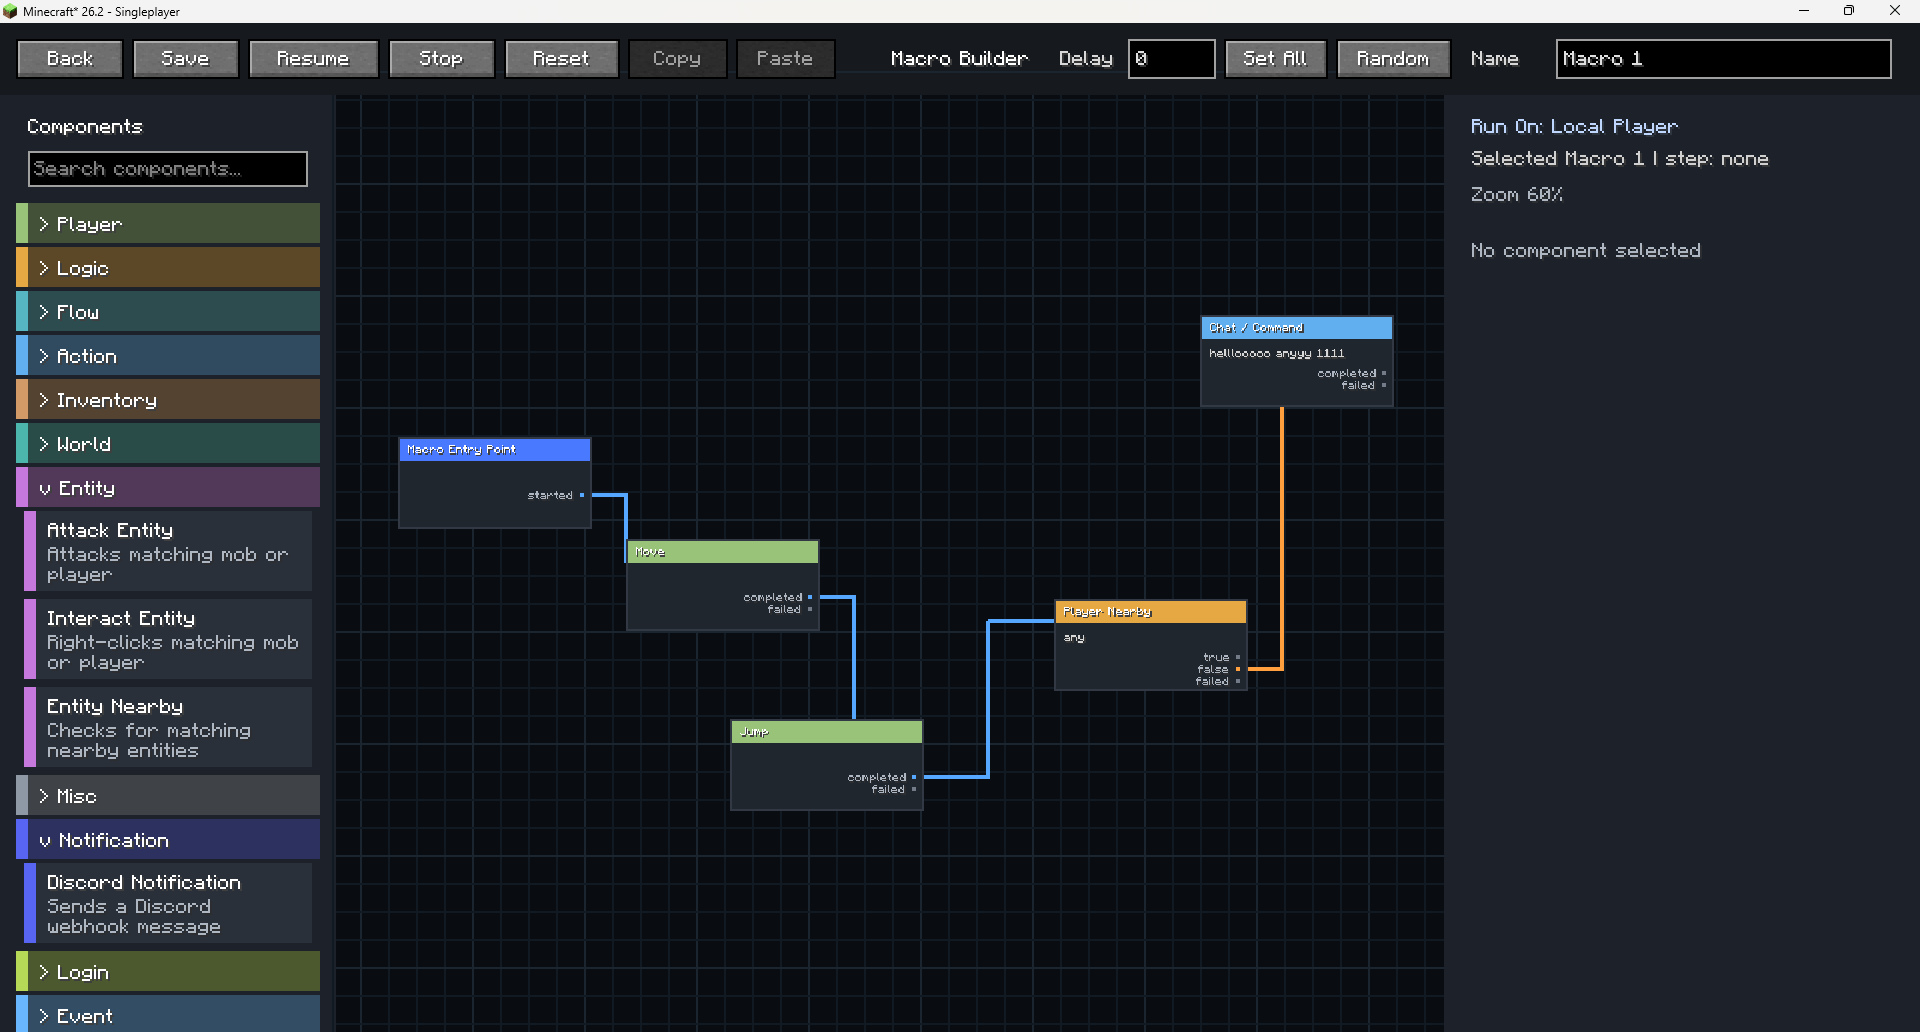
Screenshot 2026-06-18 121907.png
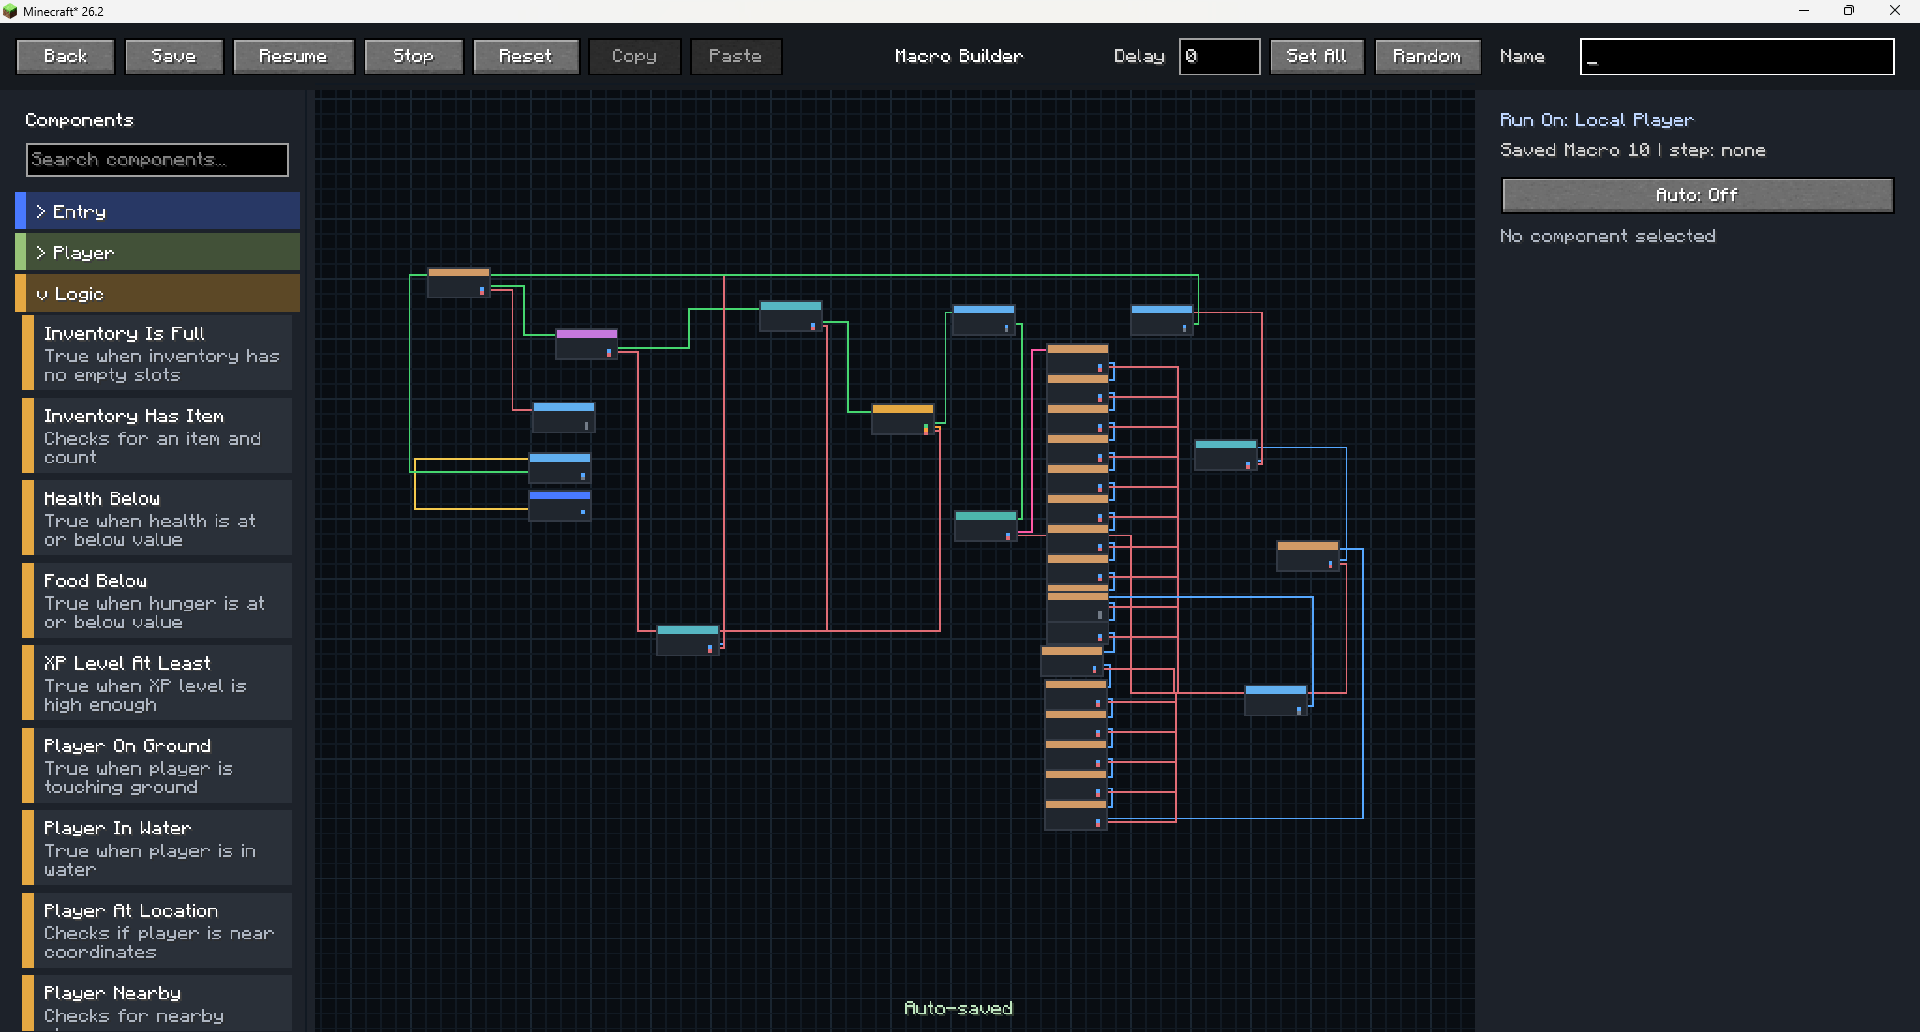
Screenshot 2026-08-23 104556.png
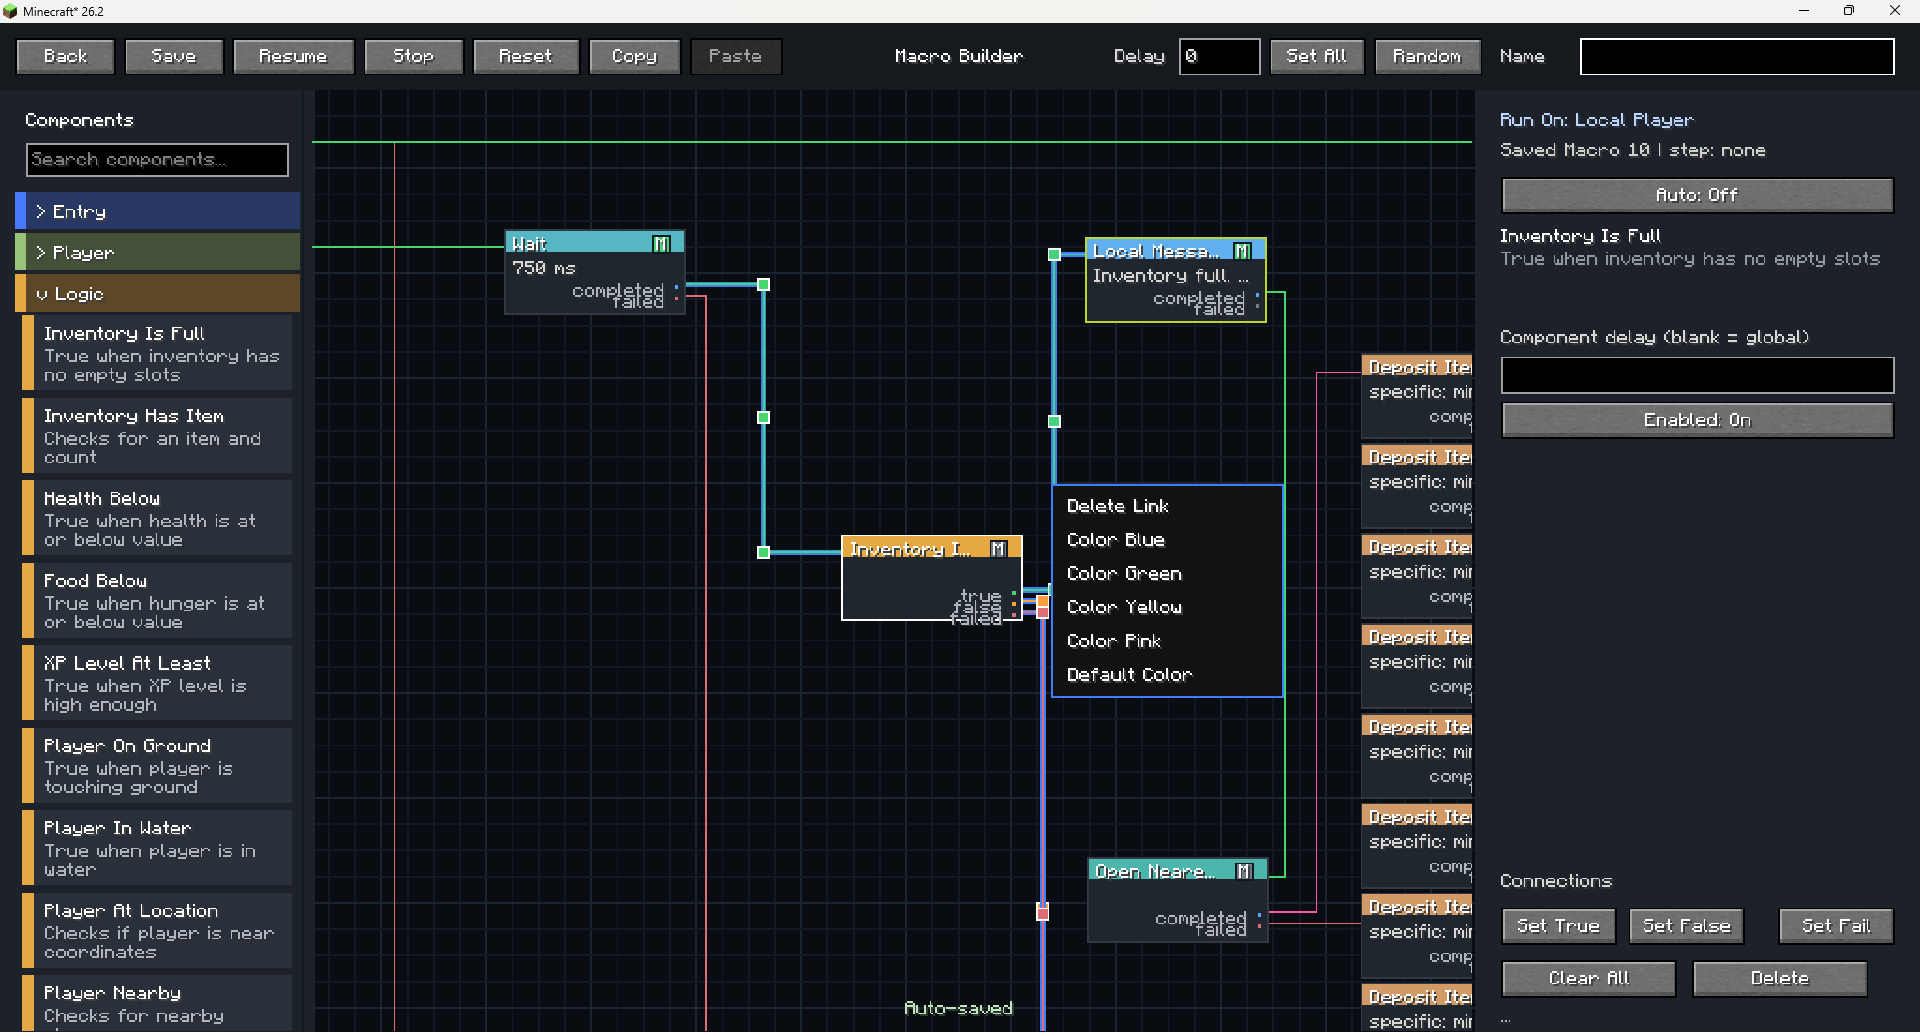
Screenshot 2026-08-23 104621.png
Description
Litemacro is a Fabric client-side Minecraft macro builder that lets players create, save, edit, and run macros with an easy in-game visual node editor. Instead of writing code, players can drag components into a macro, connect them with true, false, completed, and failed paths, add delays, use item selectors, set keybinds, import/export macros, and organize up to 100 saved macros.
It can automate repeated Minecraft actions like sending commands, checking inventory, clicking GUI items, closing chests, reacting to chat, checking player status, using items, and sending Discord webhook notifications. The goal is to make macro building easier, cleaner, and more user friendly.
Open Mod keybind: B
Basics
- Press your Litemacro key or open
Litemacrofrom the main menu. - Pick a macro slot.
- Click
Edit. - Every macro starts from
Macro Entry Point. - Add components from the left side.
- Drag a line from one output dot to the next component.
- Click
Save. - Go back to macro list and click
Run.
Easy Macro 1: Wait Then Chat
Use this to learn links.
Macro Entry Point- Add
Wait - Add
Chat / Command - Connect:
Macro Entry Point -> WaitWait -> Chat / Command
- Set
Waitto1000 ms - Set chat text to something like
hello - Save and run.
Easy Macro 2: Auto Click
For holding/using left or right click.
Macro Entry Point- Add
Auto Click - Set:
- Button:
LeftorRight - Mode:
ClickorHold - CPS/interval how you want
- Button:
- Connect
Macro Entry Point -> Auto Click - Save and run.
Medium Macro: Mine Until Inventory Full
Good for mining.
Macro Entry Point- Add
Auto Click - Add
Idle Until - Add
Inventory Full - Add whatever you want after full inventory, like
Drop Items,Deposit Items, orRejoin/Stop.
Example links:
Macro Entry Point -> Auto Click
Auto Click -> Idle Until
Idle Until waits for Inventory Full
Inventory Full -> Deposit Items
Set Auto Click to left hold/click for mining.
Set Idle Until so it waits instead of stopping when the condition is not true.
Medium Macro: Deposit Items Fast
For chest deposit.
- Open chest first or add an
Interact with Block/open chest step. - Add
Deposit Items - Set the item name/id you want.
- Turn
Shifton if you want shift-click. - Turn
Faston if you want all matching stacks moved faster. - Use exclude slots if you want to keep tools/hotbar safe.
Hard Macro: Buy Items Under Price
For auction GUI style stuff.
- Add
Item/Slot Has Tag - Set slots to check, usually
0-53 - Put the tag text/price condition you want.
- Enable the option to click matching item.
- Connect true/match output to
Click GUI Itemor next action. - Connect fail/no match to
Waitthen repeat.
Example:
Macro Entry Point -> Item/Slot Has Tag
Match -> Click GUI Item
Fail -> Wait -> Repeat
For price, use only the max if you want “buy anything under this price.” Example: max $5k.
Hard Macro: Rejoin If Kicked
- Add
If Kicked - Add
Wait - Add
Rejoin Server - Connect:
Macro Entry Point -> If Kicked
If Kicked -> Wait
Wait -> Rejoin Server- Set wait to maybe
3000-8000 ms. - Set
Rejoin Serverto last server or a server IP.
Best Rules
- Always test one small part first.
- Use
Waitbetween GUI actions. - Use
Idle Untilwhen you want the macro to wait, not fail. - Use
Repeatfor only part of a macro. - Use
Repeat Macroif you want the whole macro to run again. - Save before running.
- If a macro gets stuck, add a
Waitor a fail path.
Litemacro Team