

The project is still being maintained. You can help me with development by discussing new functionality in the mod's discord channel (https://discord.gg/k8cyuBJZk5)
THE DESCRIPTION IS CURRENTLY IRRELEVANT, SINCE THE MOD IS ONLY IN BETA AND A LOT IS CHANGING (I'LL MAKE A NEW DESCRIPTION LATER), FOR UP-TO-DATE INFORMATION, FOLLOW THE LIST OF CHANGES IN THE DESCRIPTION OF THE VERSIONS OF THE MOD.
This mod adds various types of power armor to Minecraft. Currently, only one type, X-03, is fully completed. A total of five types of power armor are planned: T-45, T-51, X-01, X-02, and X-03. Each armor will have different characteristics and modes.
To use the special mode of the armor, players need to install an upgrade at the power armor repair station and press the F key. Descriptions of the modes (with a plus sign indicating those that are already implemented):
(-) T-45: Enhanced Recovery System
Description: Activating this ability allows the player to temporarily restore health using the armor's internal resources.
Effects:
- Restores a small percentage of the player's health.
- Increases health regeneration speed by 30% for 10 seconds.
- Can be used in combat and outside of it, but has a long cooldown timer.
(-) T-51: In development...
(-) X-01: Incendiary
Description: Upon activation, all entities around the player are instantly ignited.
Effects:
- Inflicts instant fire damage to all nearby enemies.
- Sets everything around on fire.
(-) X-02: Optical Camouflage
Description: Upon activation, surrounds the wearer with a special energy camouflage, making them invisible to enemies. This allows for stealthy movement and surprise attacks.
Effects:
- Invisibility: Complete invisibility of the wearer, including the armor.
- Increased Speed: Boosts movement speed during activation.
- Tactical Advantages: Enables avoidance of attacks and flanking of enemies.
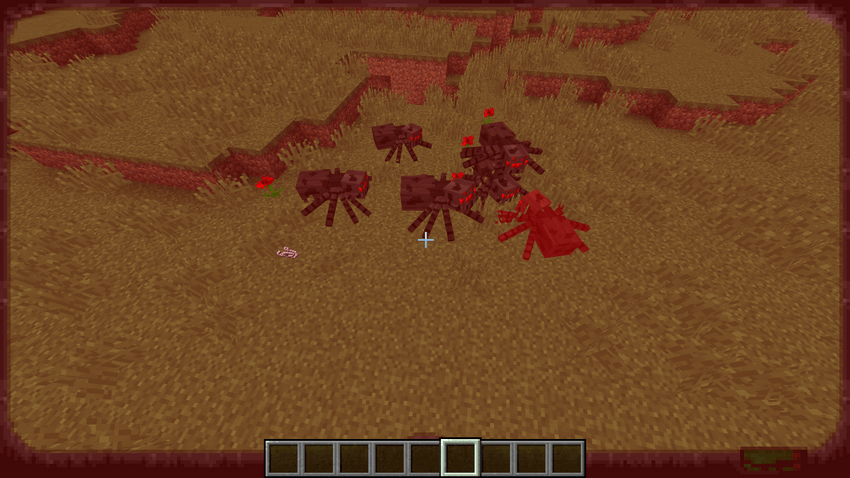
(+) X-03: Neurotransmitter Activator
Description: Upon activation, the device affects the central nervous system of all creatures within its radius, causing them to lose control and redirect their aggression towards similar beings.
Effects:
- Attack Each Other: Creatures start attacking each other instead of focusing on the player.
- Increased Aggressiveness: The neurotransmitter release amplifies hostile actions of enemies.
To use the power armor, you first need to assemble the exoskeleton by right-clicking on the exoskeleton components in order from the boots to the helmet:
At the next stage, you will need to travel extensively to find broken armor components and repair them later. The power armor scraps look like this:
Summer version
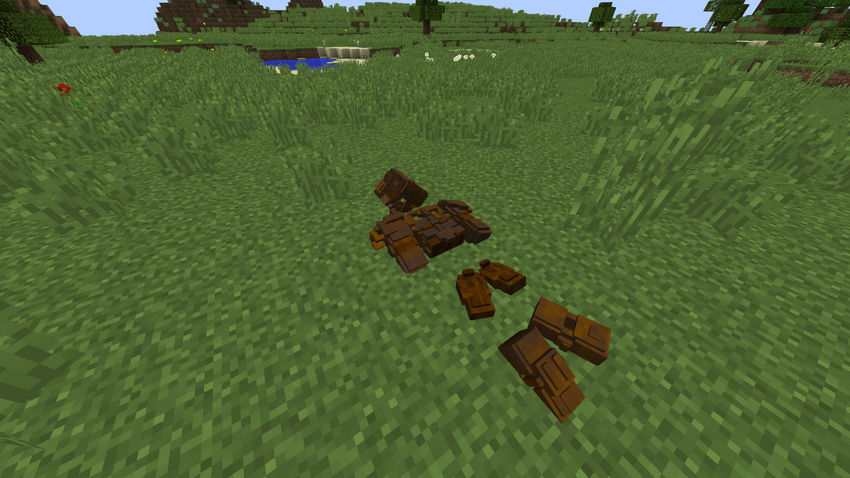
Winter Version

Next, you need to install the power armor components. To do this, right-click on the assembled exoskeleton, which will open a special menu. You need to place components of the same type of armor in this menu, from the helmet to the boots:
Now, you need to install a nuclear core into the armor. To do this, right-click with the nuclear core on the power armor. To charge the nuclear core, right-click in the air (temporary solution).
After you've learned to assemble the power armor, you'll probably want to install various upgrades. Currently, the following upgrades are available:
- The night vision device allows the wearer to see in the dark. Here’s what it looks like:

- Jetpack that allows the player to fly and glide:
The other upgrades were described at the beginning, where I talked about the armor modes.
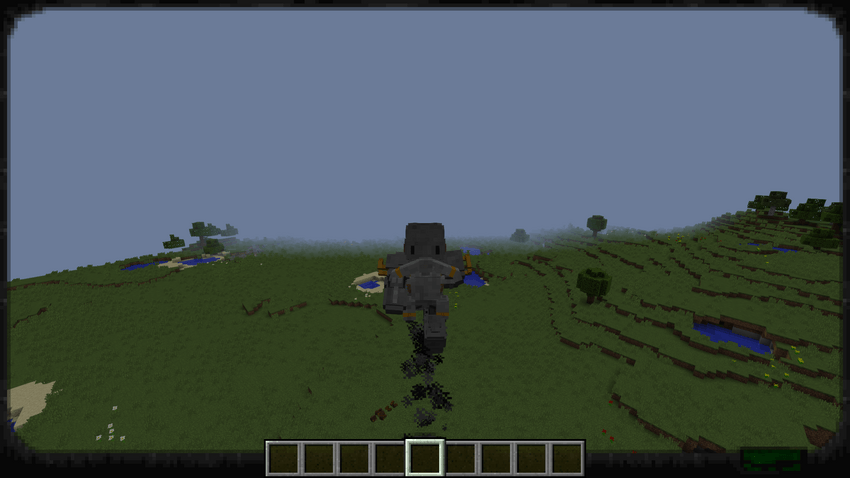
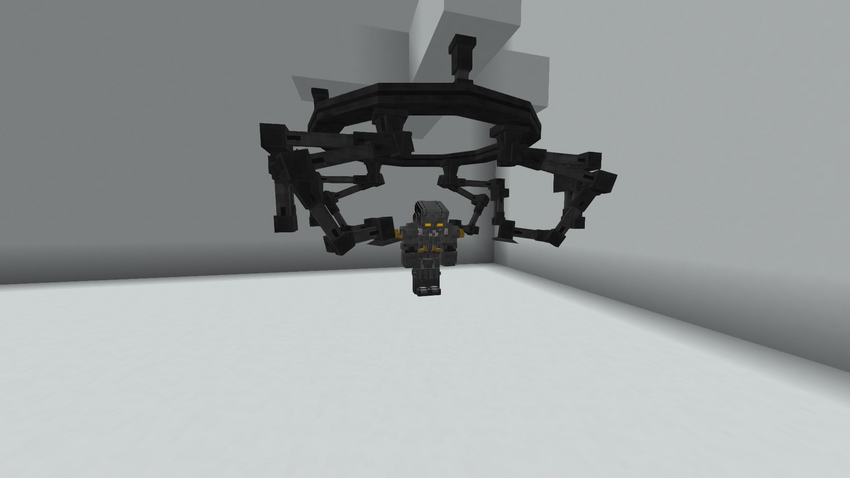
Now, after you’ve learned about the available upgrades, it's time to learn how to install them. For this, you will need a power armor repair station. In the center under the repair station, you need to place the power armor. You can do this by standing in the correct position in the power armor and pressing the K key. Here’s how it looks:
You will need to create a control device for the station and right-click on the power armor with it. After this, a user interface will open, resembling the following:
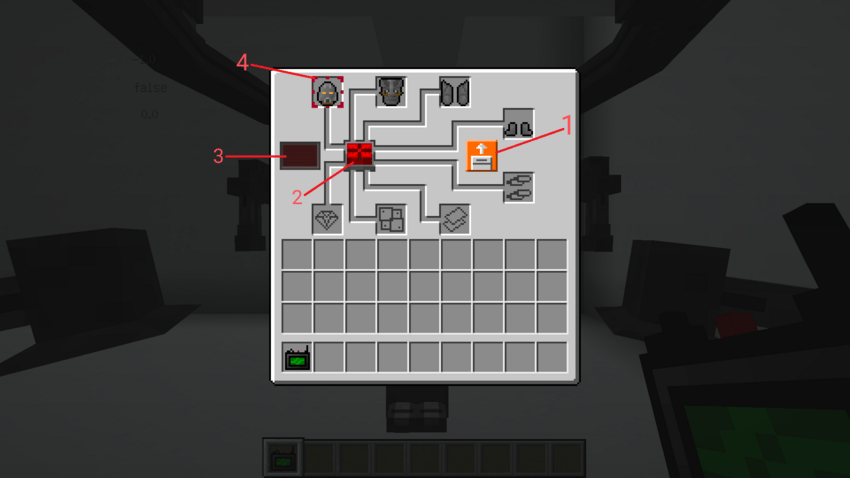
1 - The button responsible for the mode installation is the arrow up for removing upgrades, and the arrow down for installing upgrades.
2 - When you press this button, if the conditions are met, the installation of the upgrade will begin, which lasts for 10 minutes. Only one upgrade can be installed at a time.
3 - A timer will be displayed to show how much time is left until the installation is complete.
4 - The red frame indicates which armor component will be modified.
Now you know how this mod works! If you have any more questions or need additional information, feel free to ask! You can also message me on Discord at neonymoo.
I want to thank joseph86753091, as I took the models for the power armor from his mod, Fallout Inspired Power Armor. Without this, my mod would likely not have been released.