
Deterrence
- By

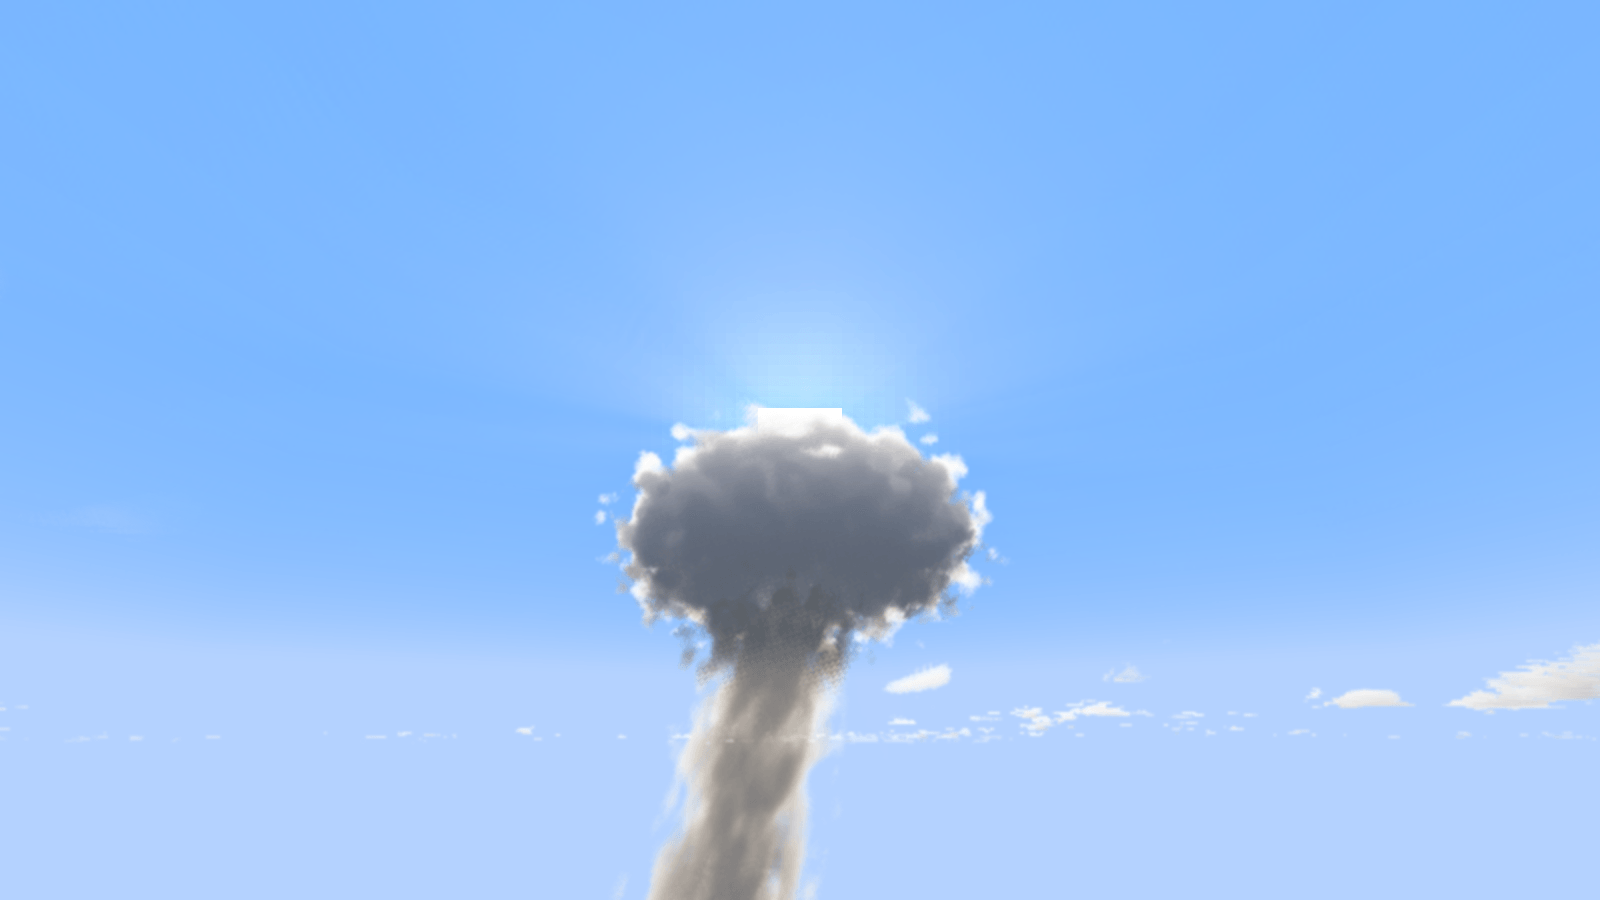
Four minutes after a 1 Mt burst: the cap in the sun, light shafts around it.
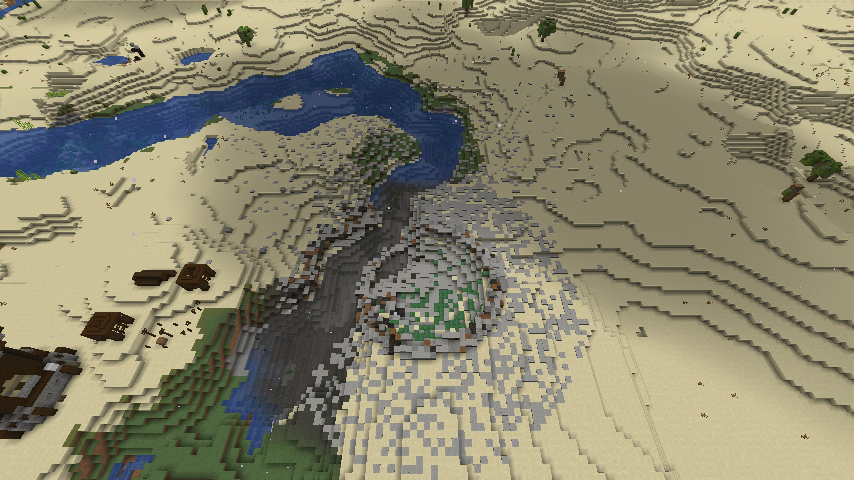
A fission bomb's crater, its ejecta rim and the wrecked land around it.
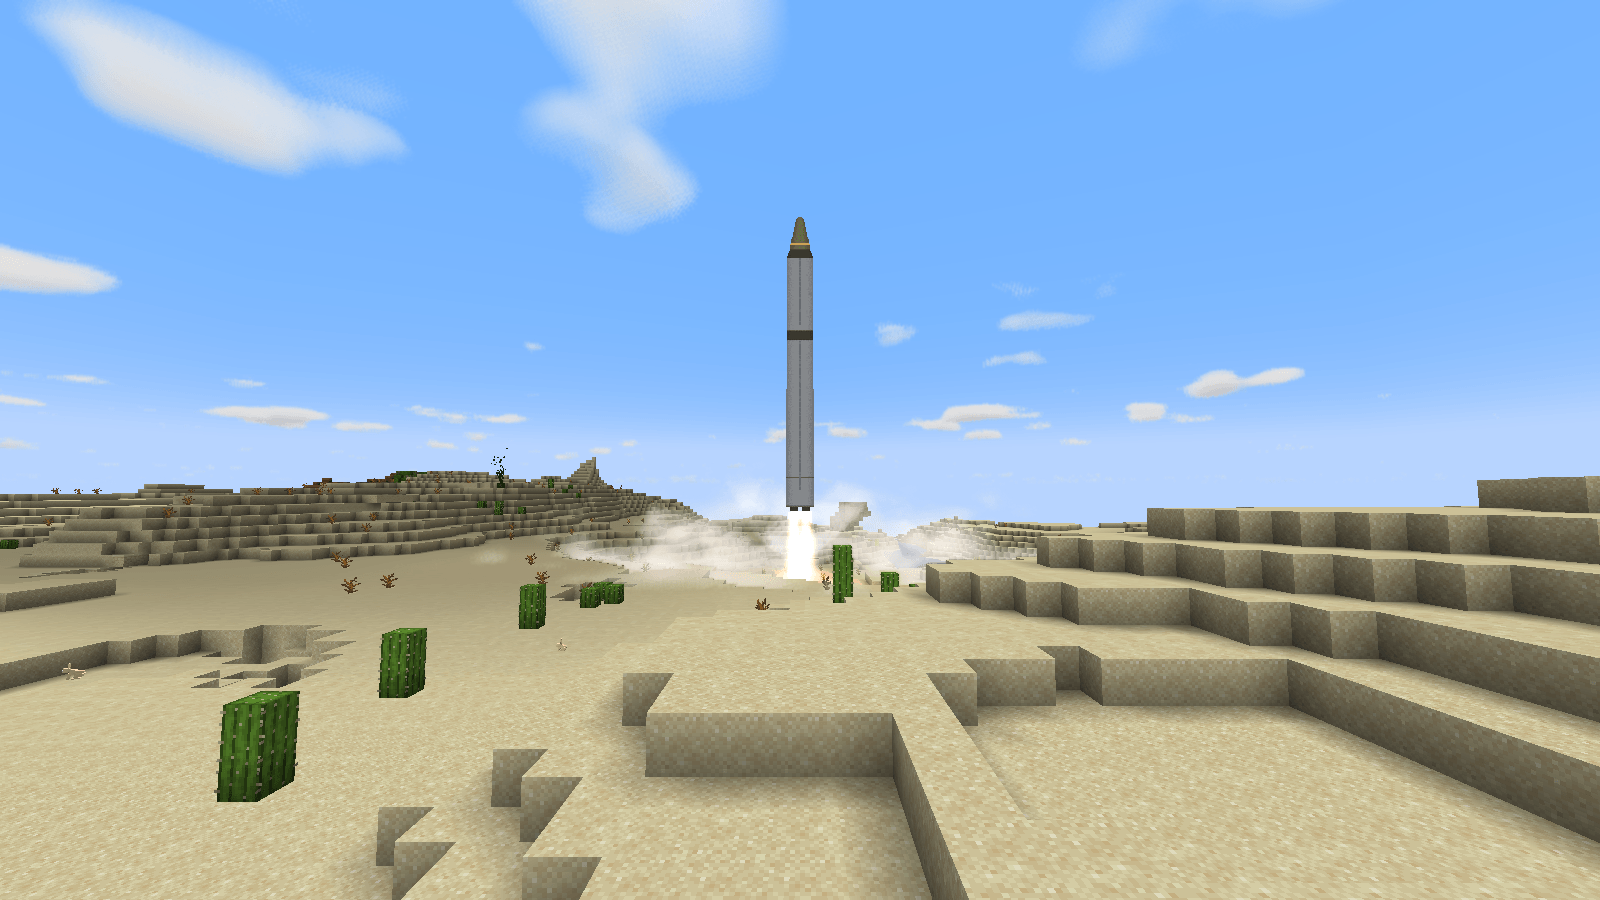
The 32-block Titan II leaving its large pad.
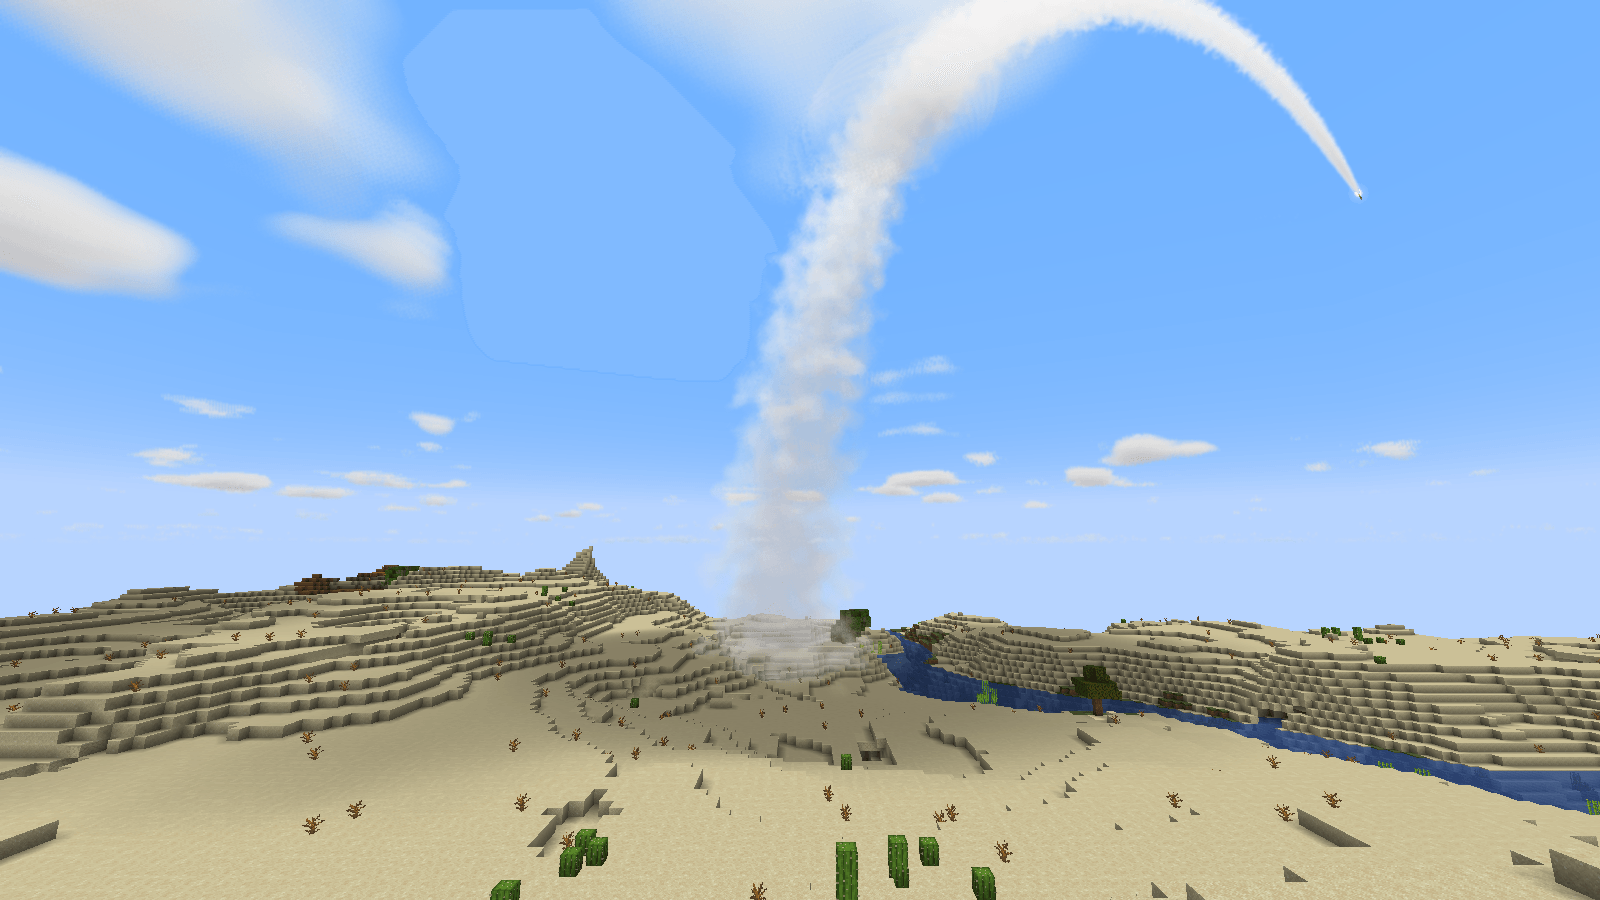
A missile's smoke trail bending over on the wind.
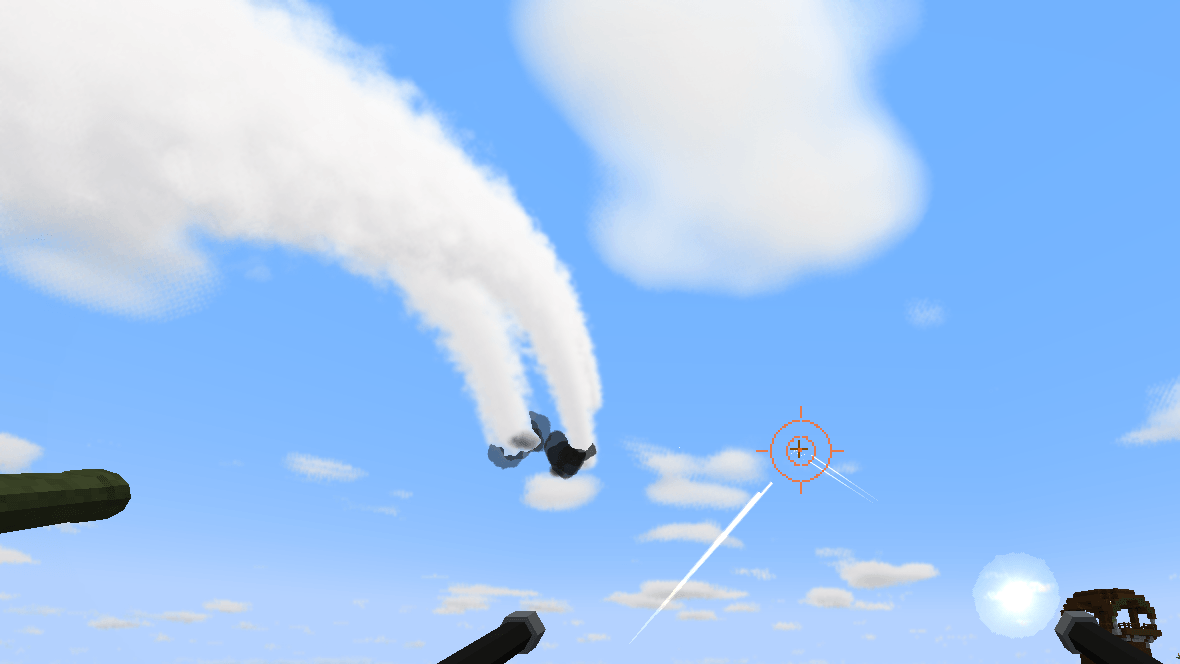
SAMs climbing after a target, seen from a crewed quad gun's ring sight.
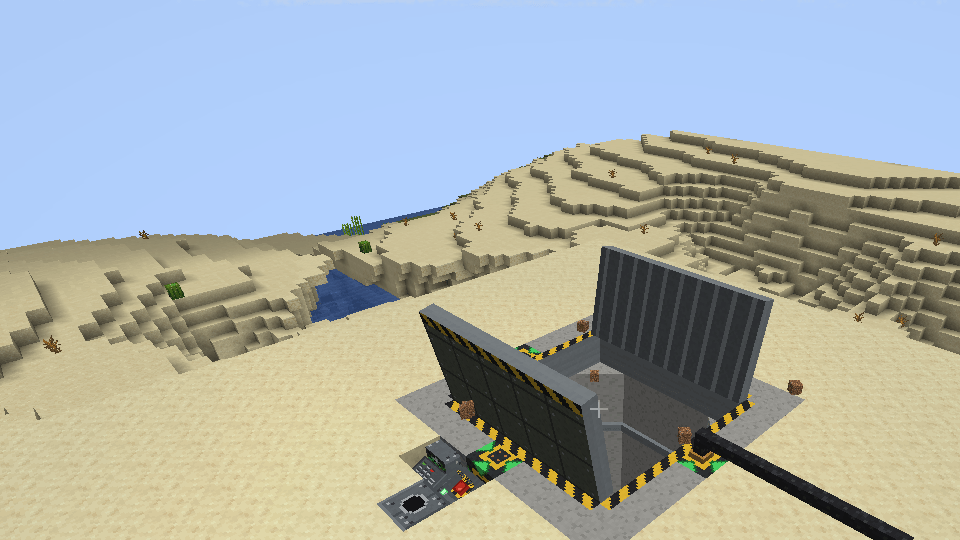
The silo's clamshell hatch thrown open.
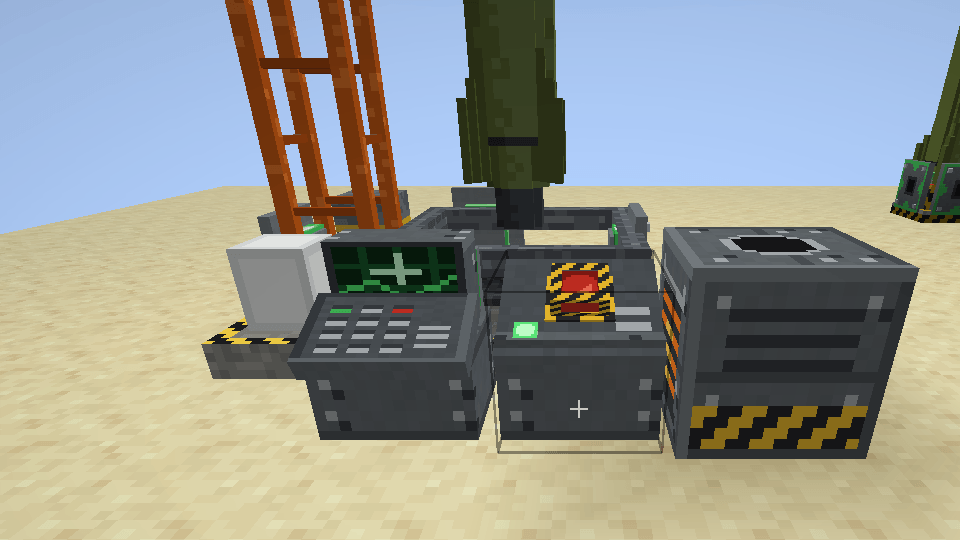
A launch panel with its cover up, beside the targeting panel and a battery.
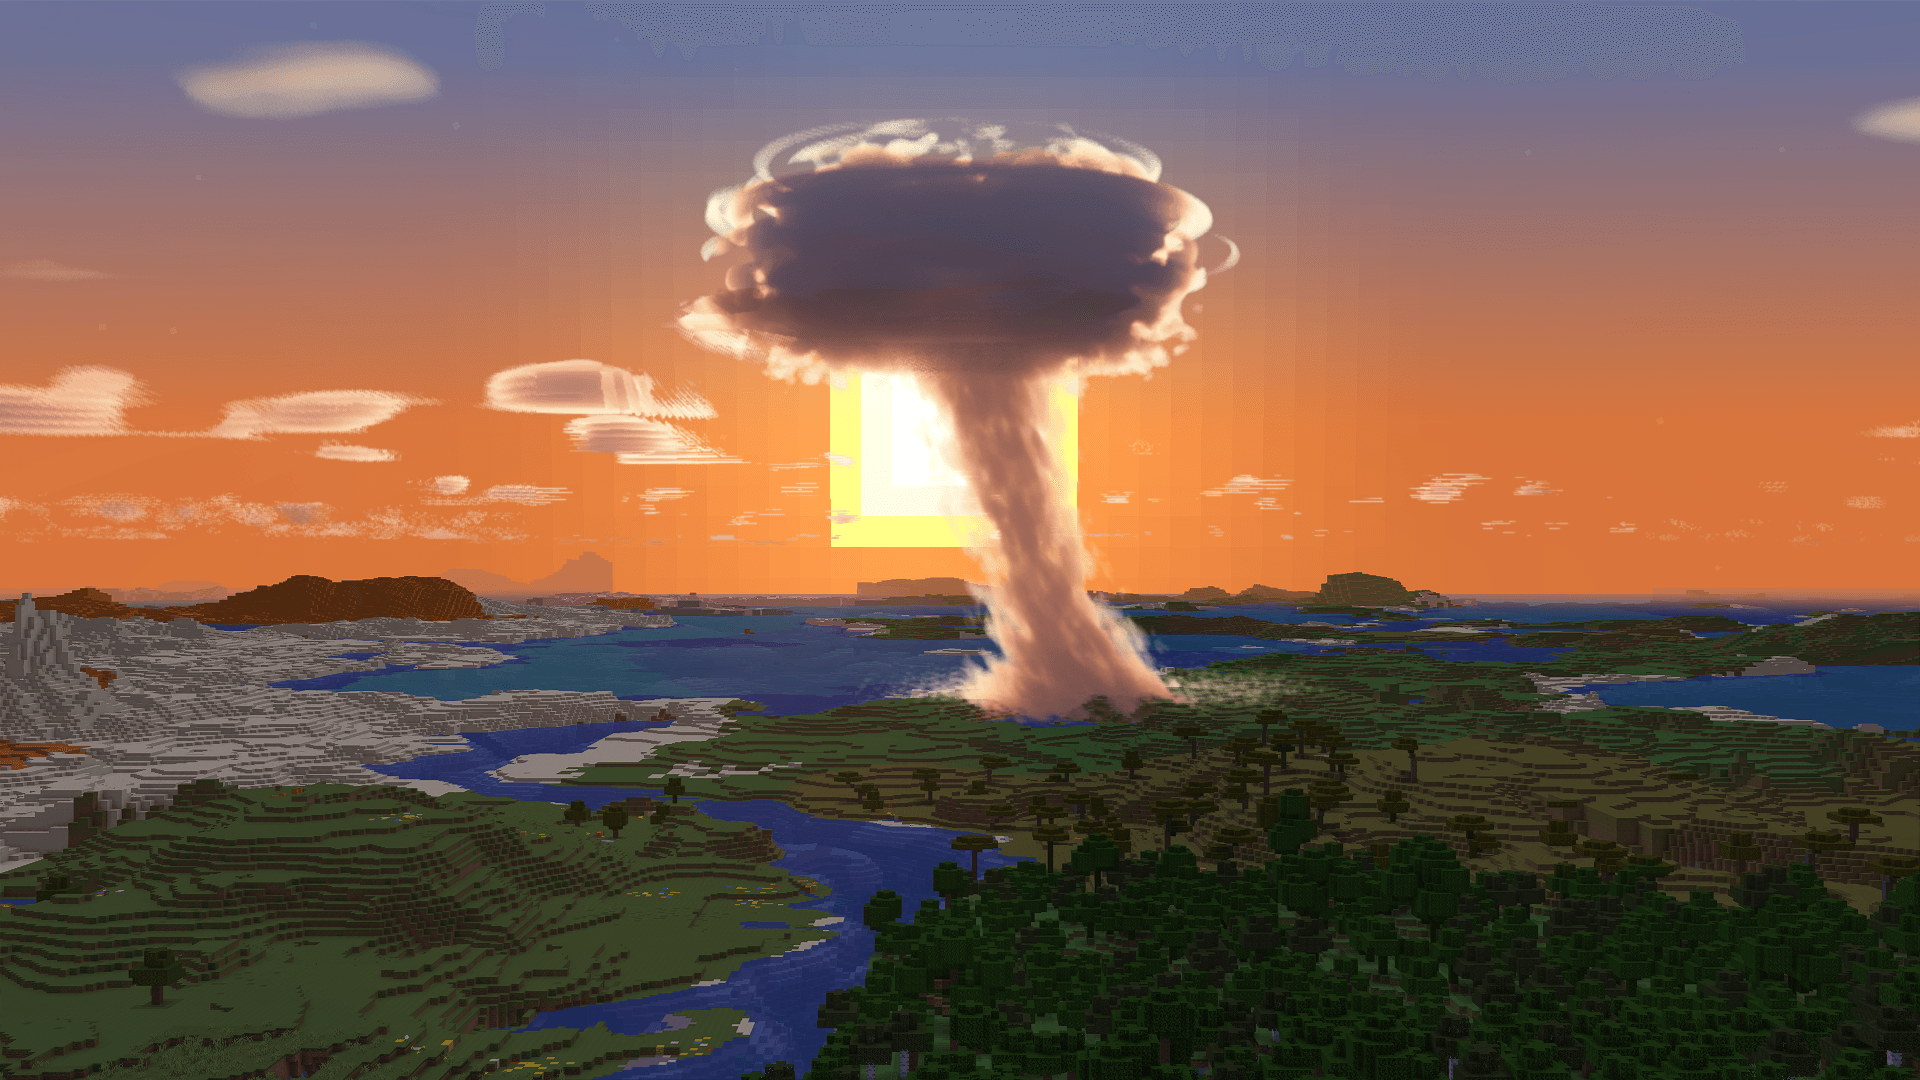
Six minutes after a 1-megaton burst, the cloud's cap stands in front of the setting sun.
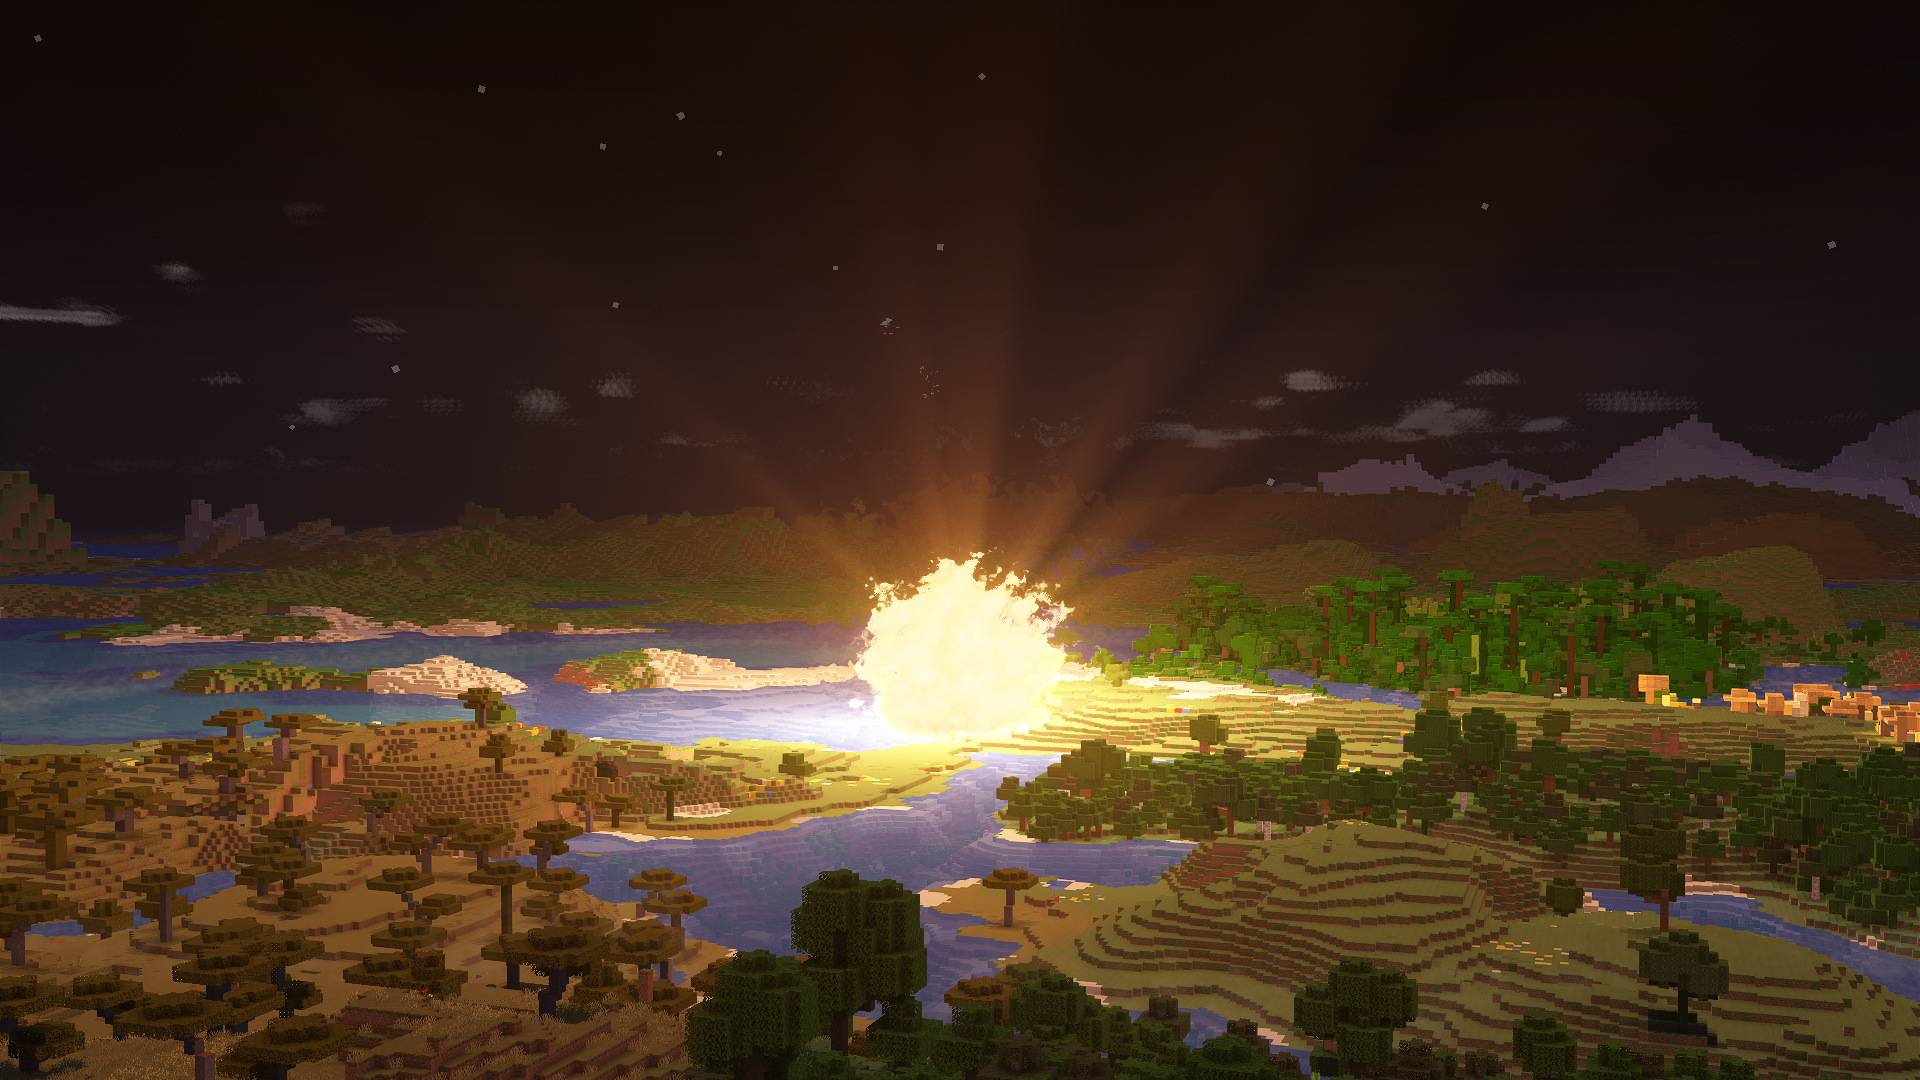
A 1-megaton fireball, six seconds old, lights up a river valley, the jungle and a village at night.
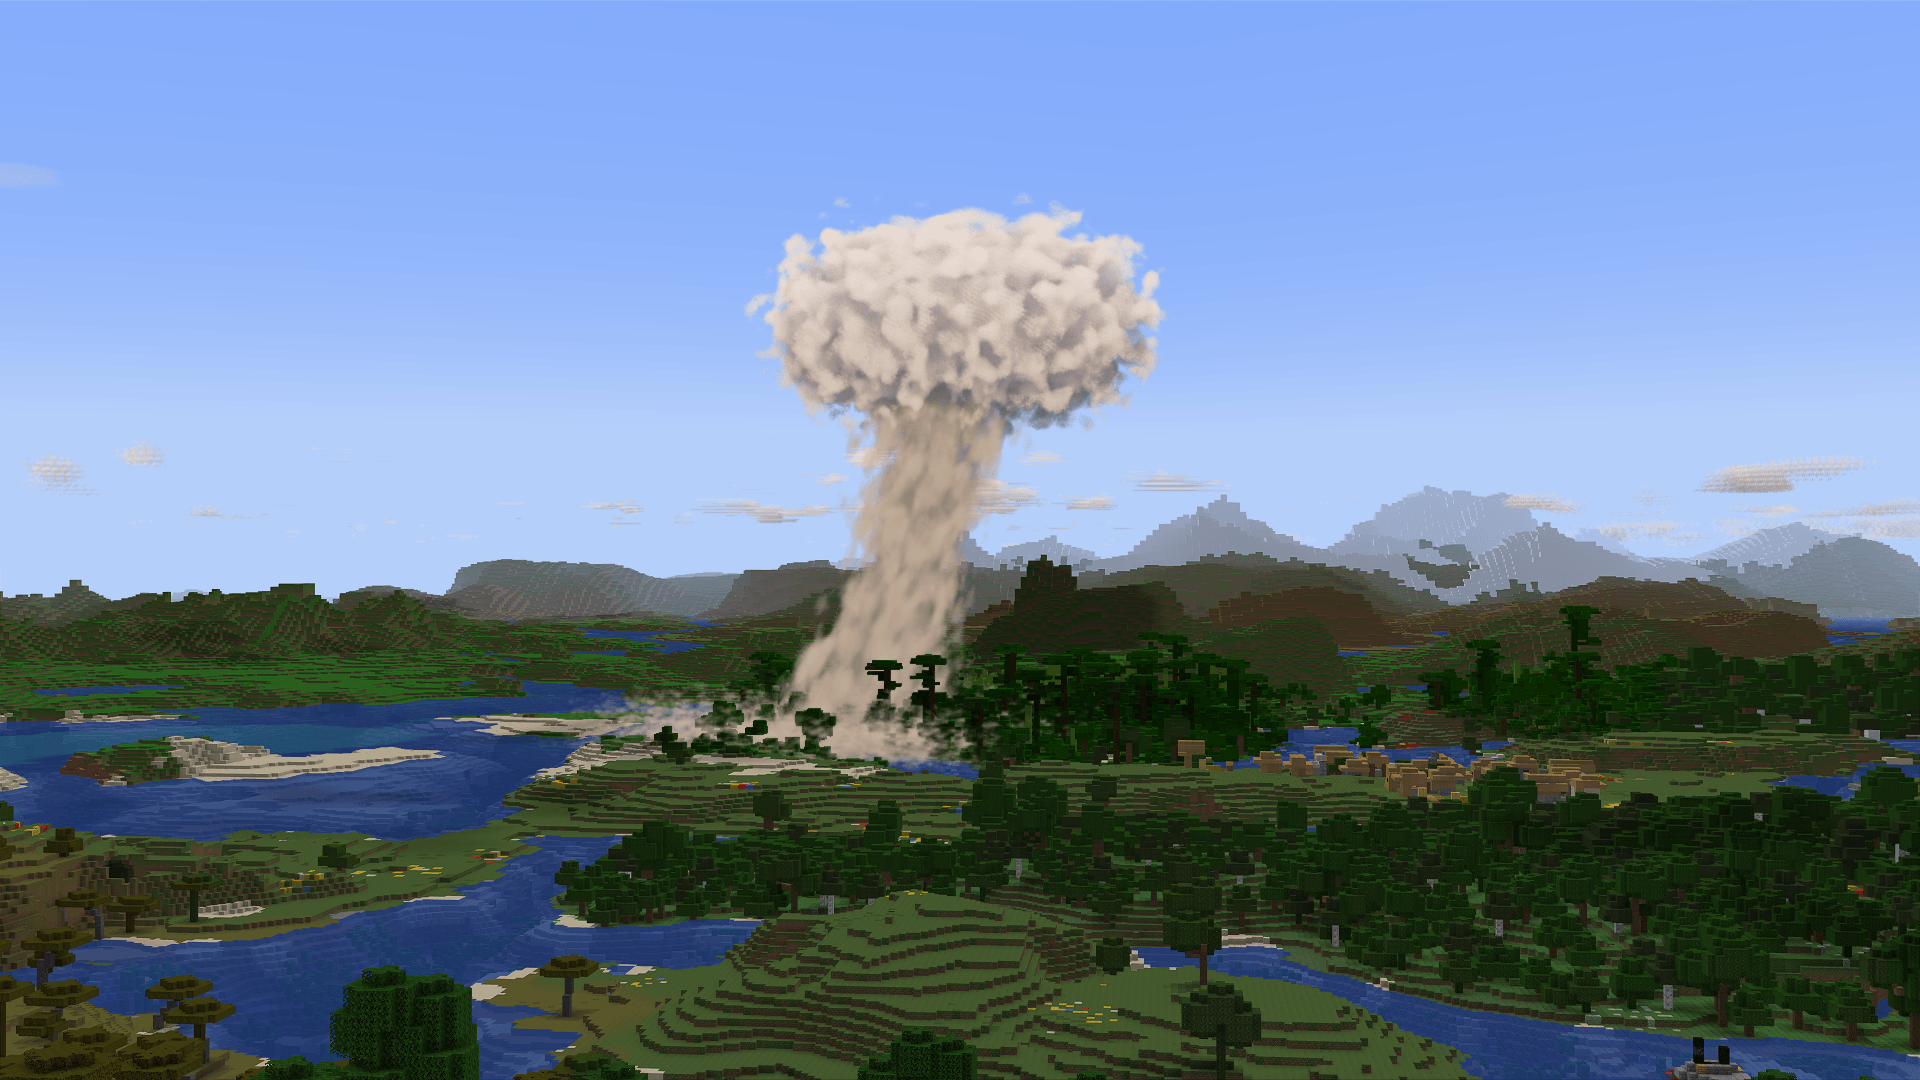
A 1-megaton cloud four minutes after the burst, with Distant Horizons terrain stretching away to the mountains.
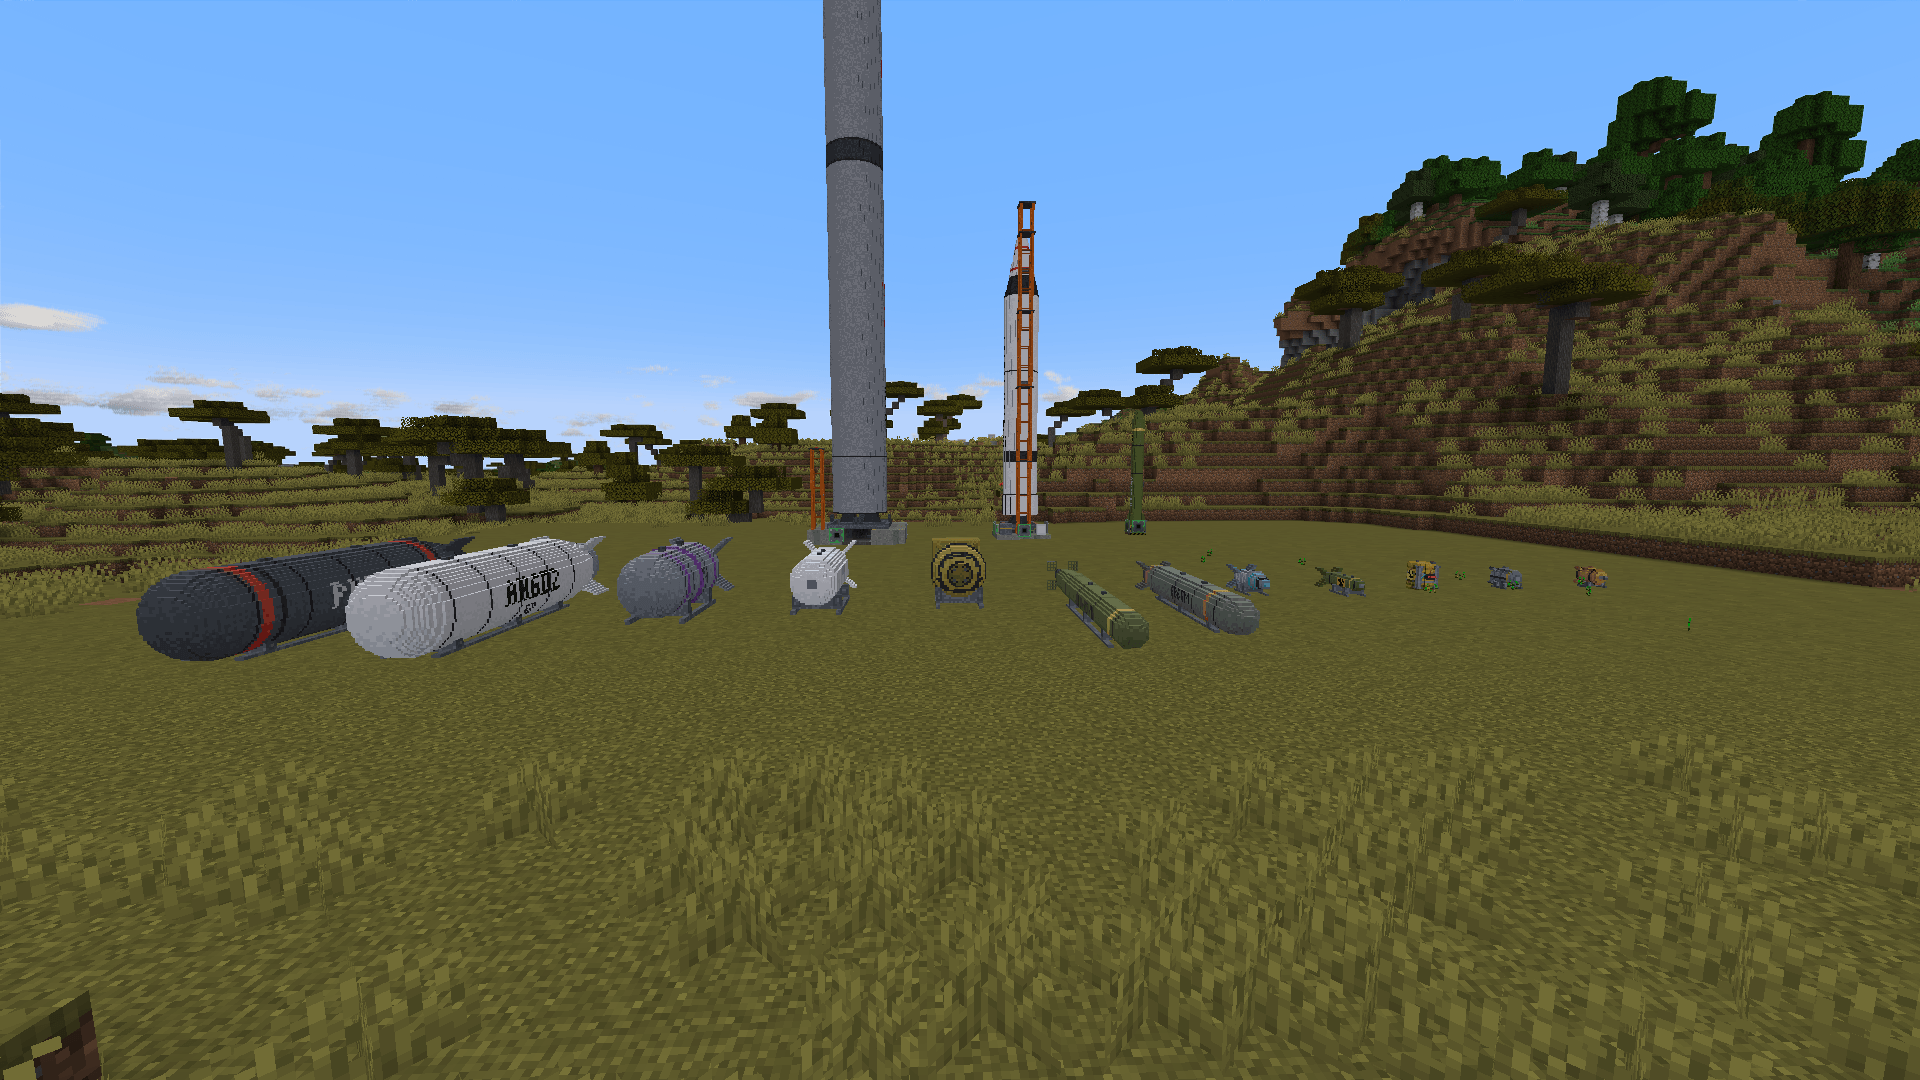
Every bomb in the mod lined up on the savanna, from the smallest to the Tsar Bomba, with the launch pads behind.
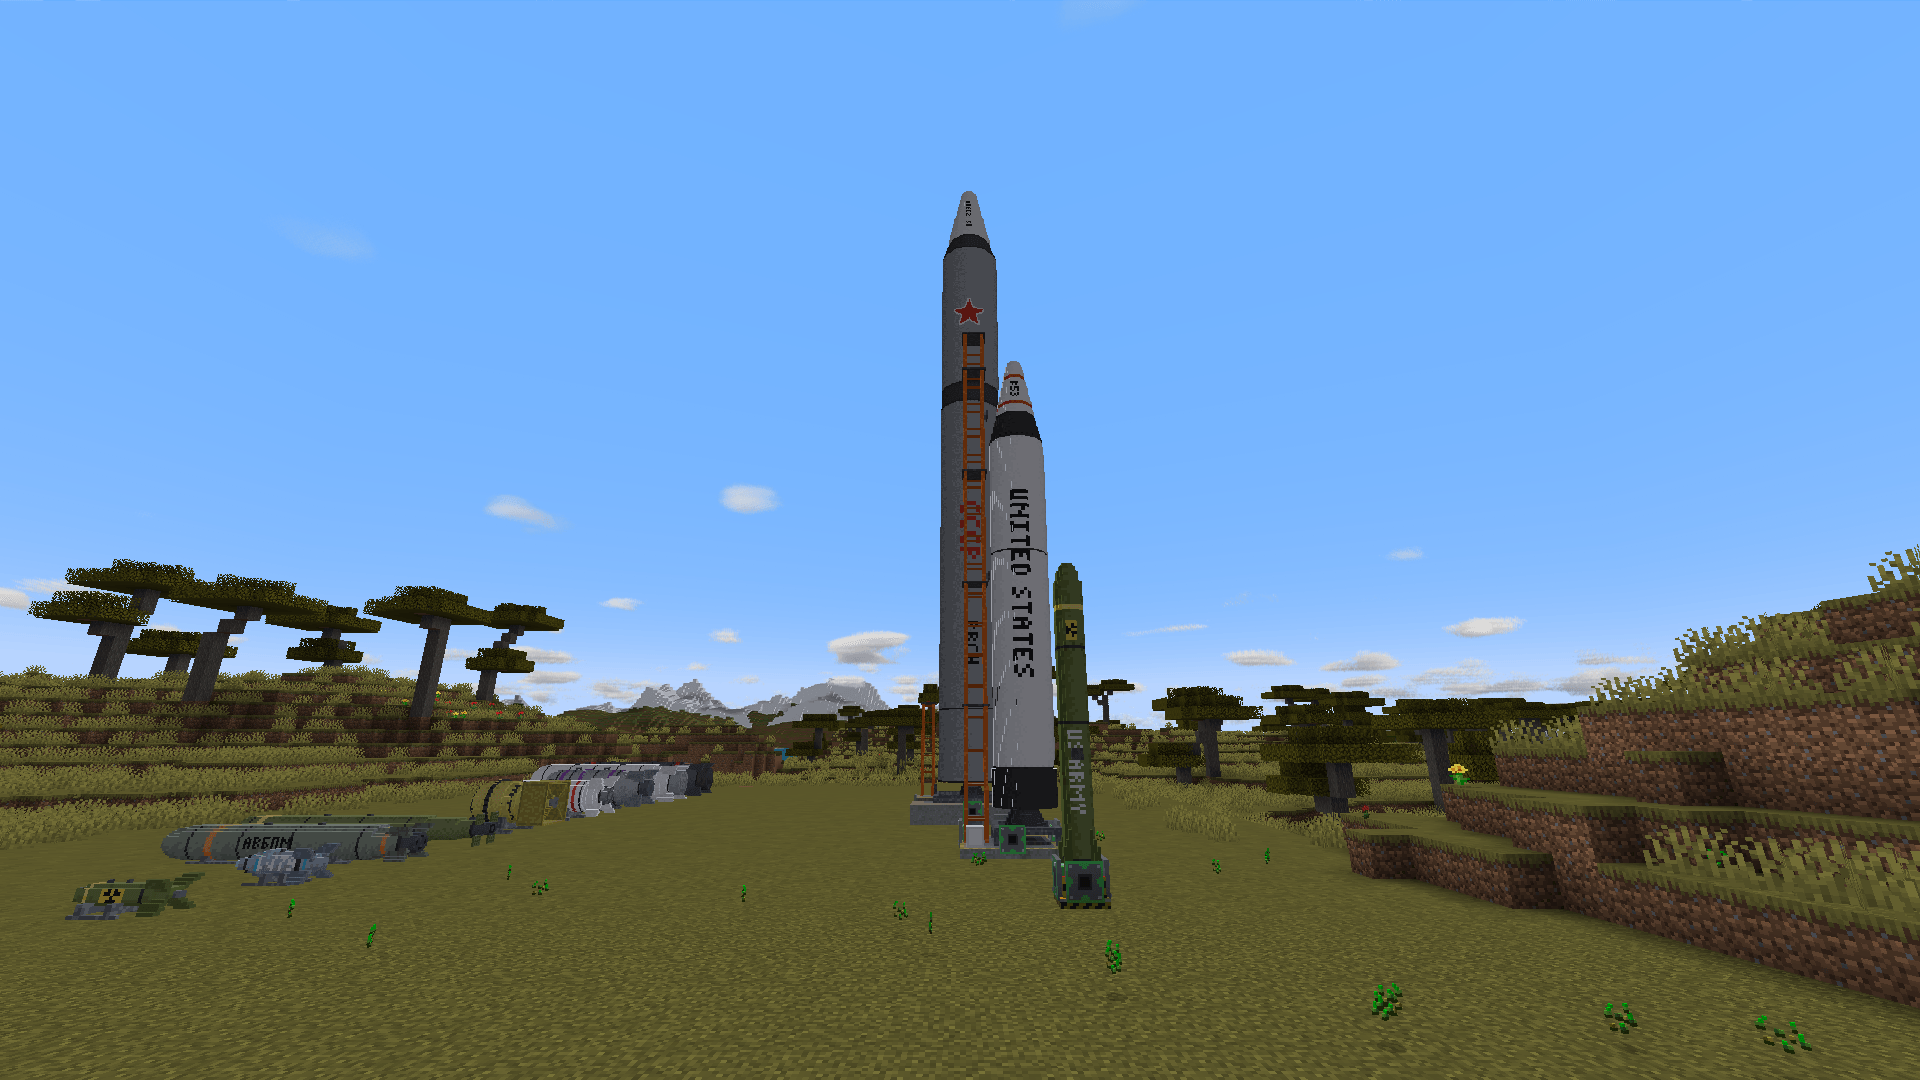
The Lance, the Jupiter with its service tower and the Titan II, each on its own small, medium or large pad.
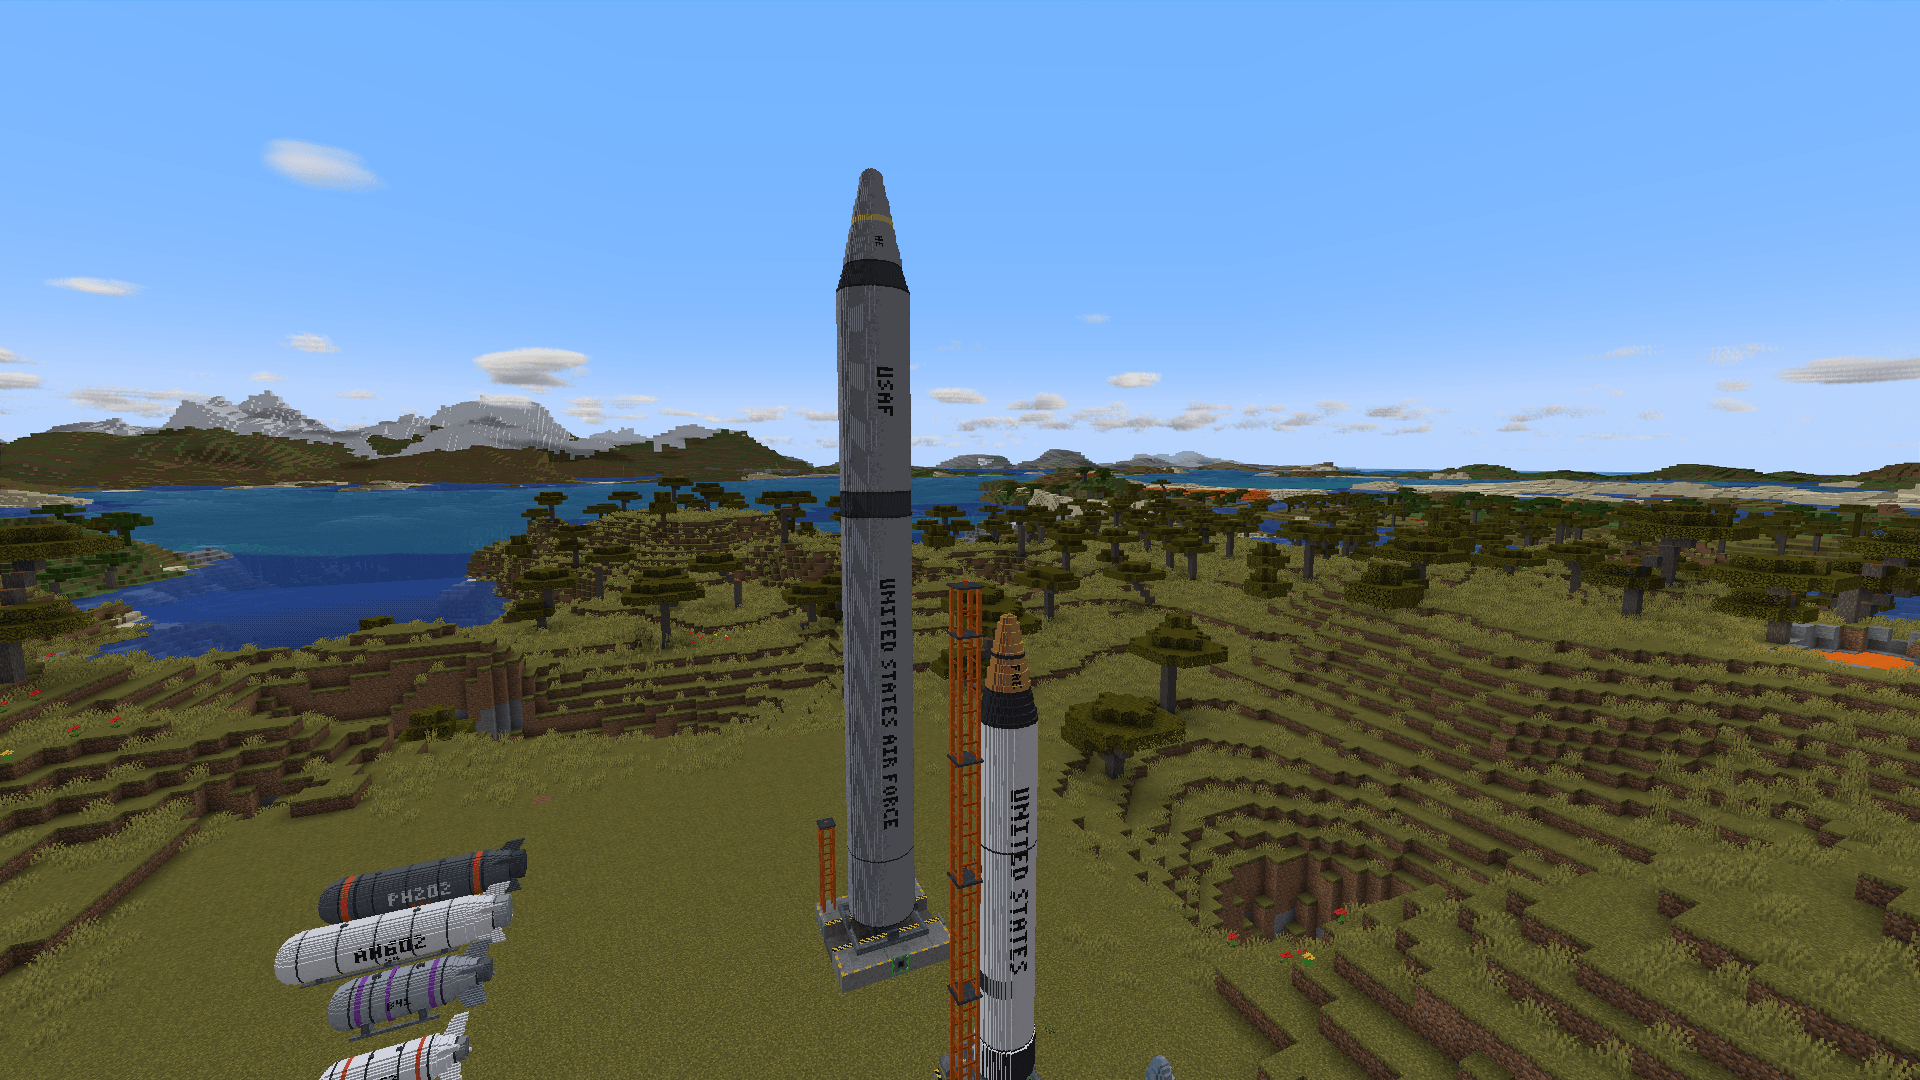
New in 1.1.0: a high-explosive warhead on a Titan II and a thermobaric one on a Jupiter, each riding a bigger airframe than its own.
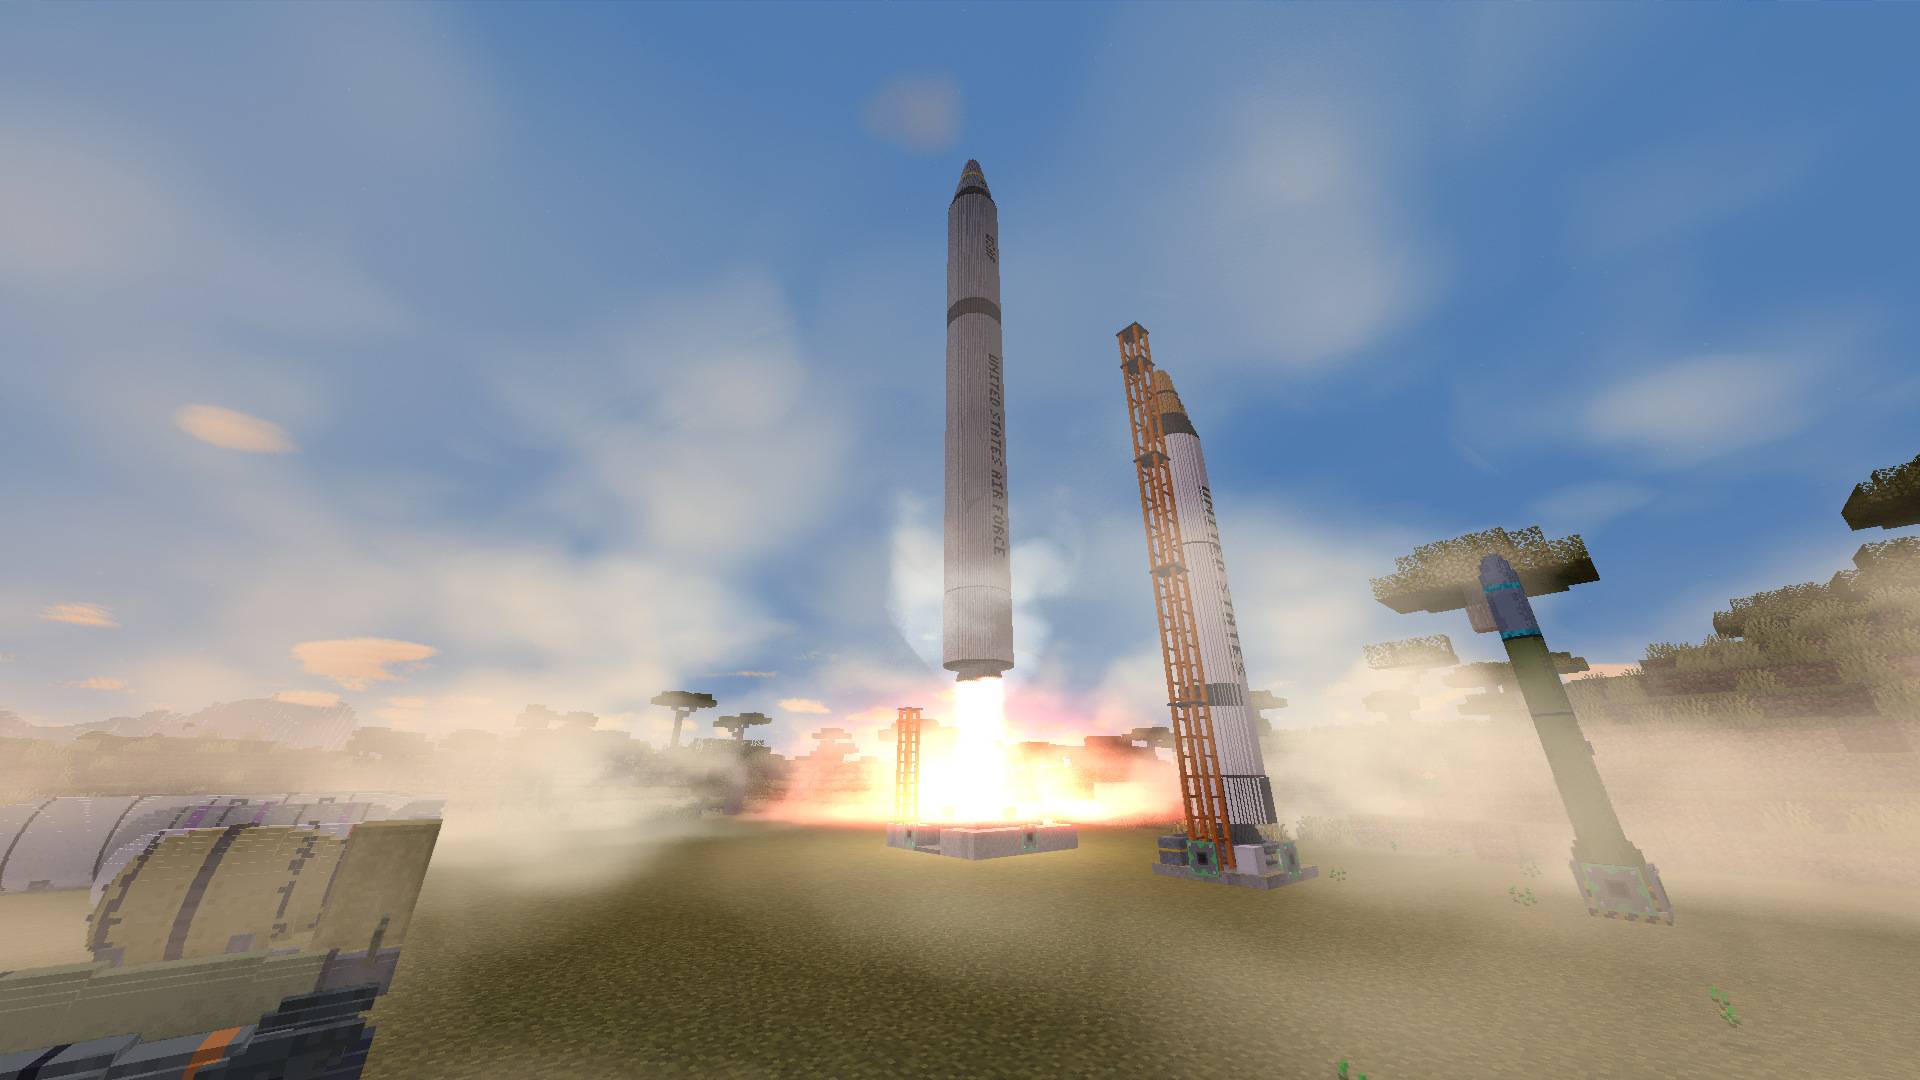
A Titan II rises off its pad at dusk in a cloud of exhaust, beside a Jupiter's service tower.
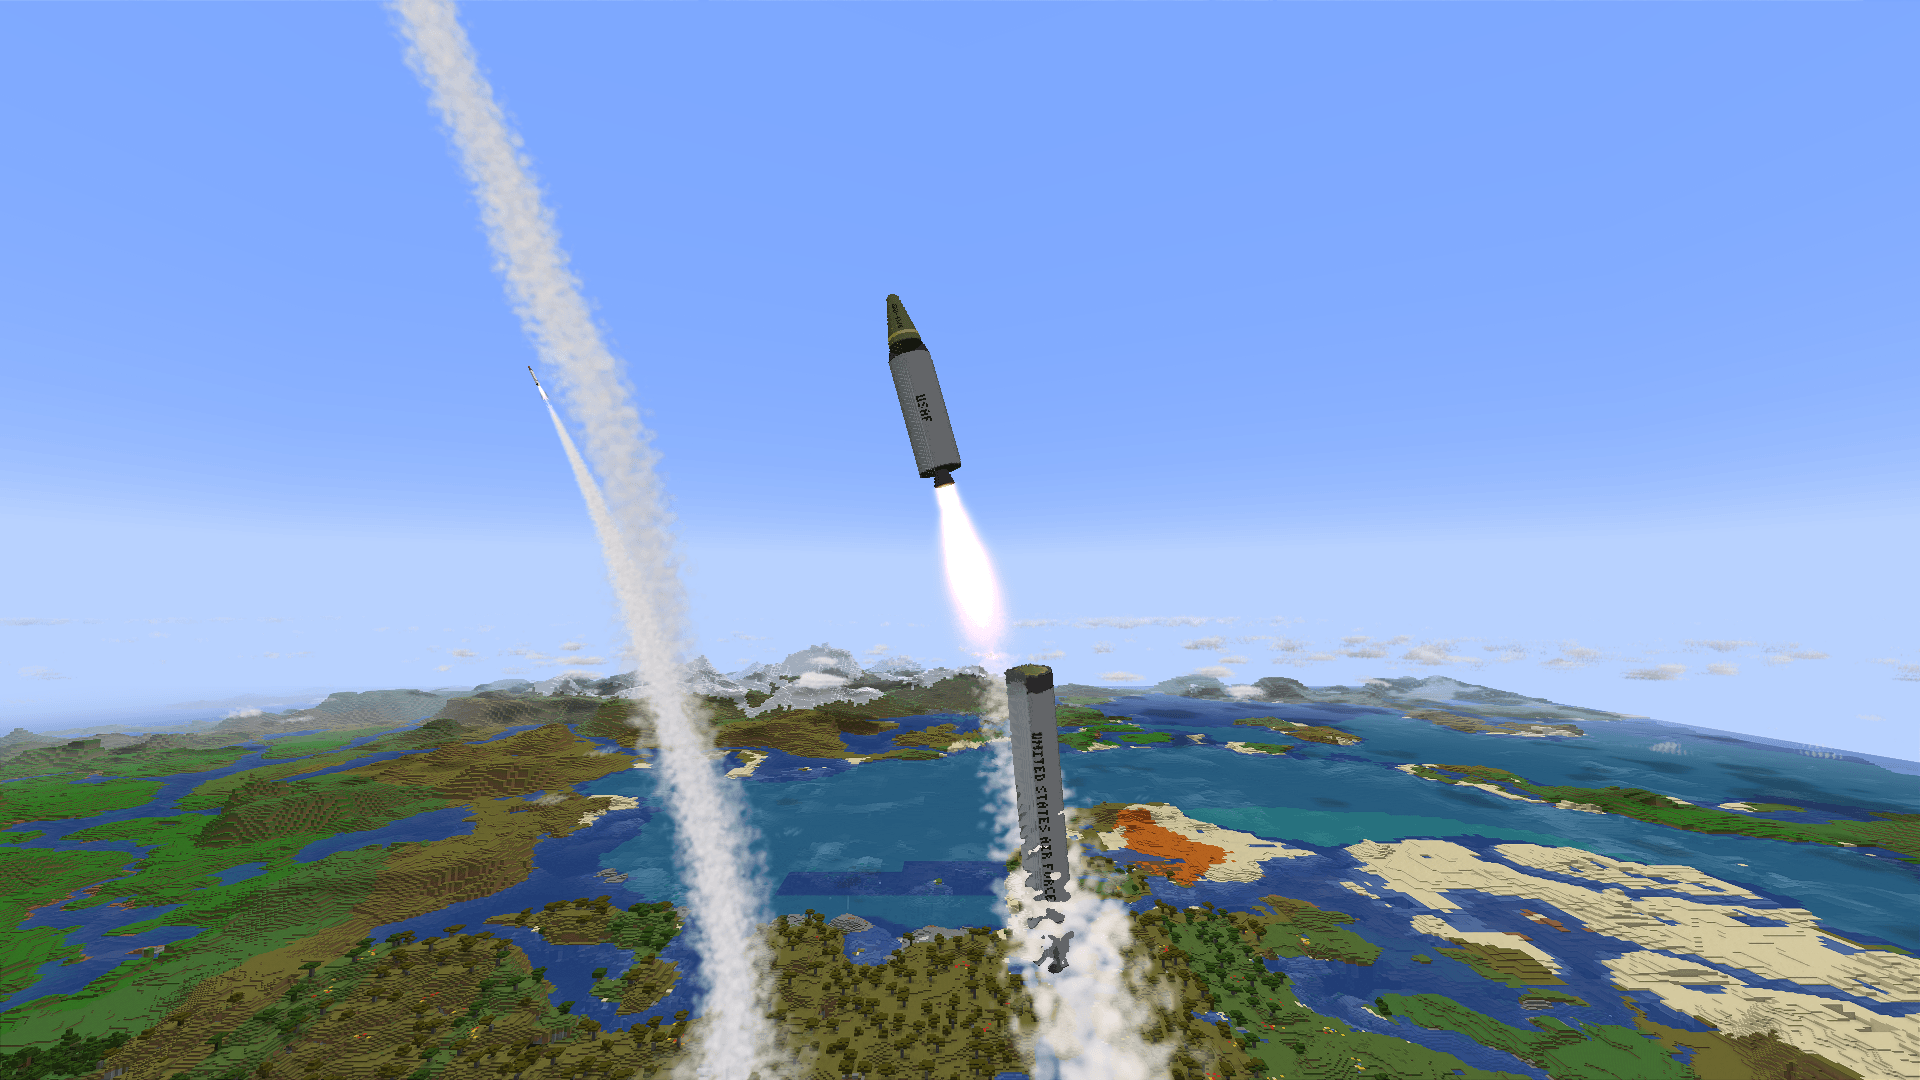
High over the land, a Titan II drops its spent first stage as the second stage lights.
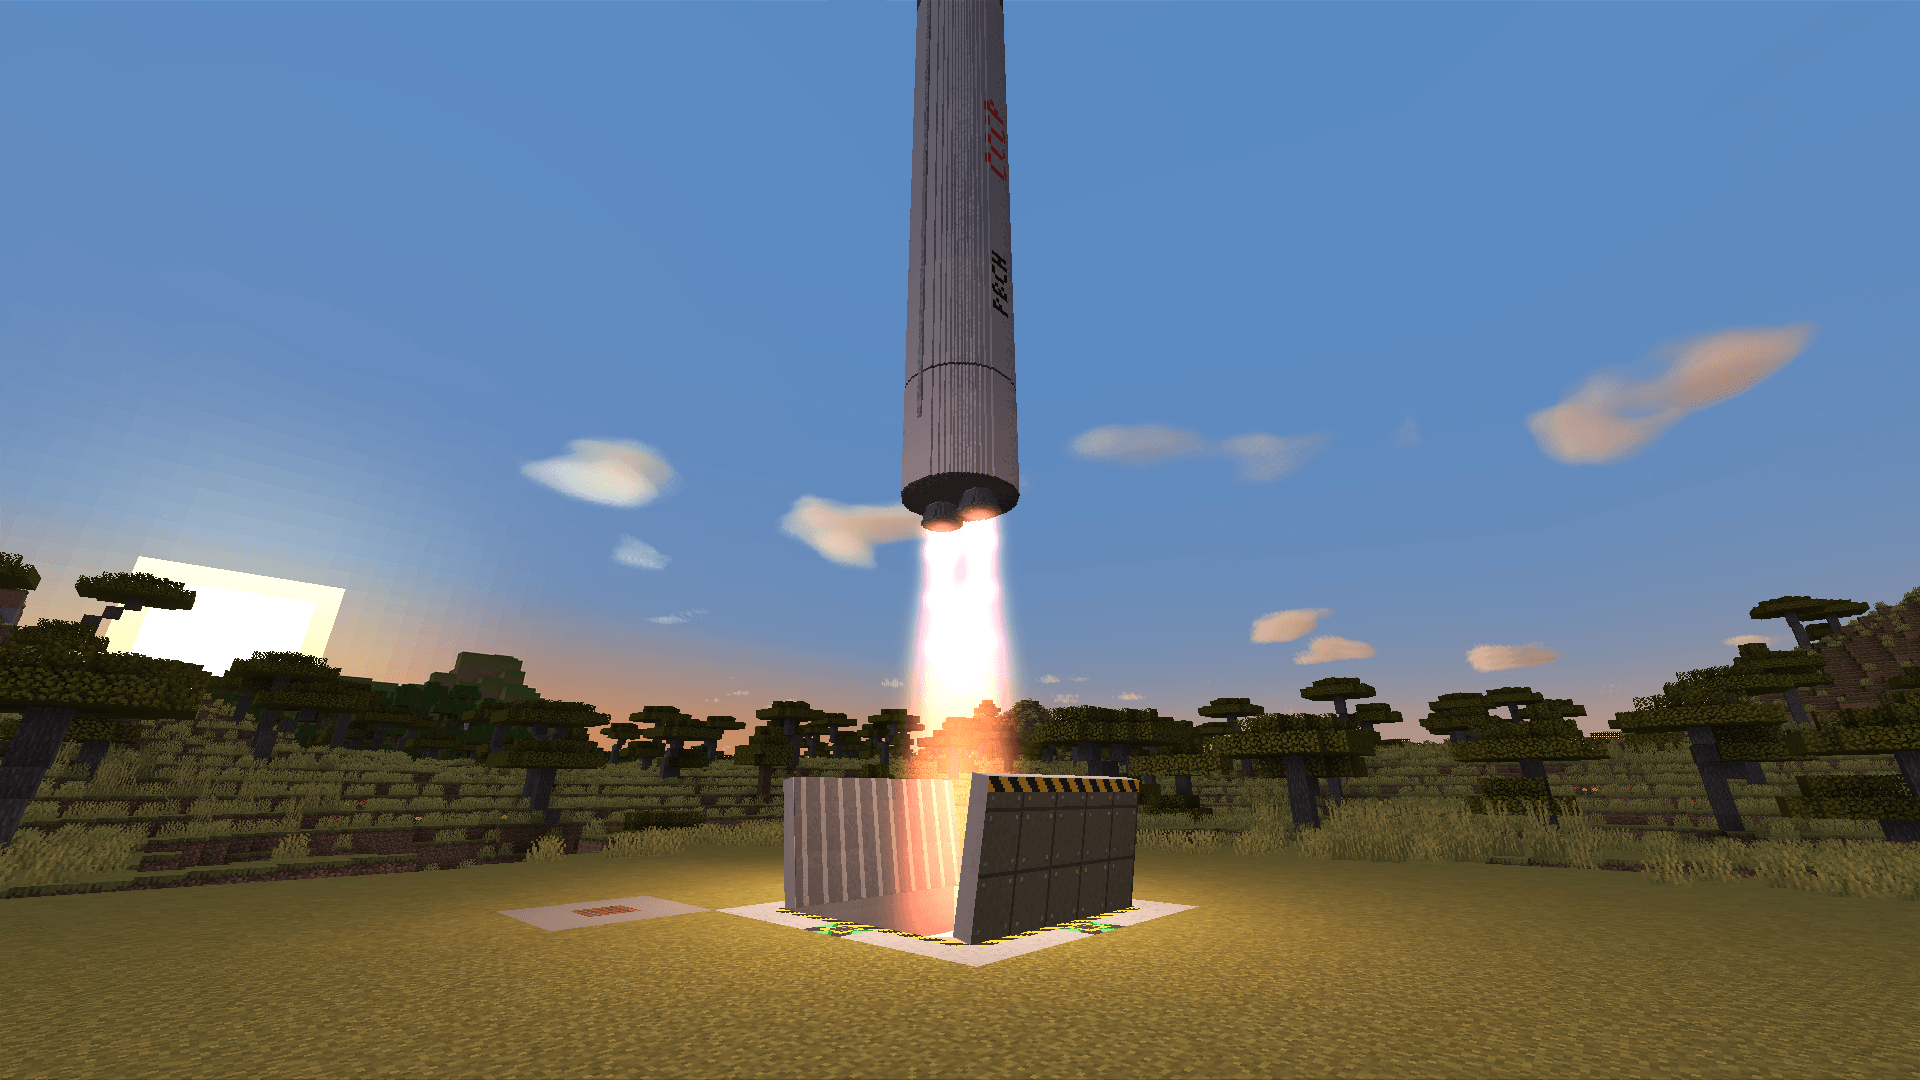
A Titan II climbs out of its silo's open clamshell hatch at sunset.
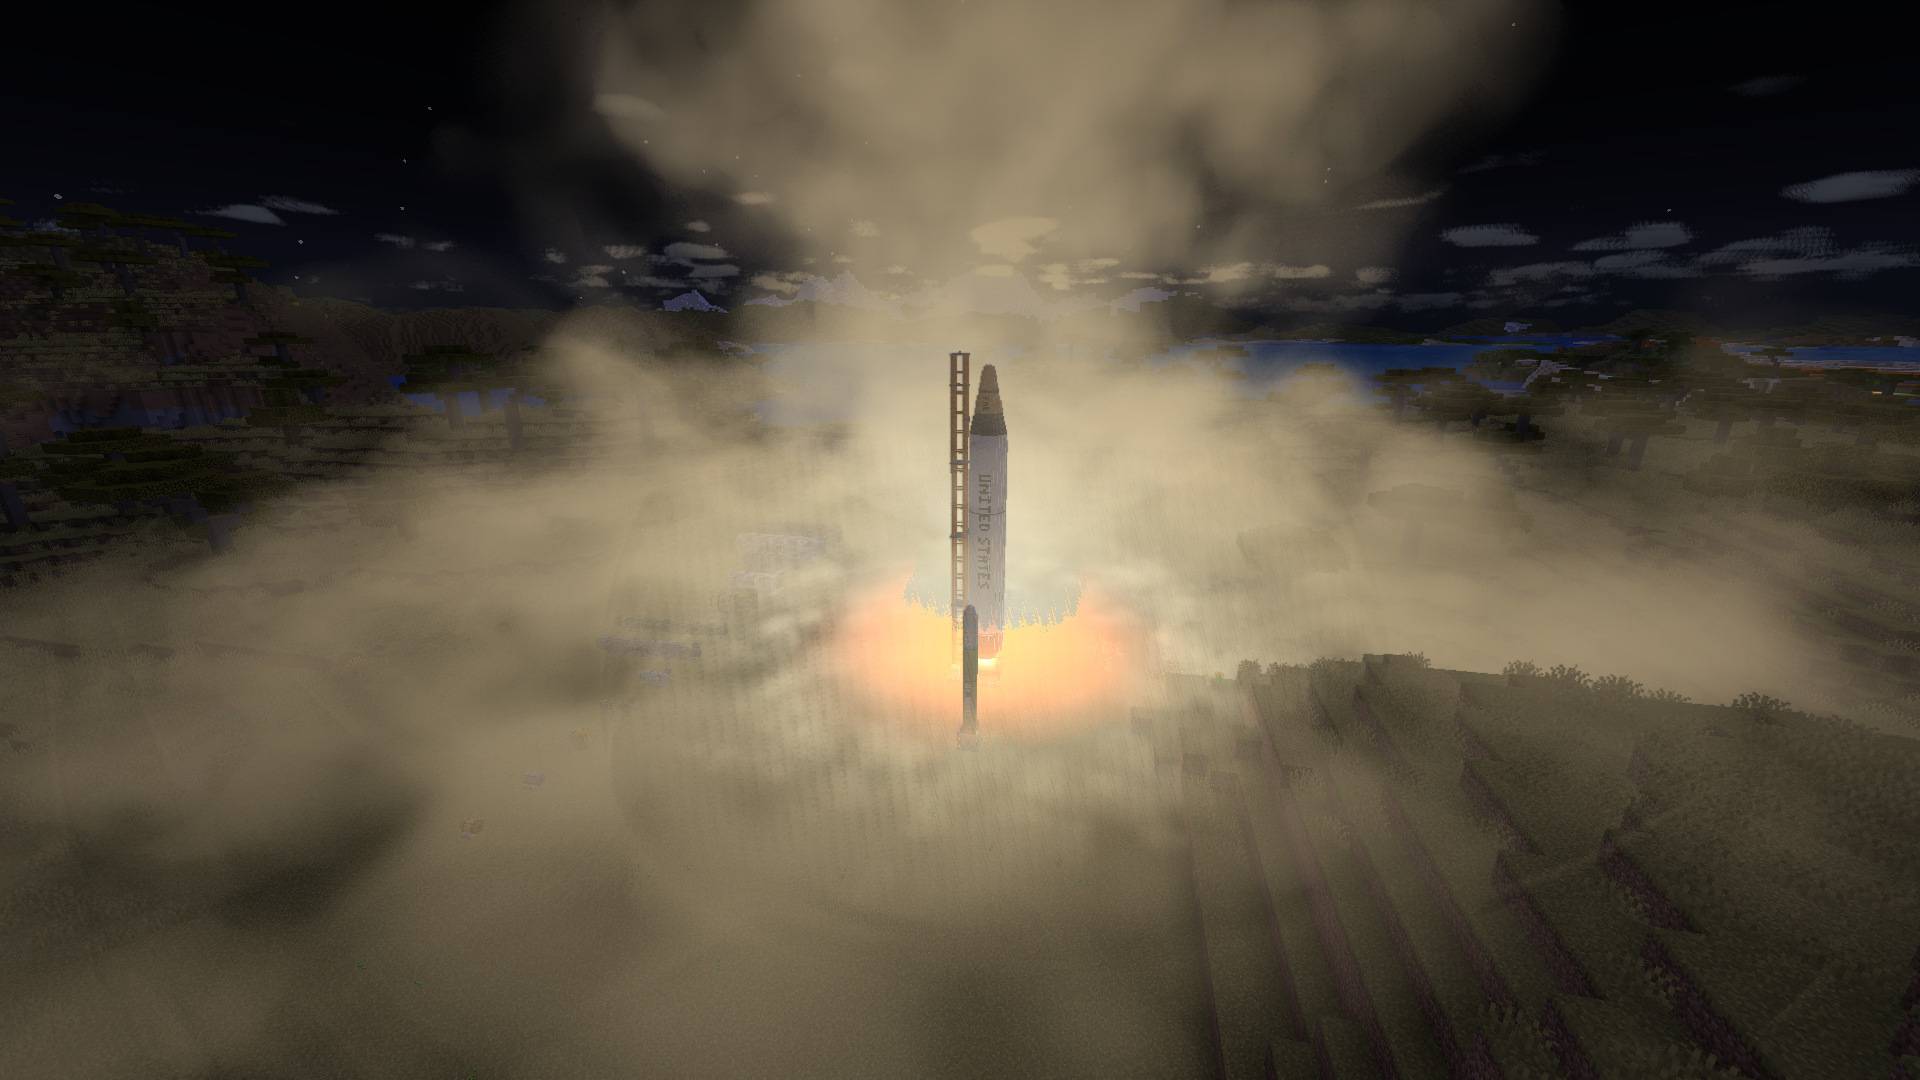
A Jupiter lifts off at night, its flame lighting up the smoke around the pad.
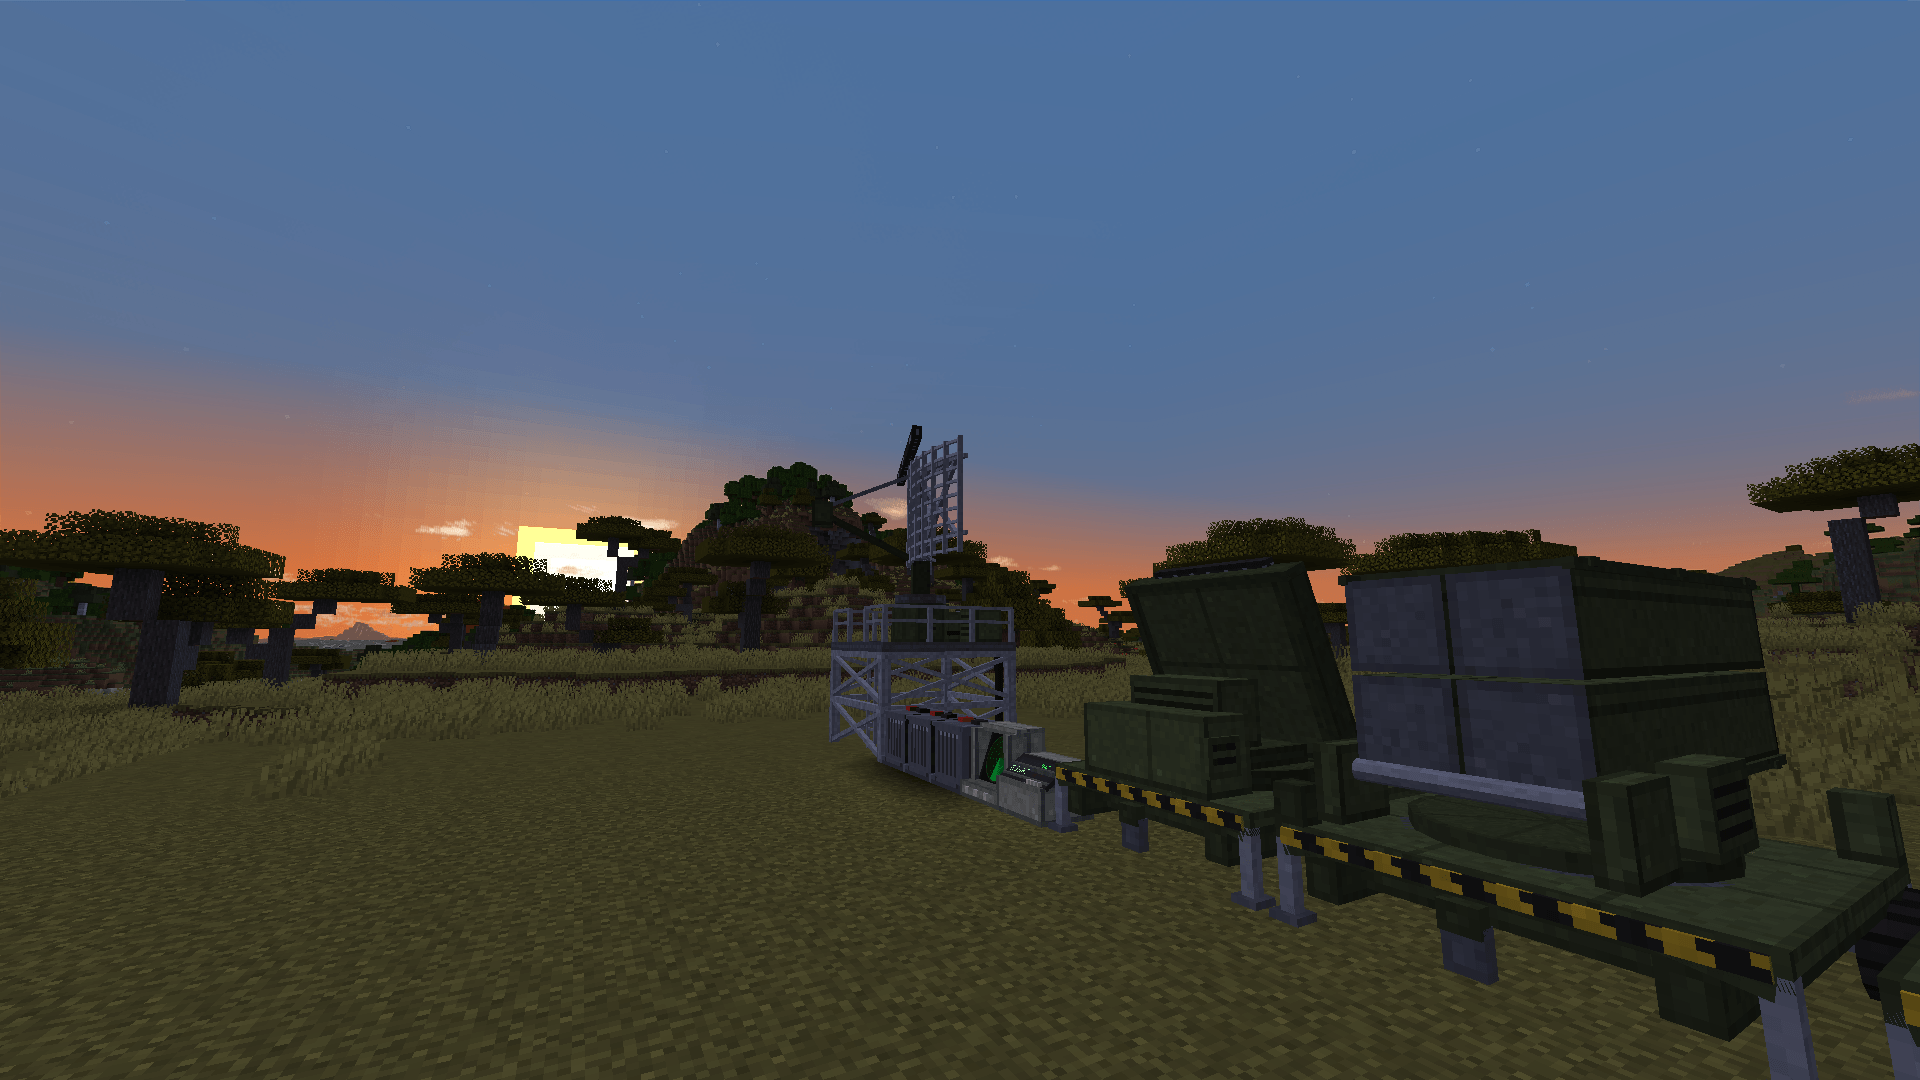
The early-warning radar on two tower sections stands against the sunset at the end of the defended row.
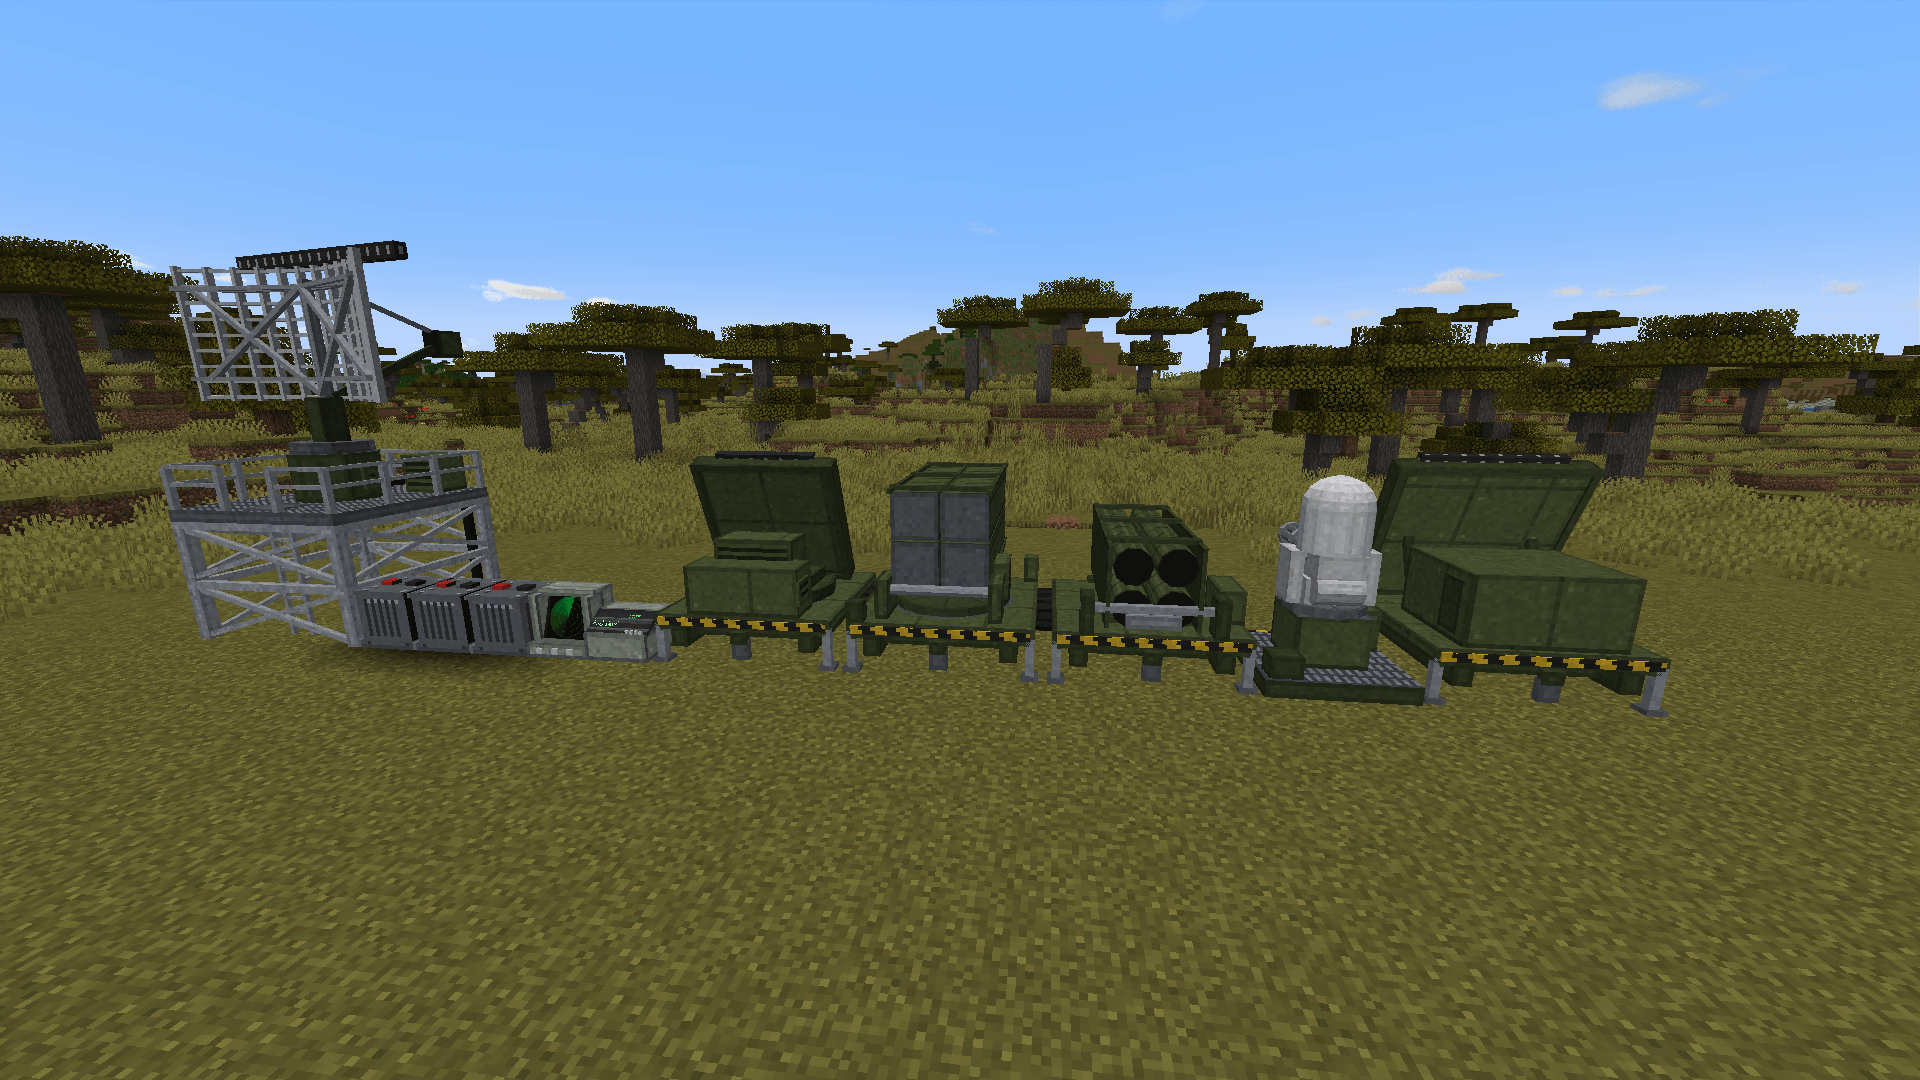
Early-warning radar, console, fire-control radar, both SAM launchers and the CIWS, all on one network.
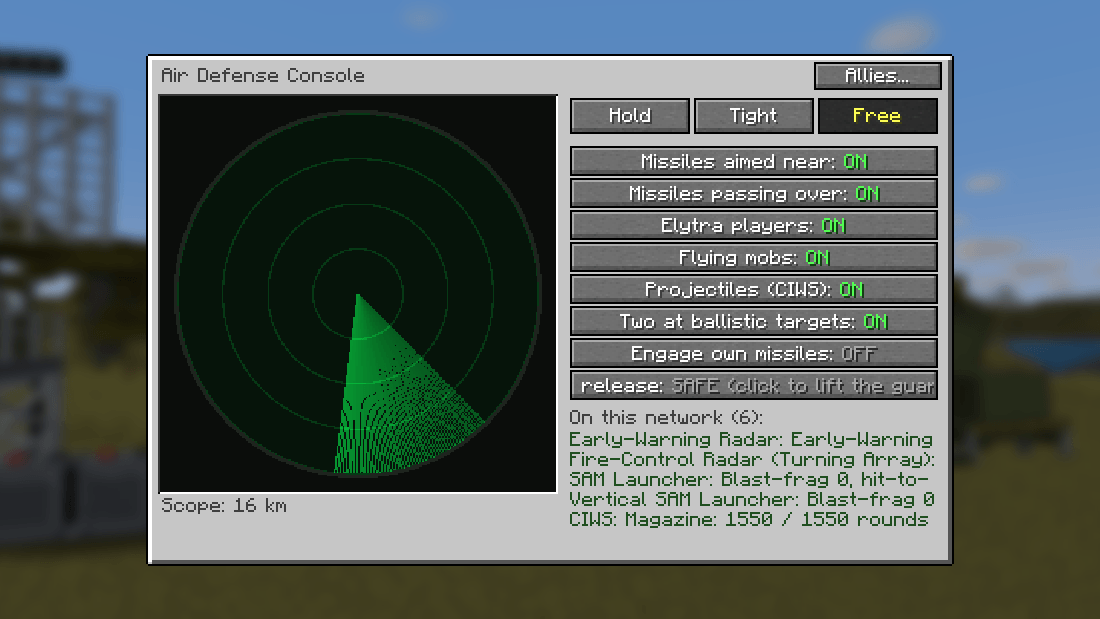
The console's screen: its engagement mode, its rules and every site on its network.
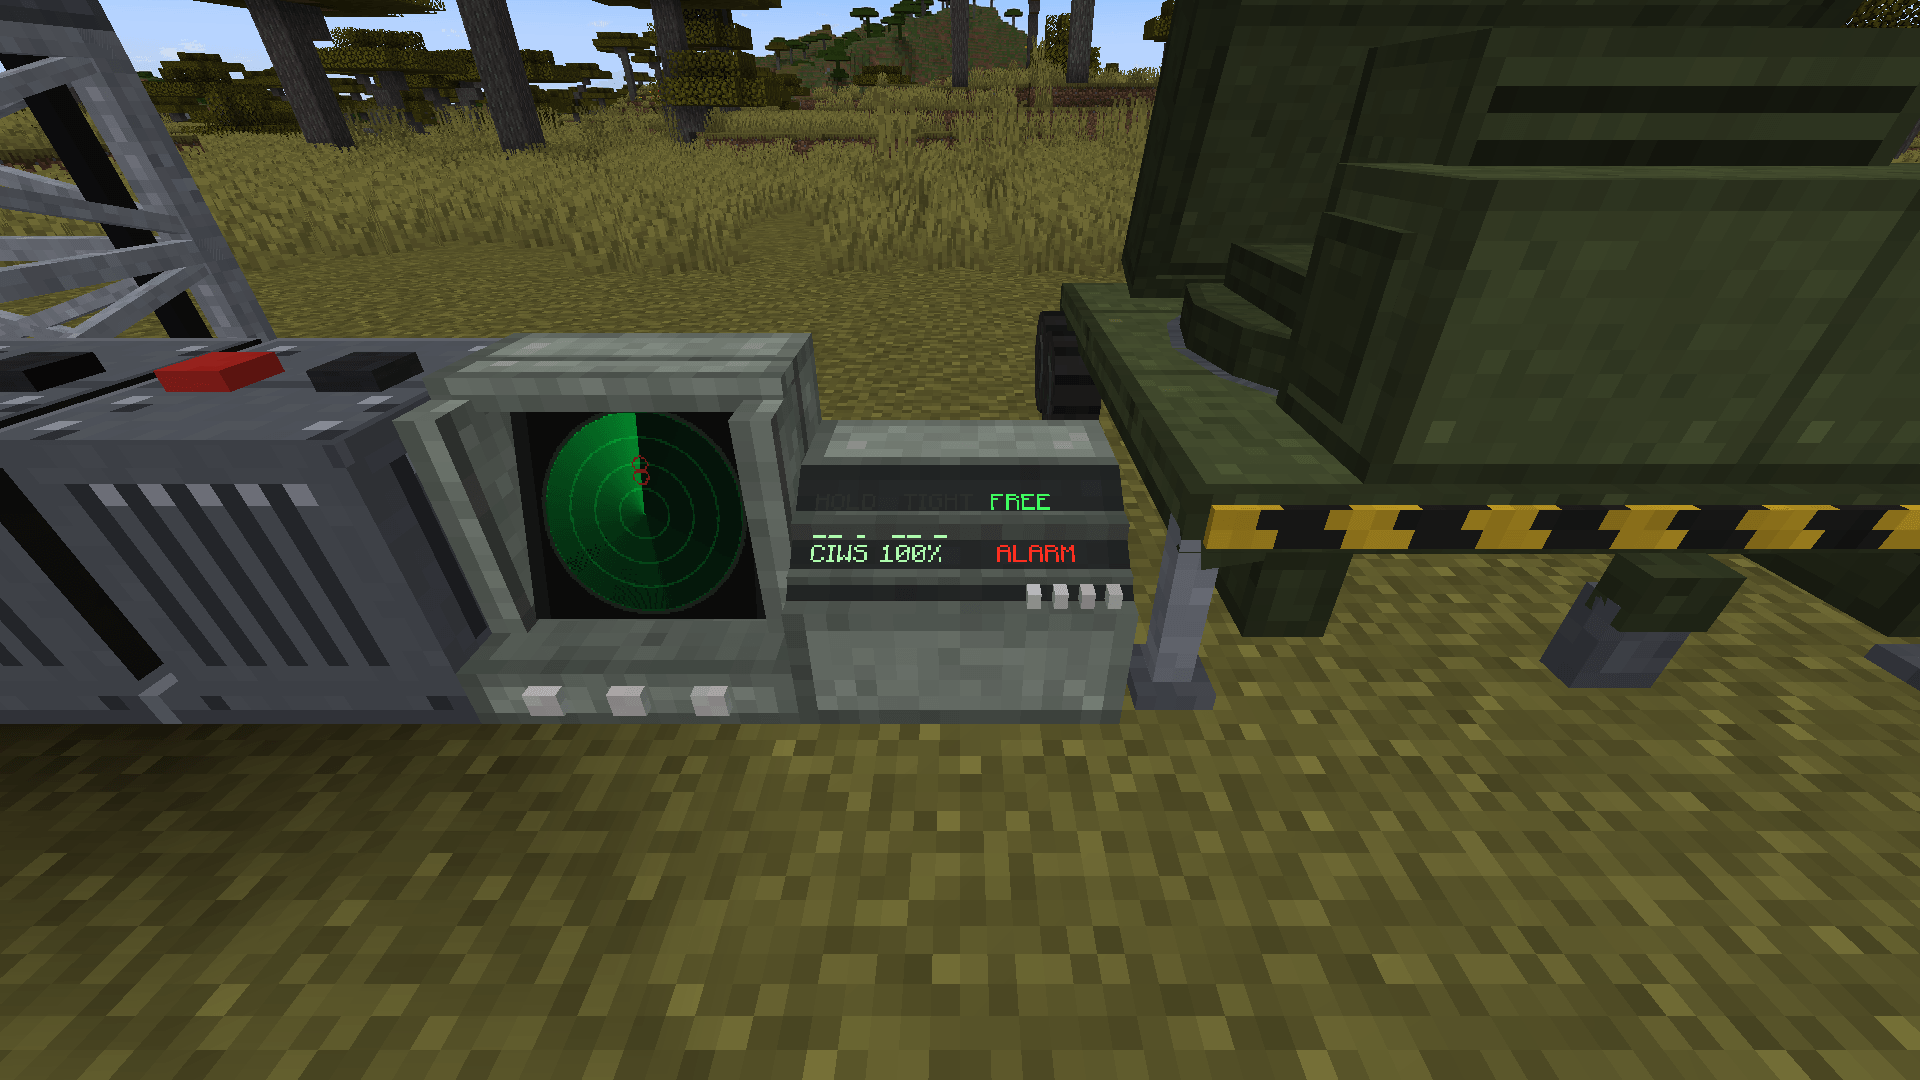
The console's phosphor scope tracks an incoming missile, set to Free and sounding the alarm.
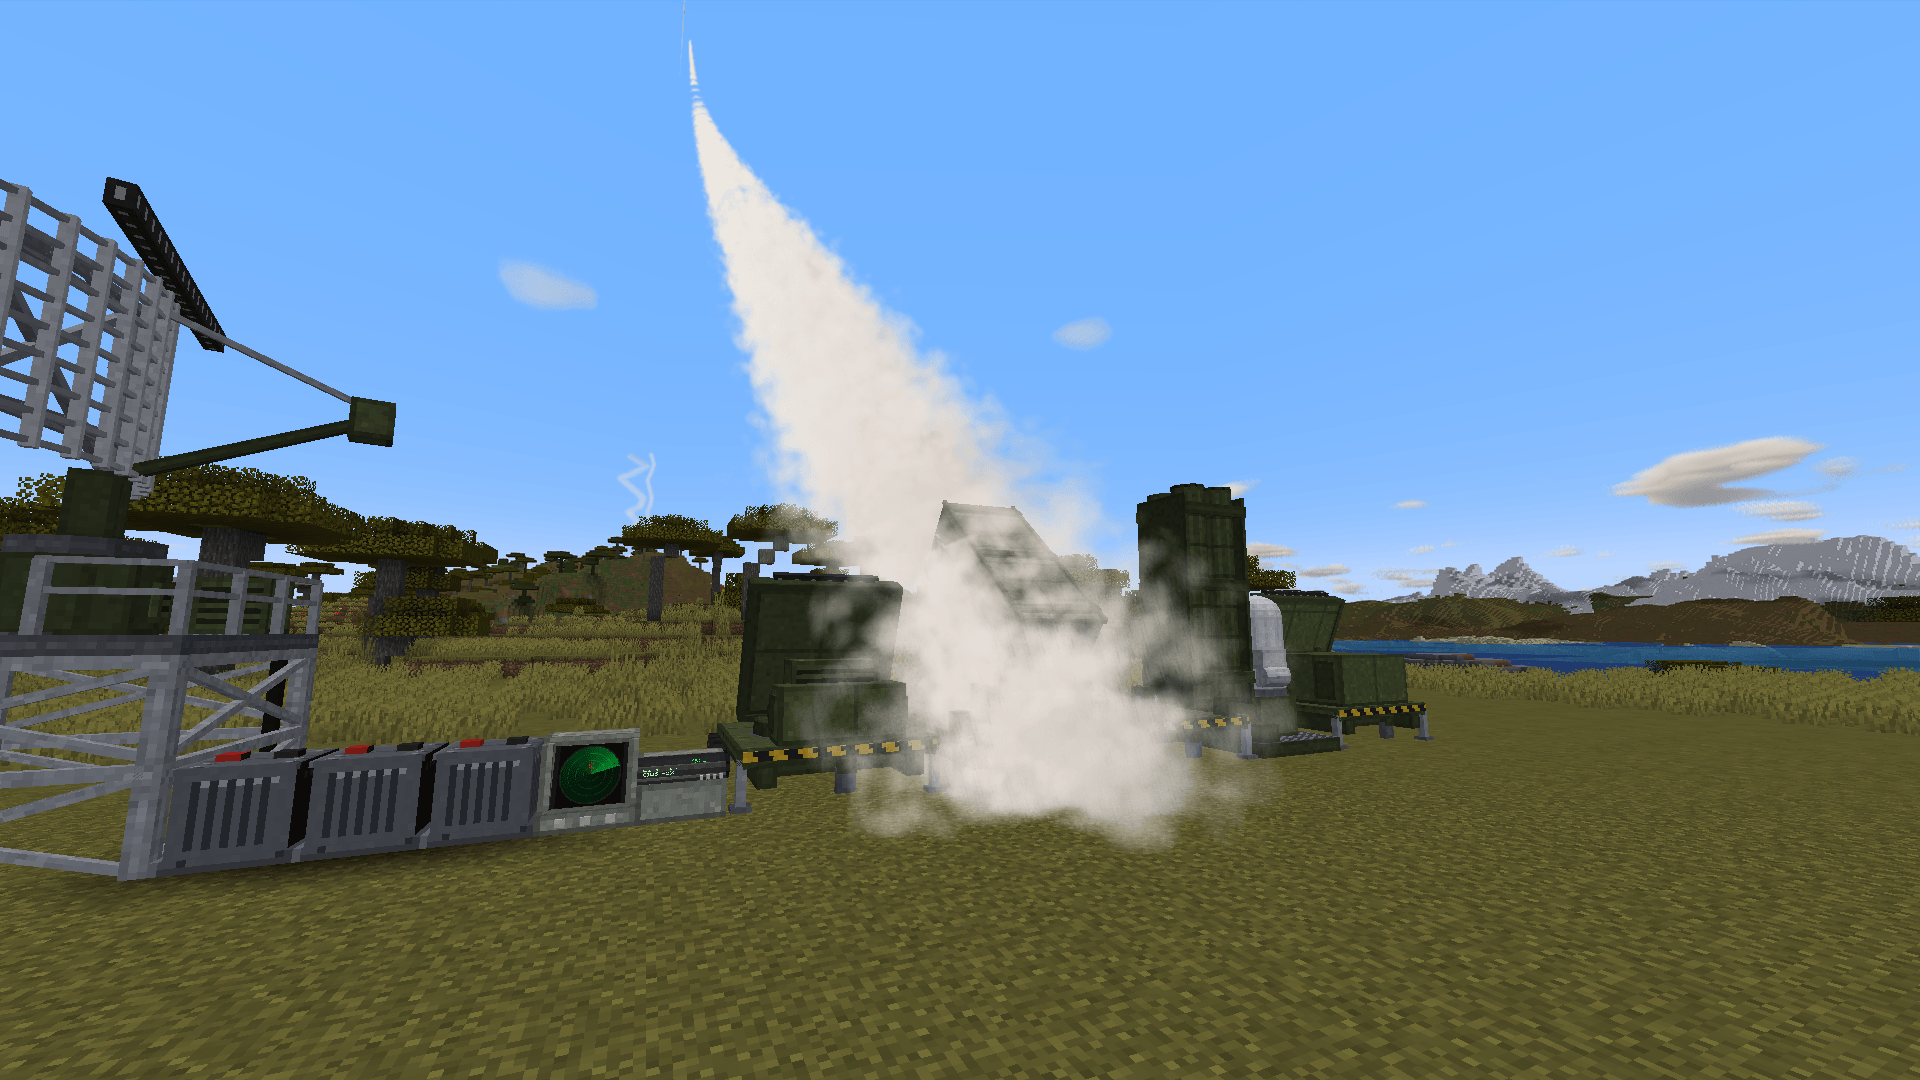
The trainable launcher fires a hit-to-kill round at an incoming warhead.
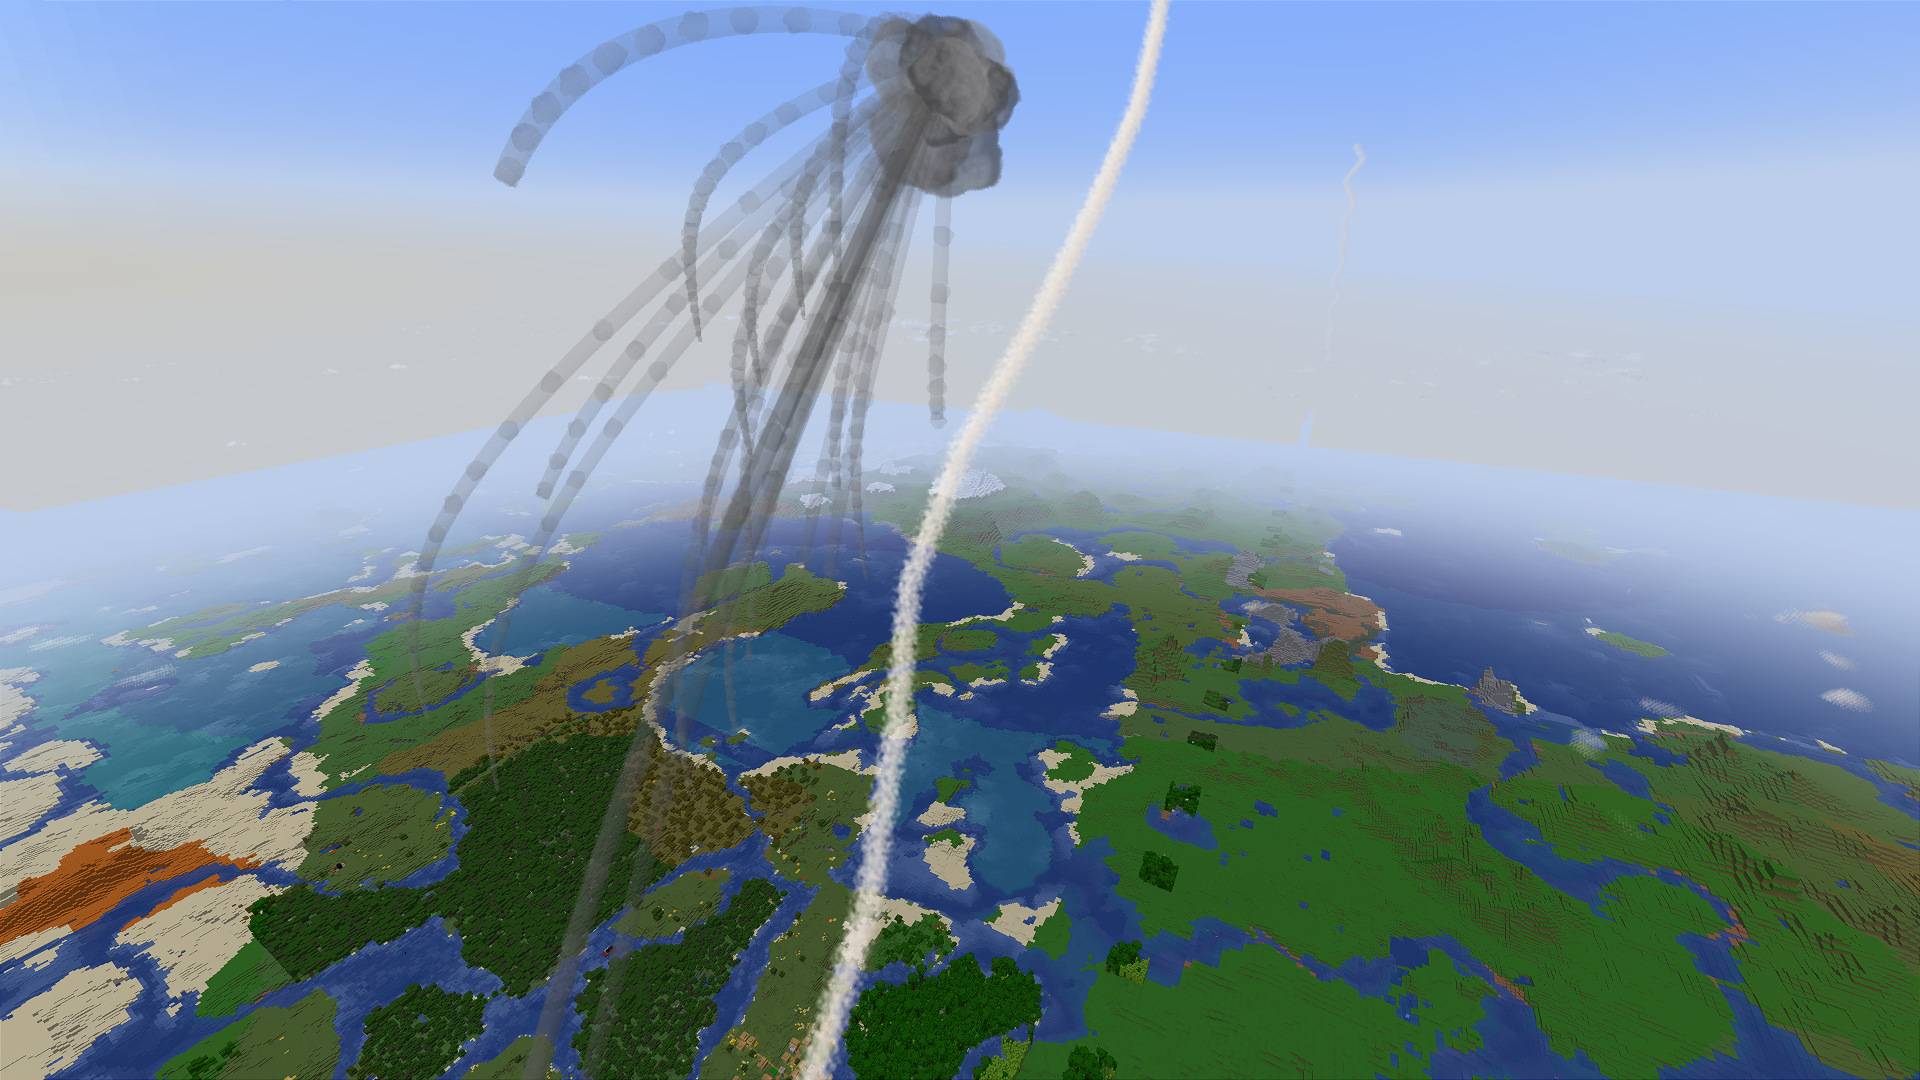
A SAM meets a warhead high above the land, and the burning debris trails arc down.
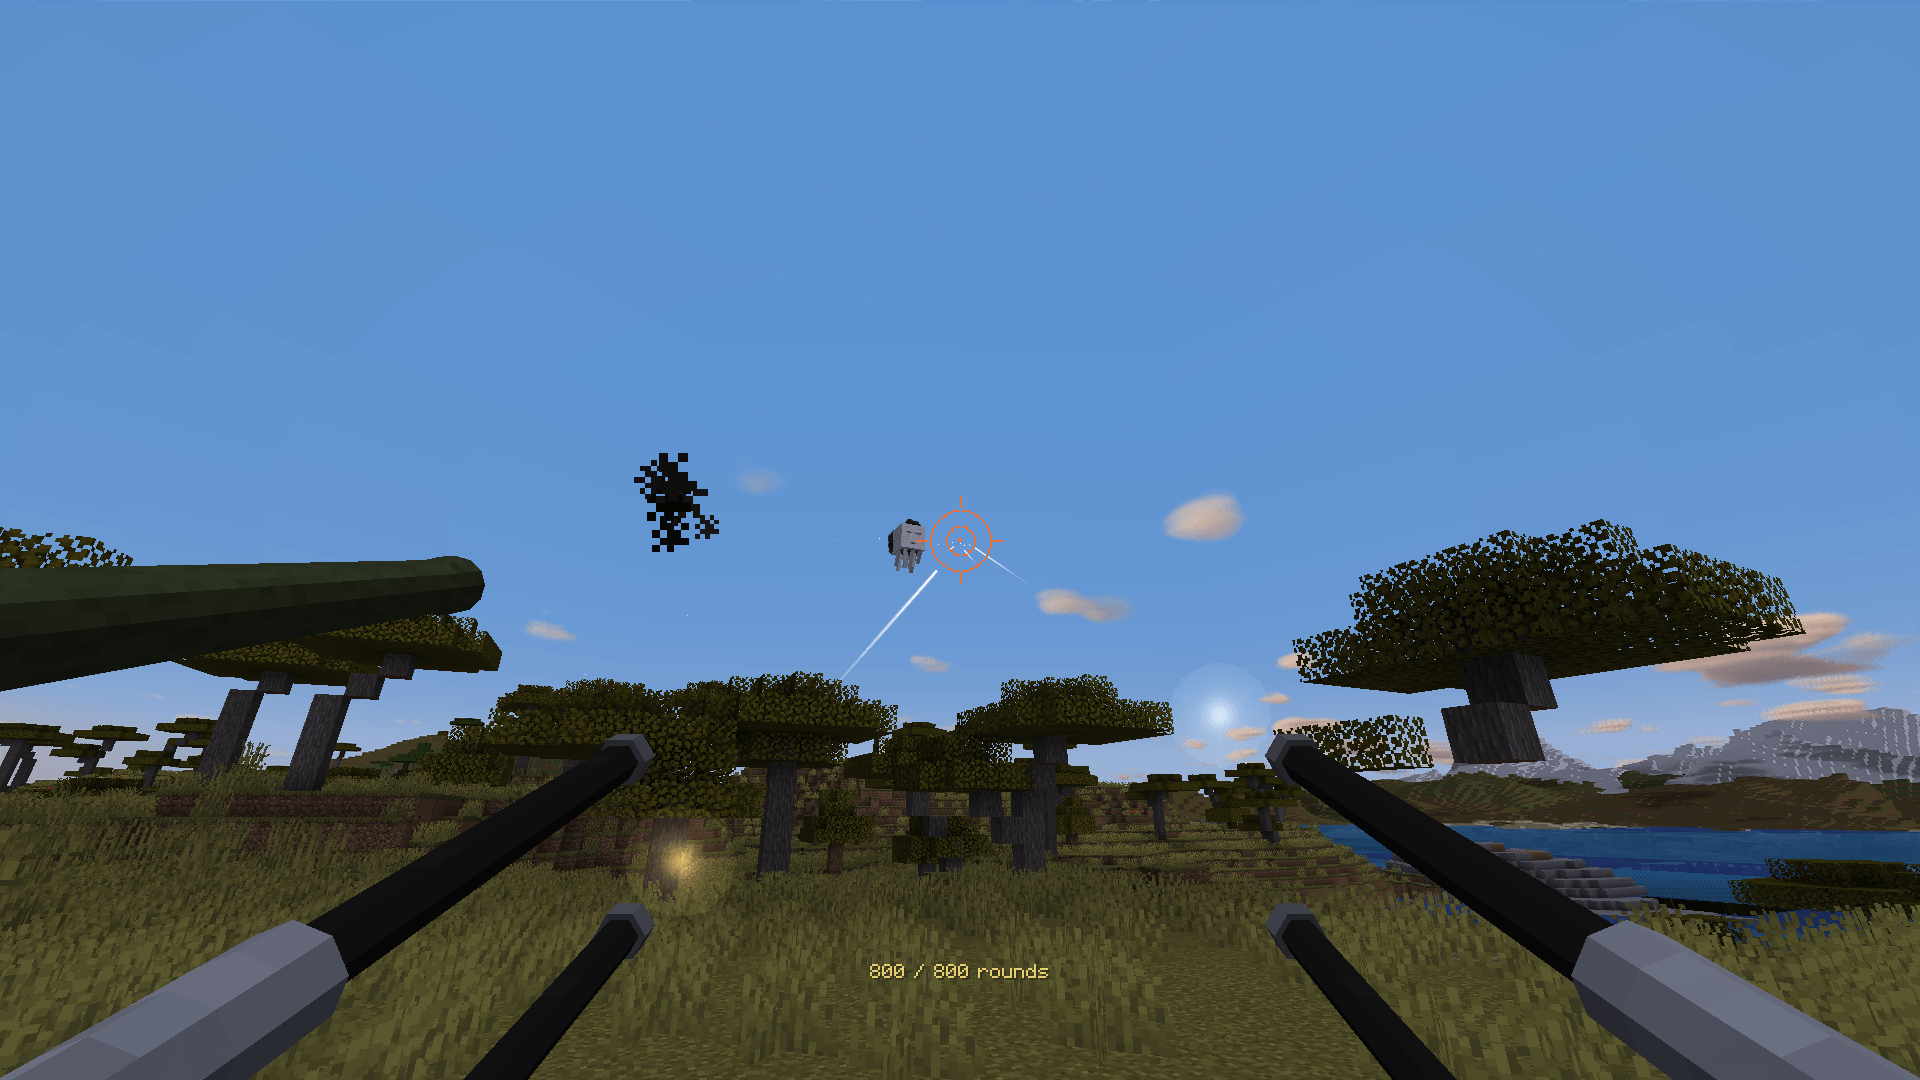
From the quad gun's seat, tracers stream at a ghast through the ring sight.
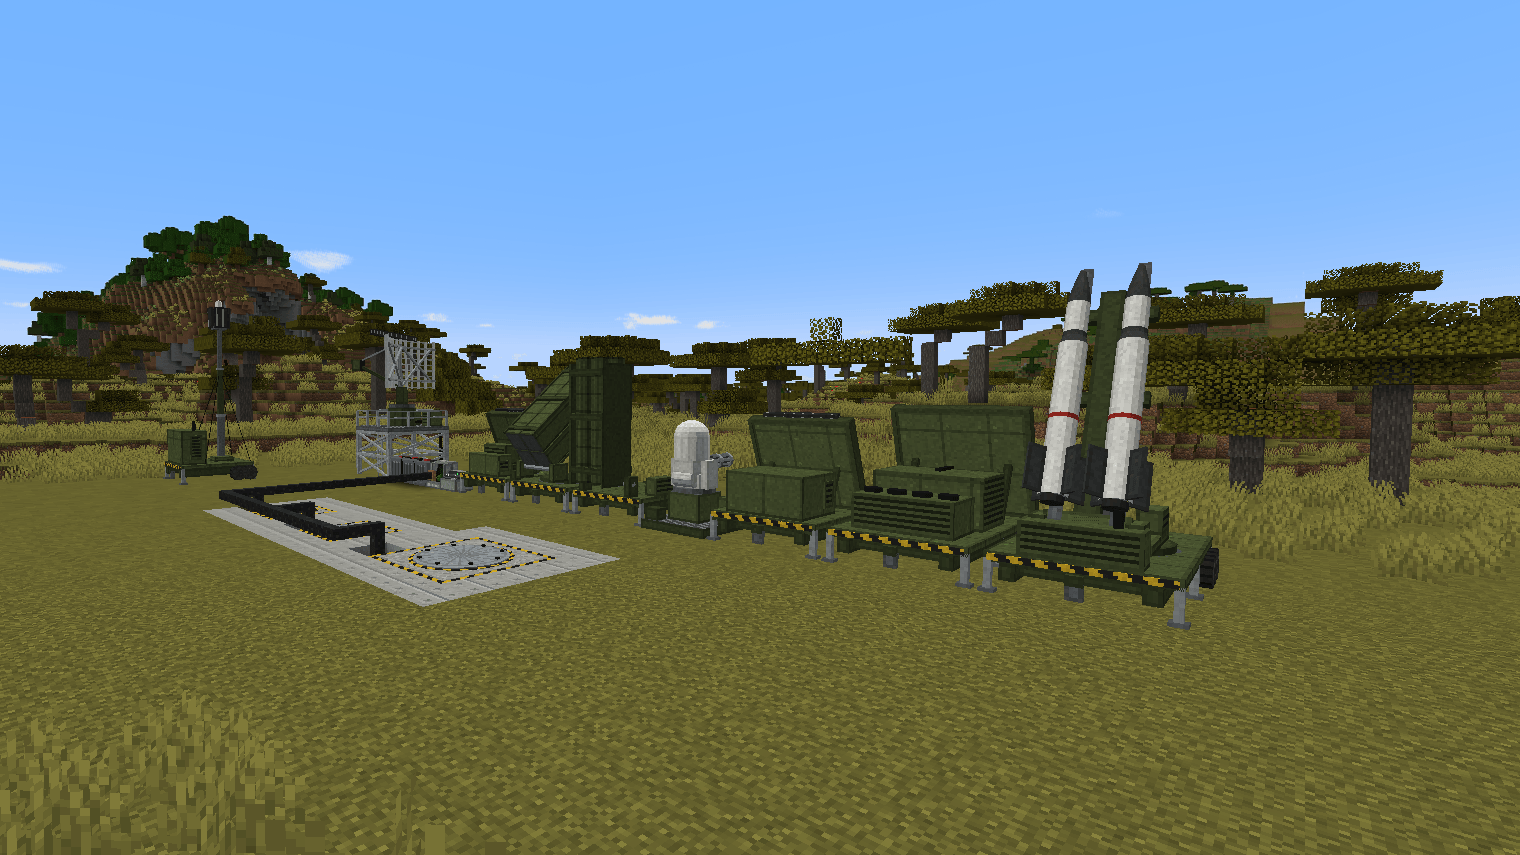
The long-range ABM launcher raises its two rounds, with the nuclear ABM silo cells dug in beside the row.
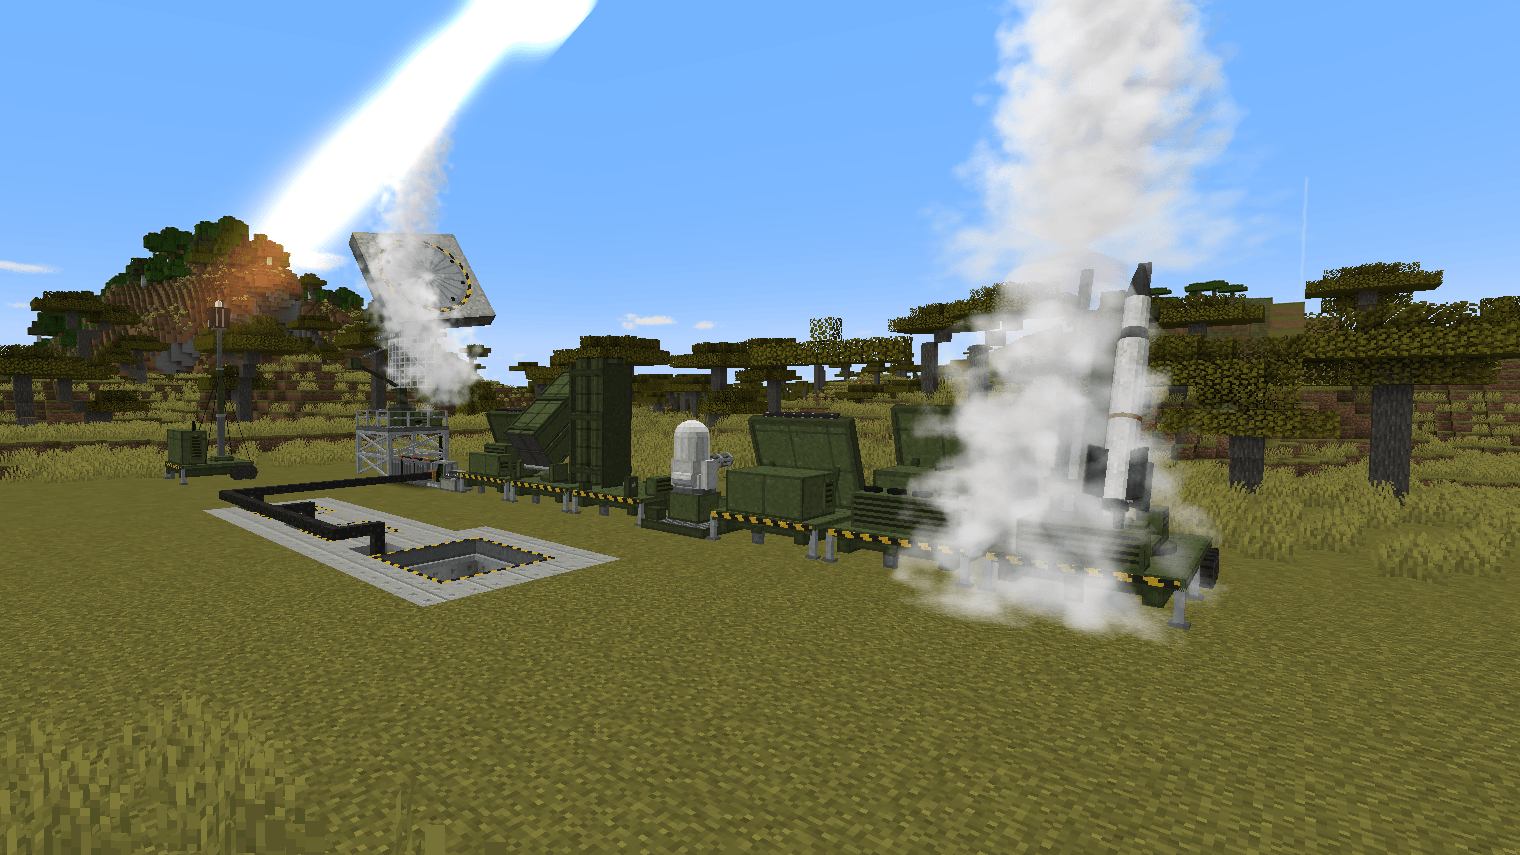
A nuclear Spartan blasts out of its silo cell and throws its lid aside as the ABM launcher fires.
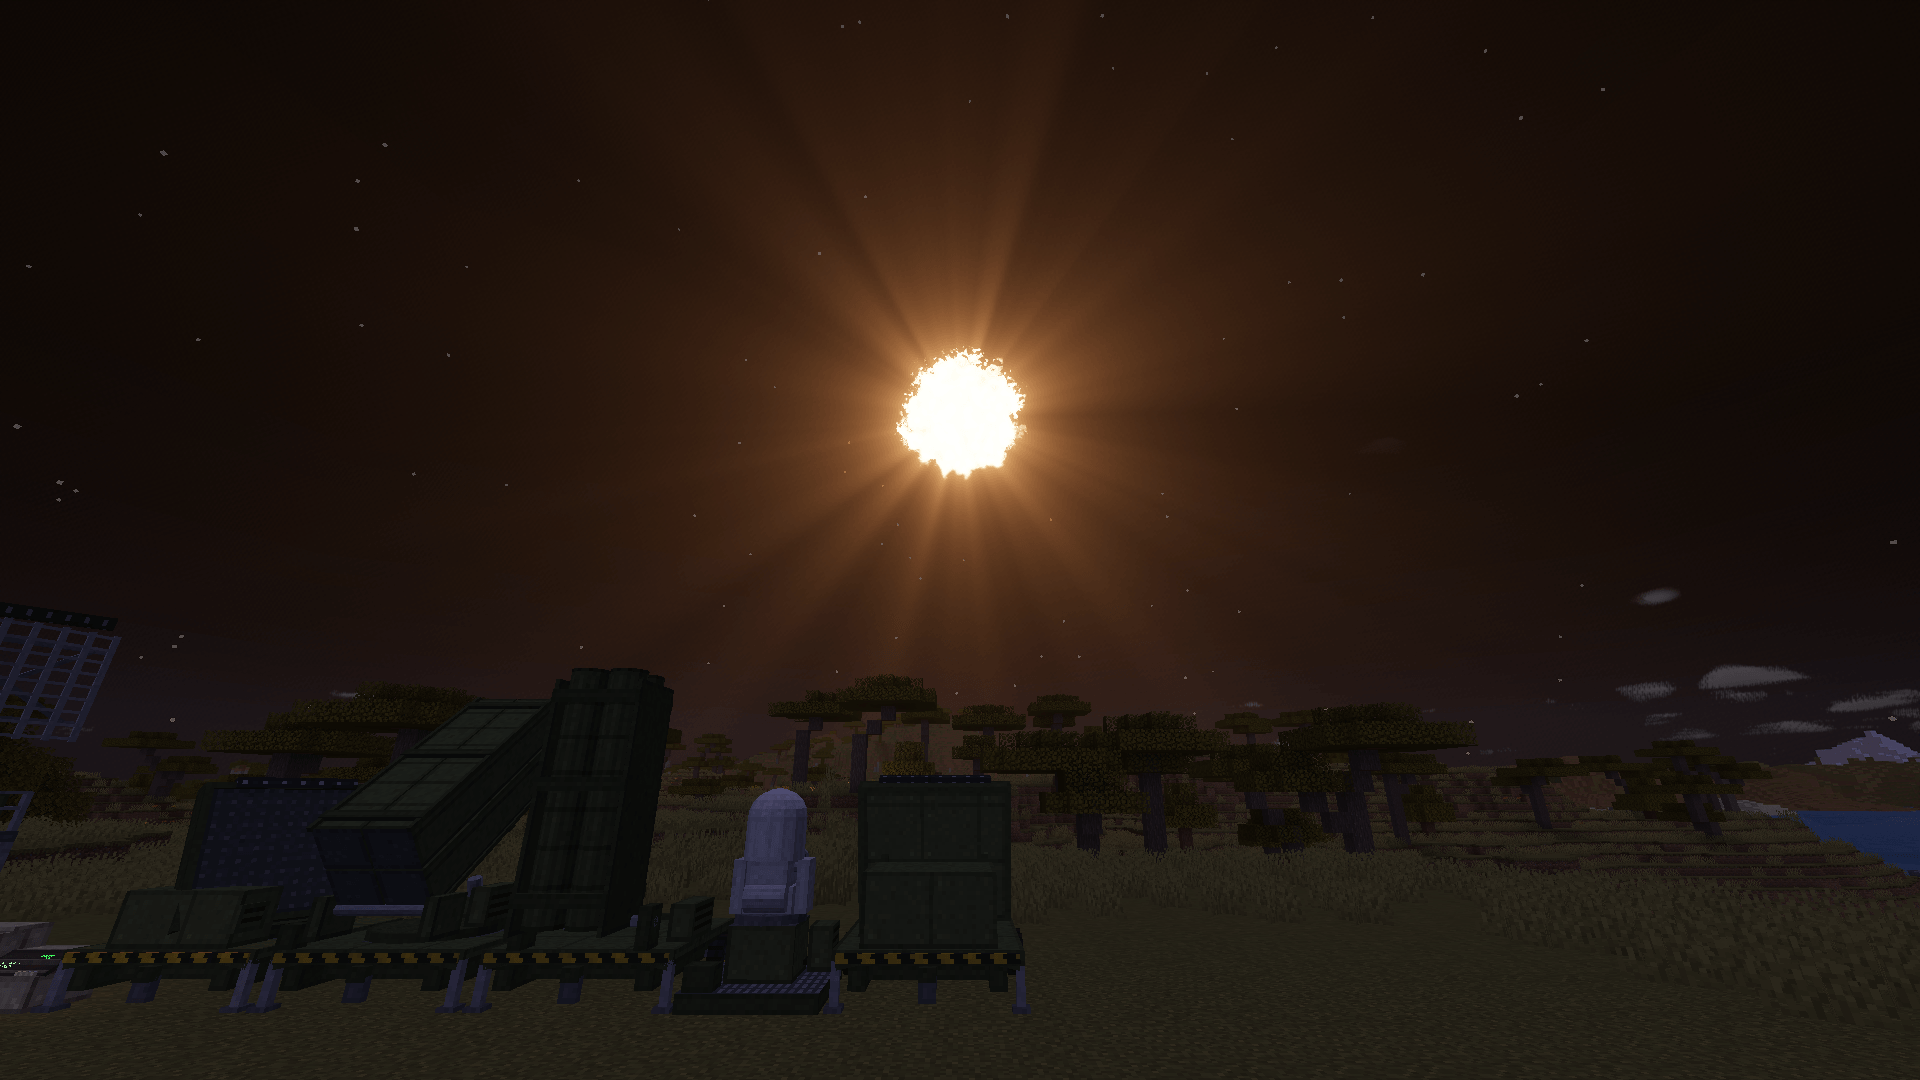
A Spartan's high-altitude burst glows over the air defense row at night.
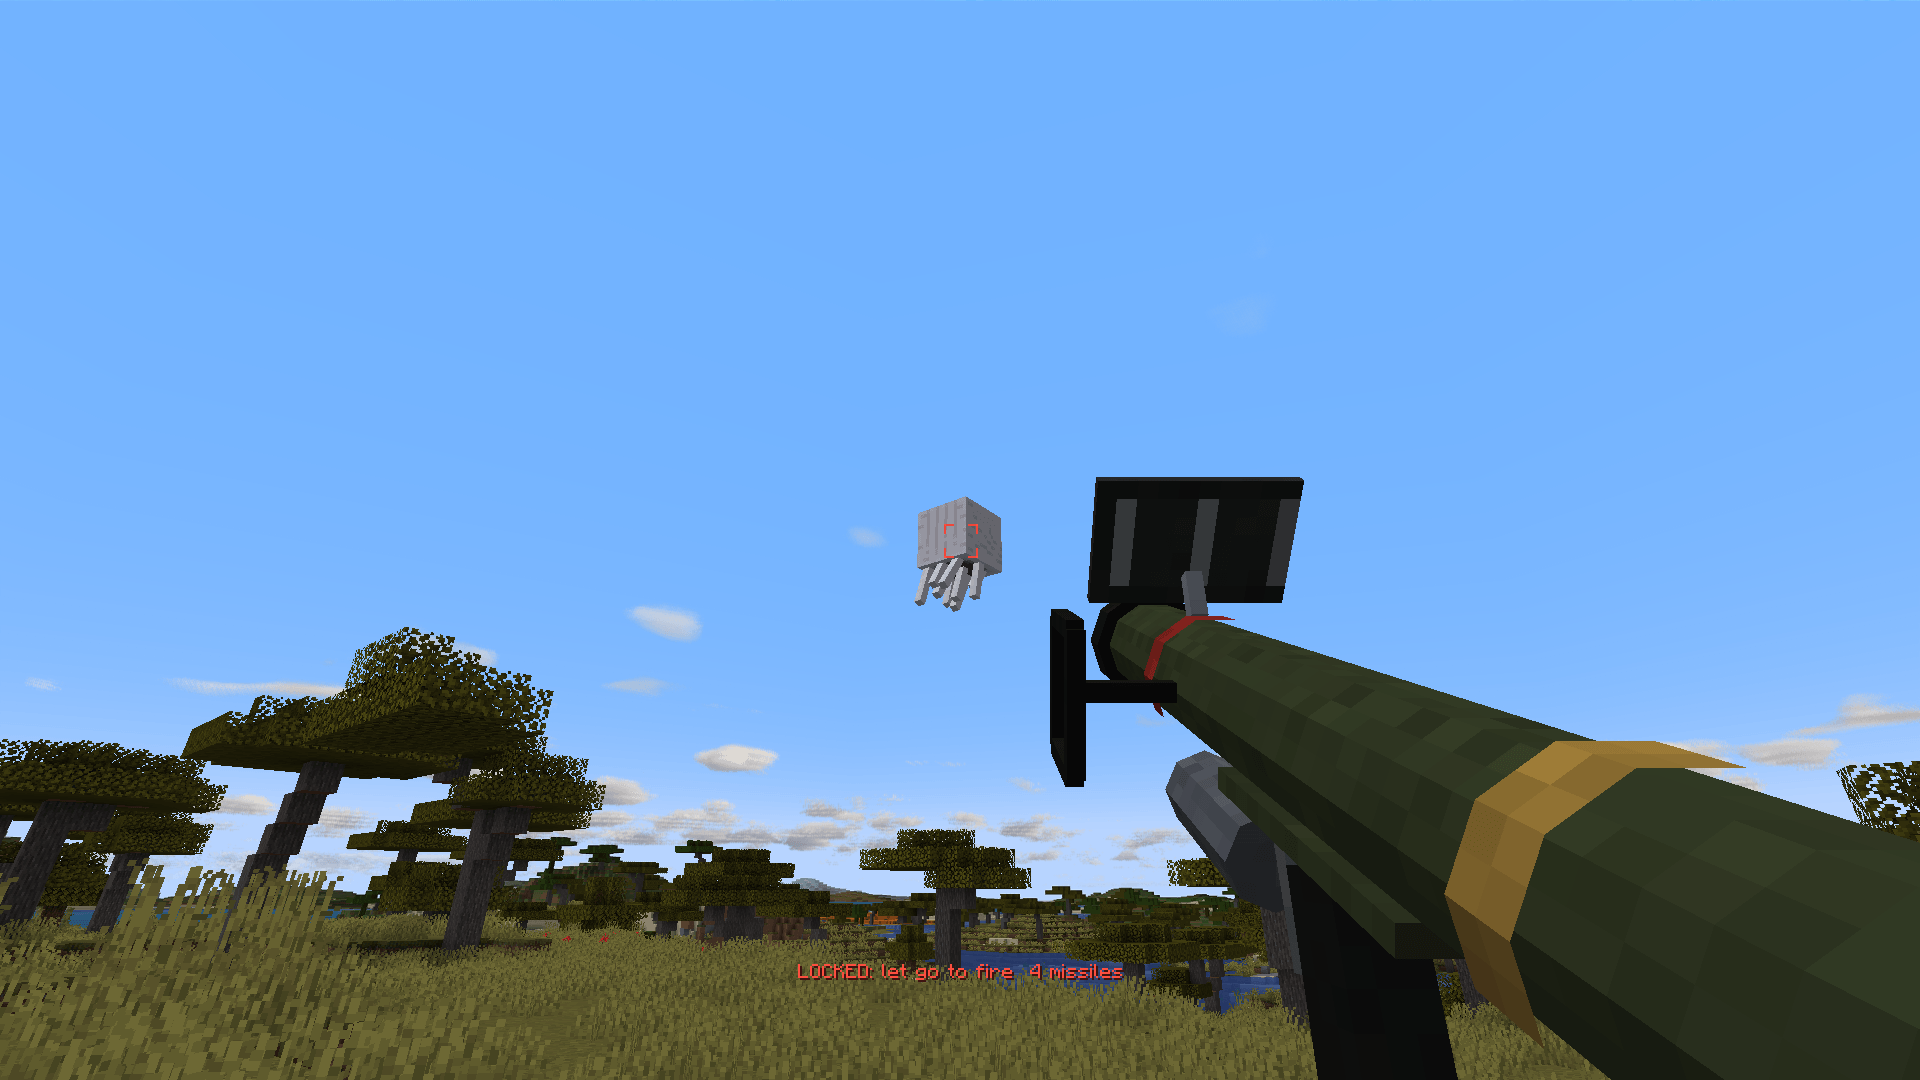
The shoulder-fired launcher has locked on to a ghast and is ready to fire.
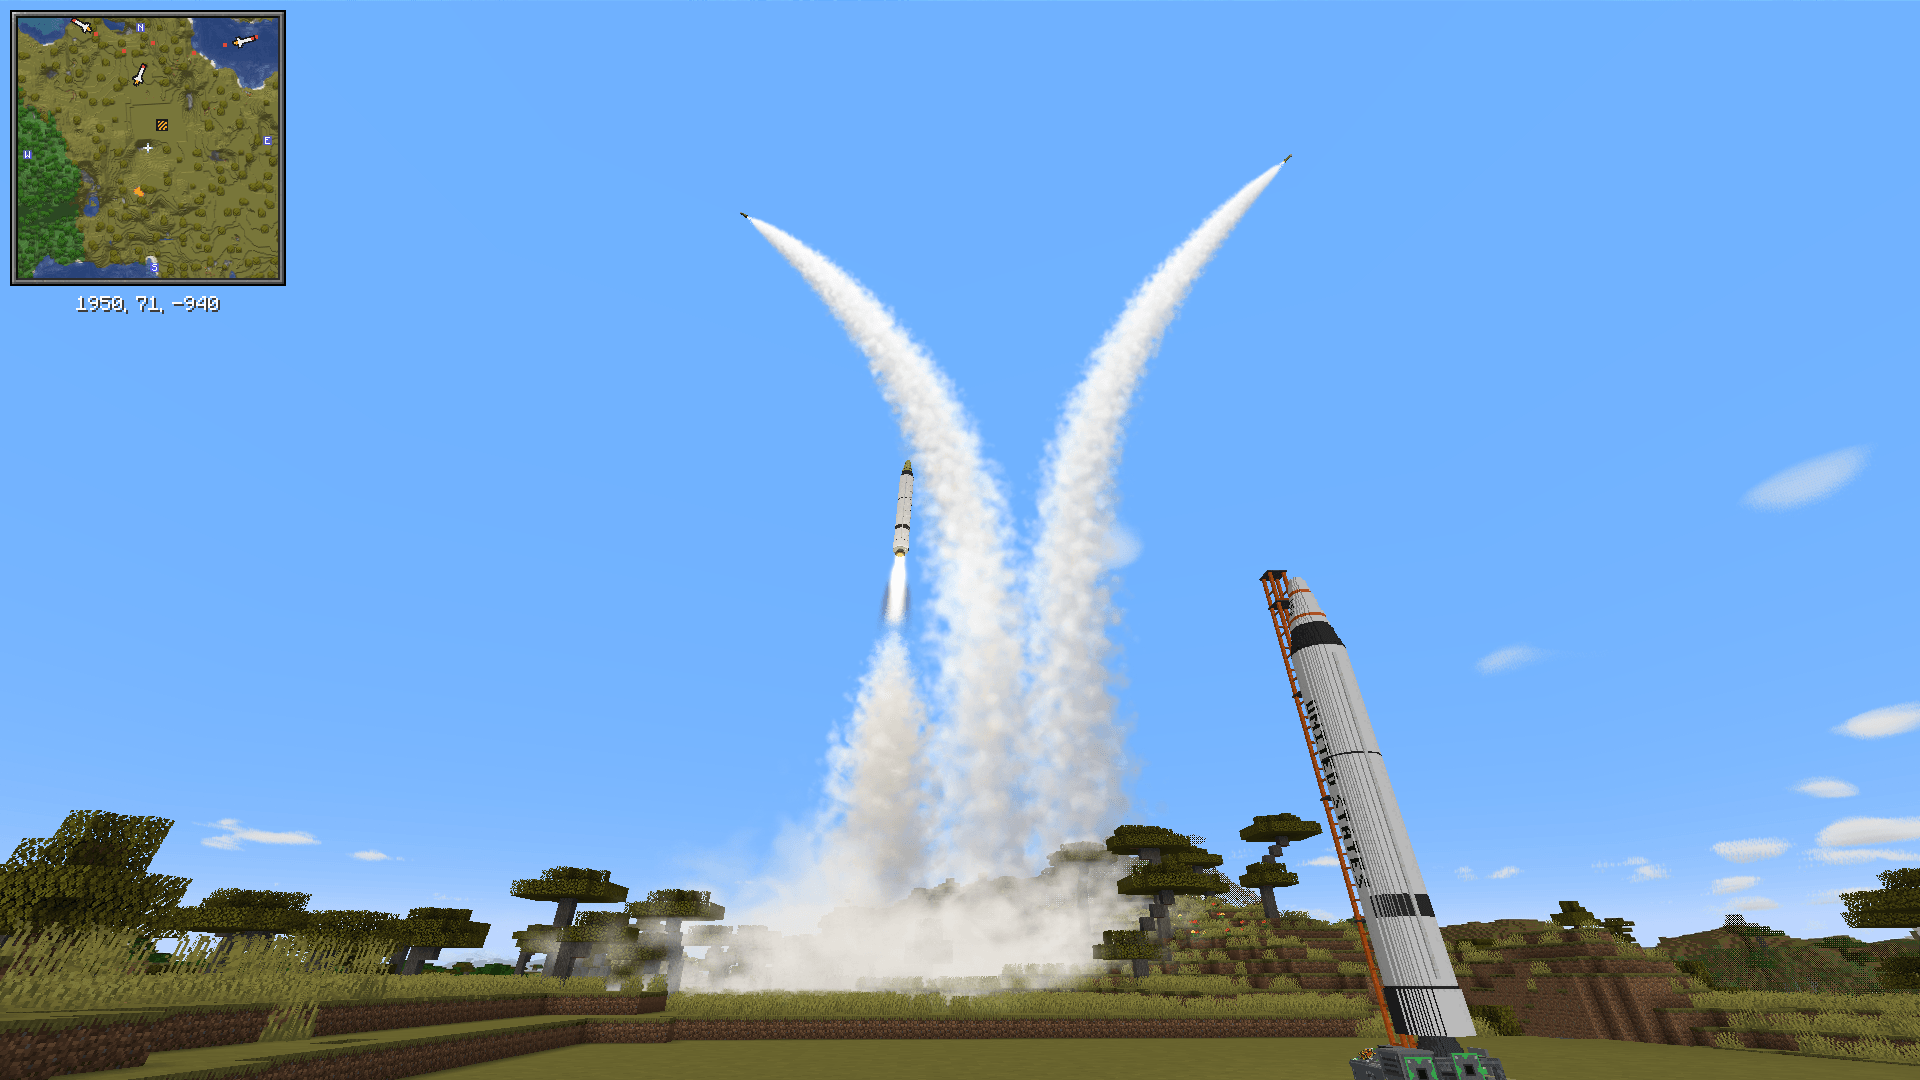
Three missiles climb away and split toward their targets past a Jupiter's service tower, and Xaero's Minimap shows each one heading out.
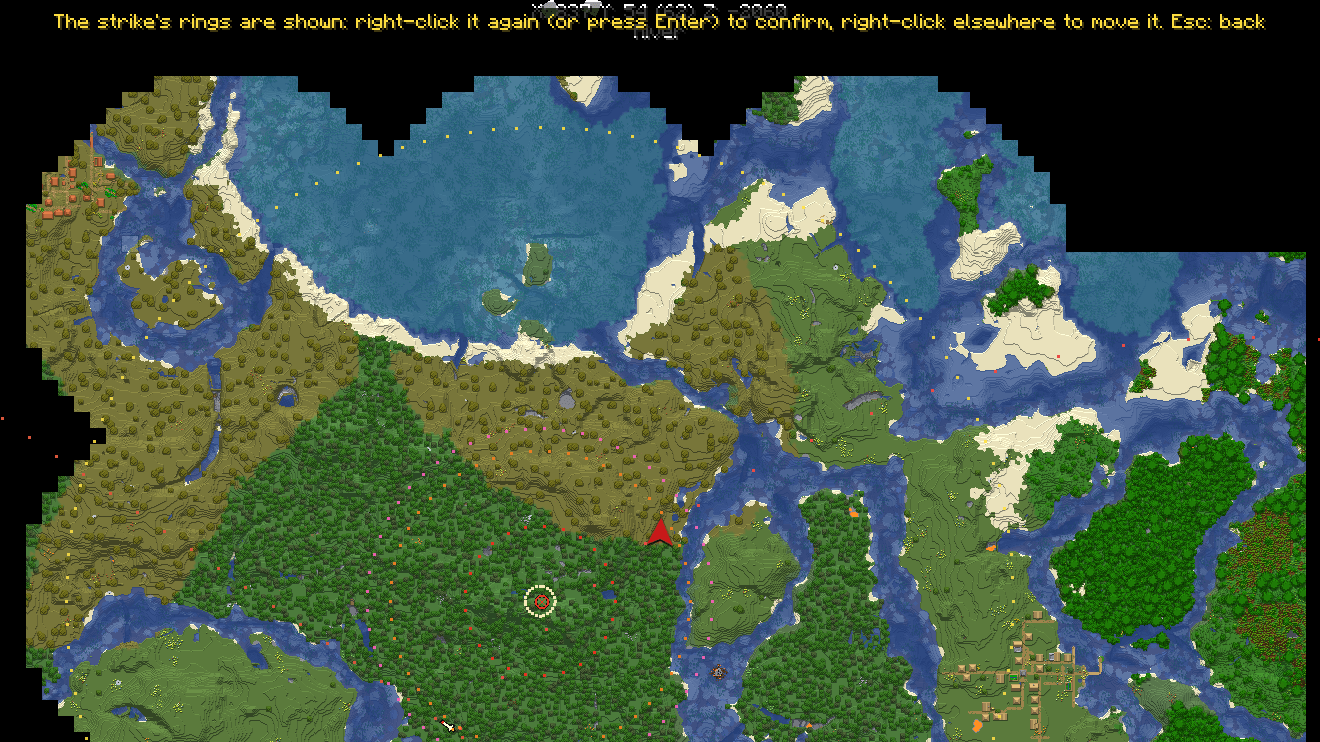
Aim by right-clicking Xaero's World Map: the strike's rings show where the warhead will land before you confirm.
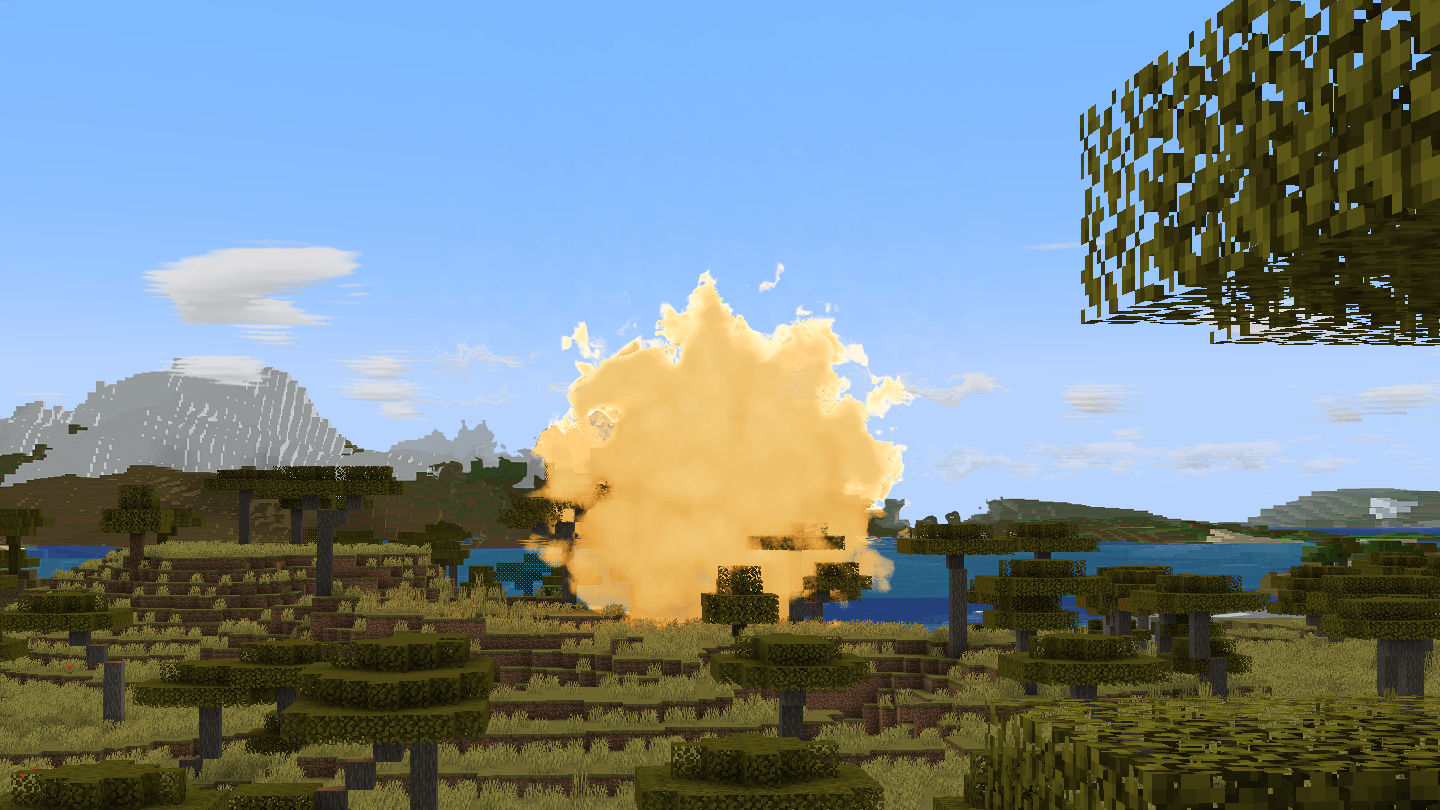
The FOAB, the biggest conventional bomb, a second after it goes off on the savanna.
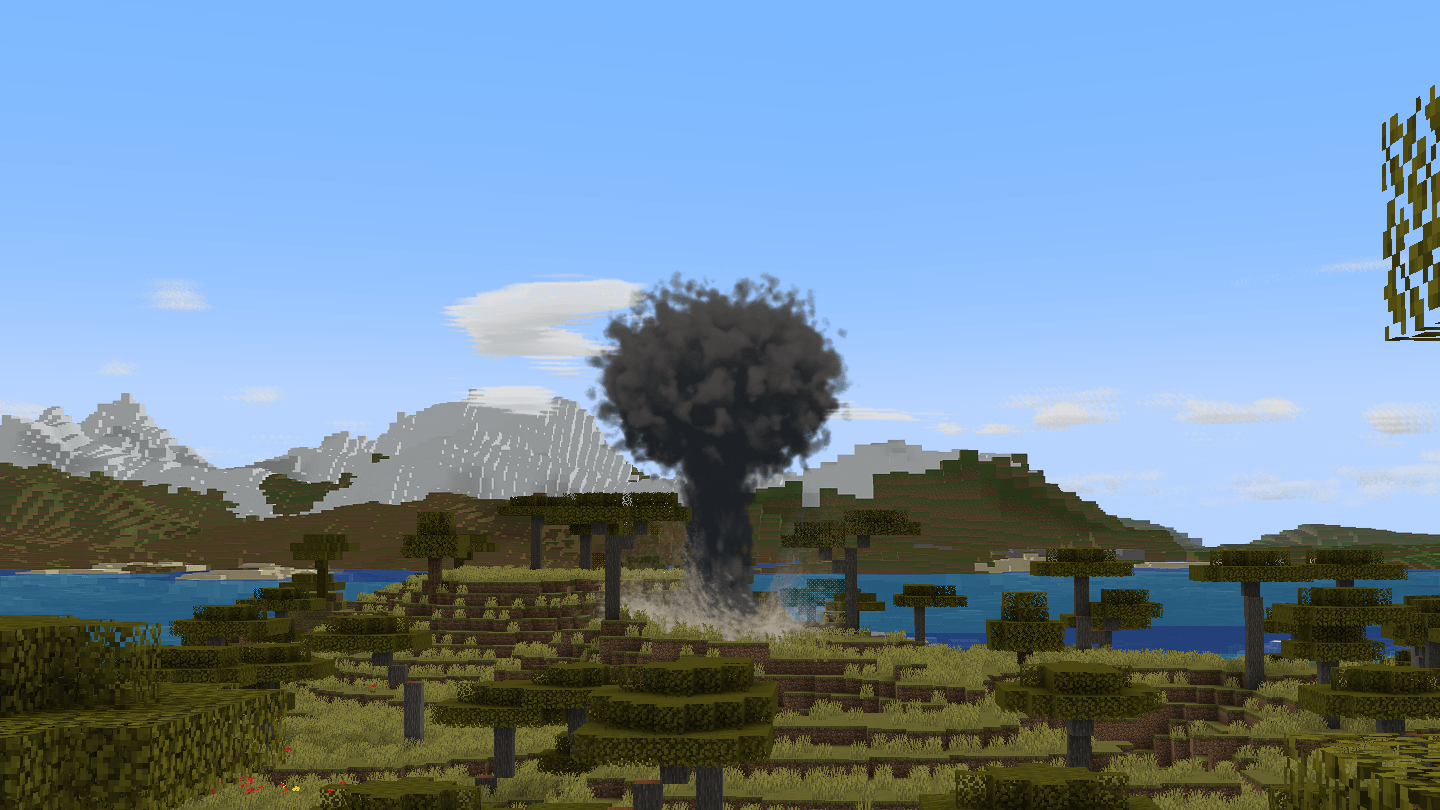
Ten seconds after a MOAB, its smoke column climbs over the savanna.
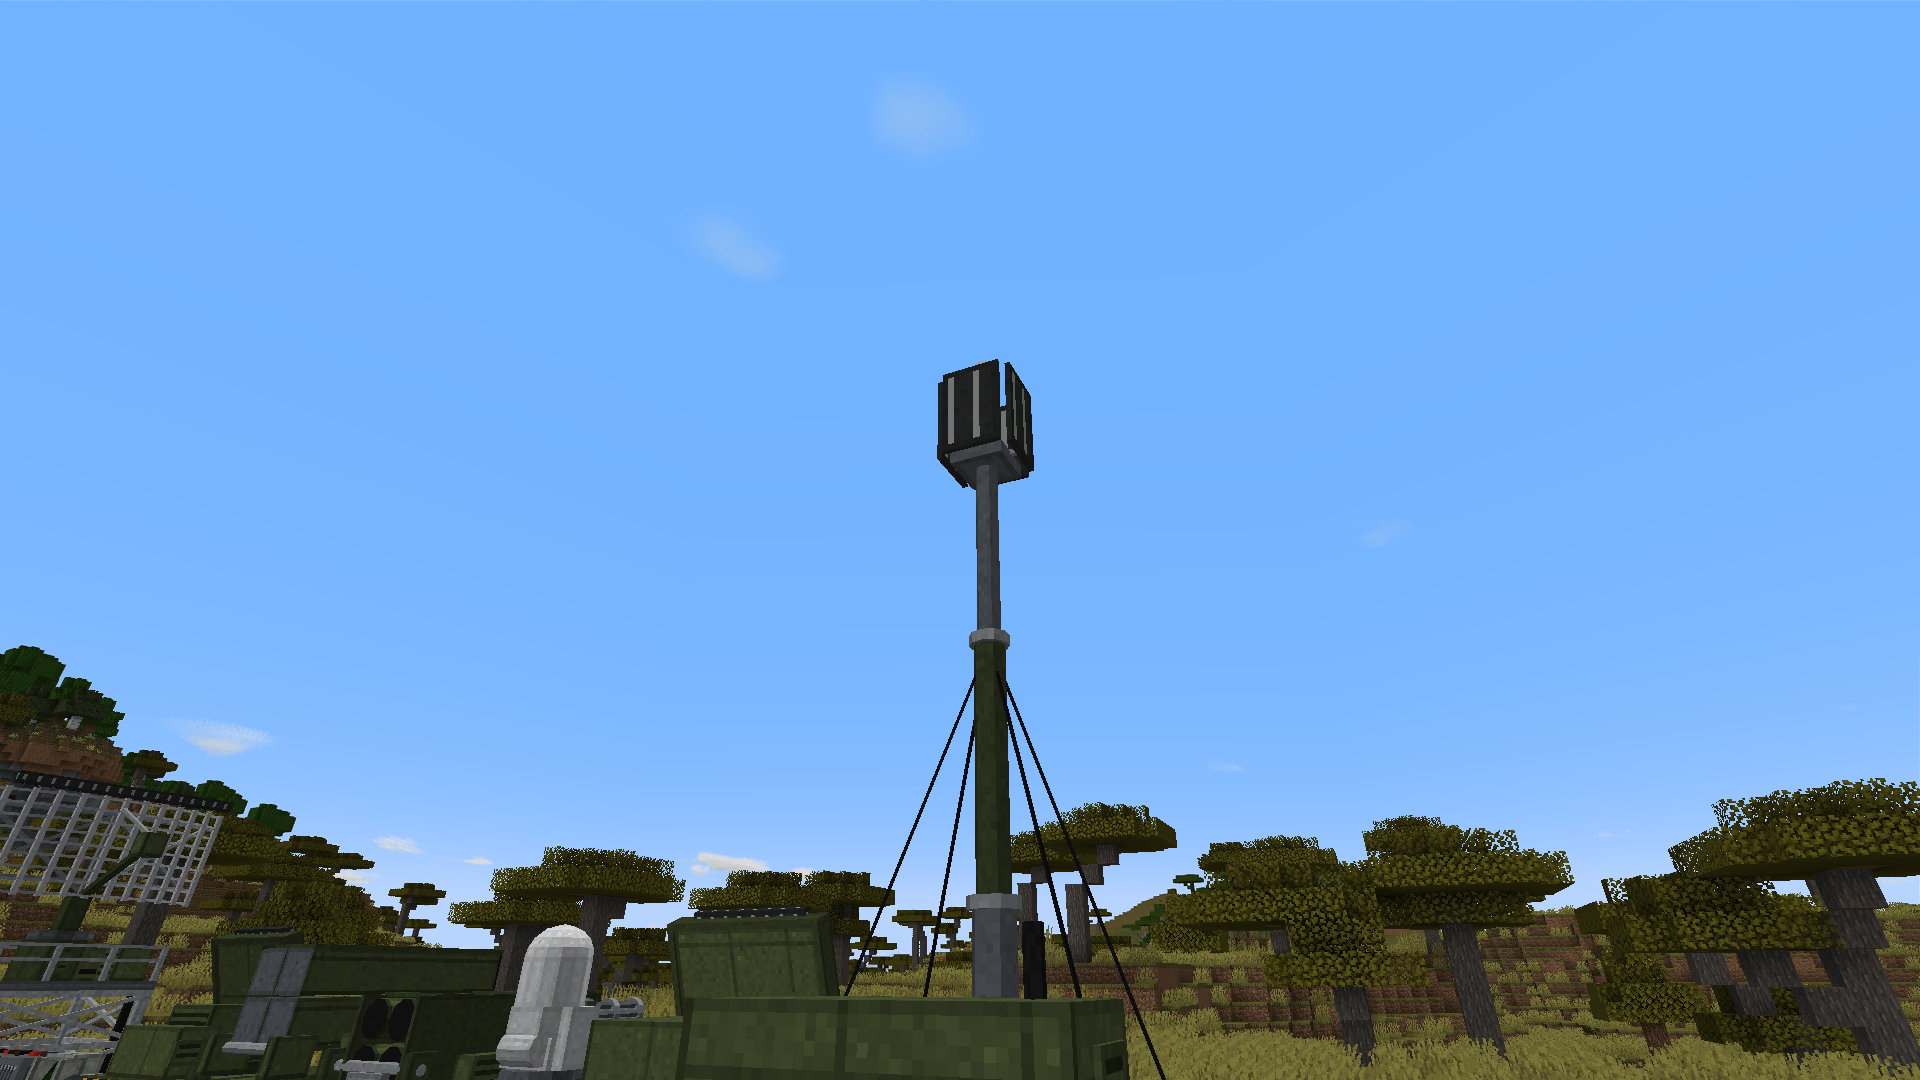
The radar jammer on its trailer beside the defended row: from its mast it blinds enemy radars looking through the air around it.
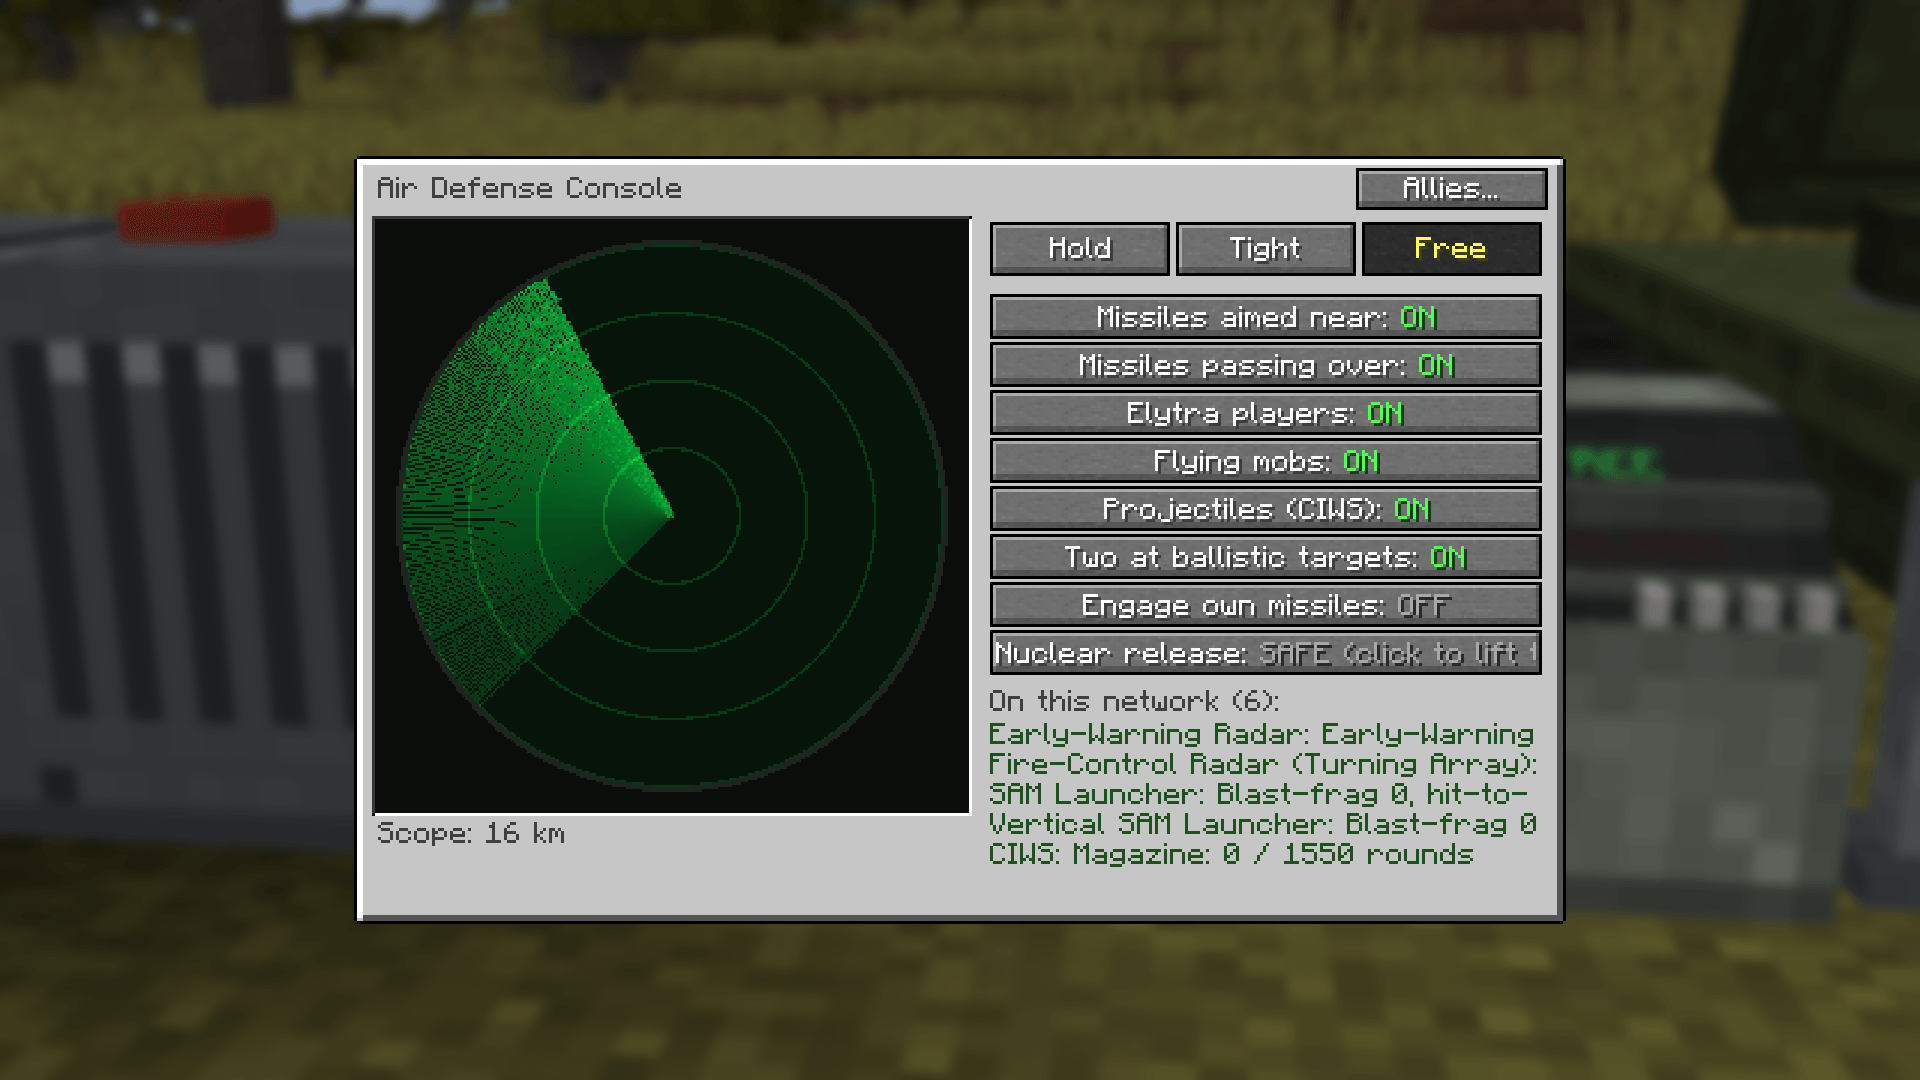
A stranger's jammer 4 km north fills the console's scope with a wedge of noise, hiding whatever flies behind it.
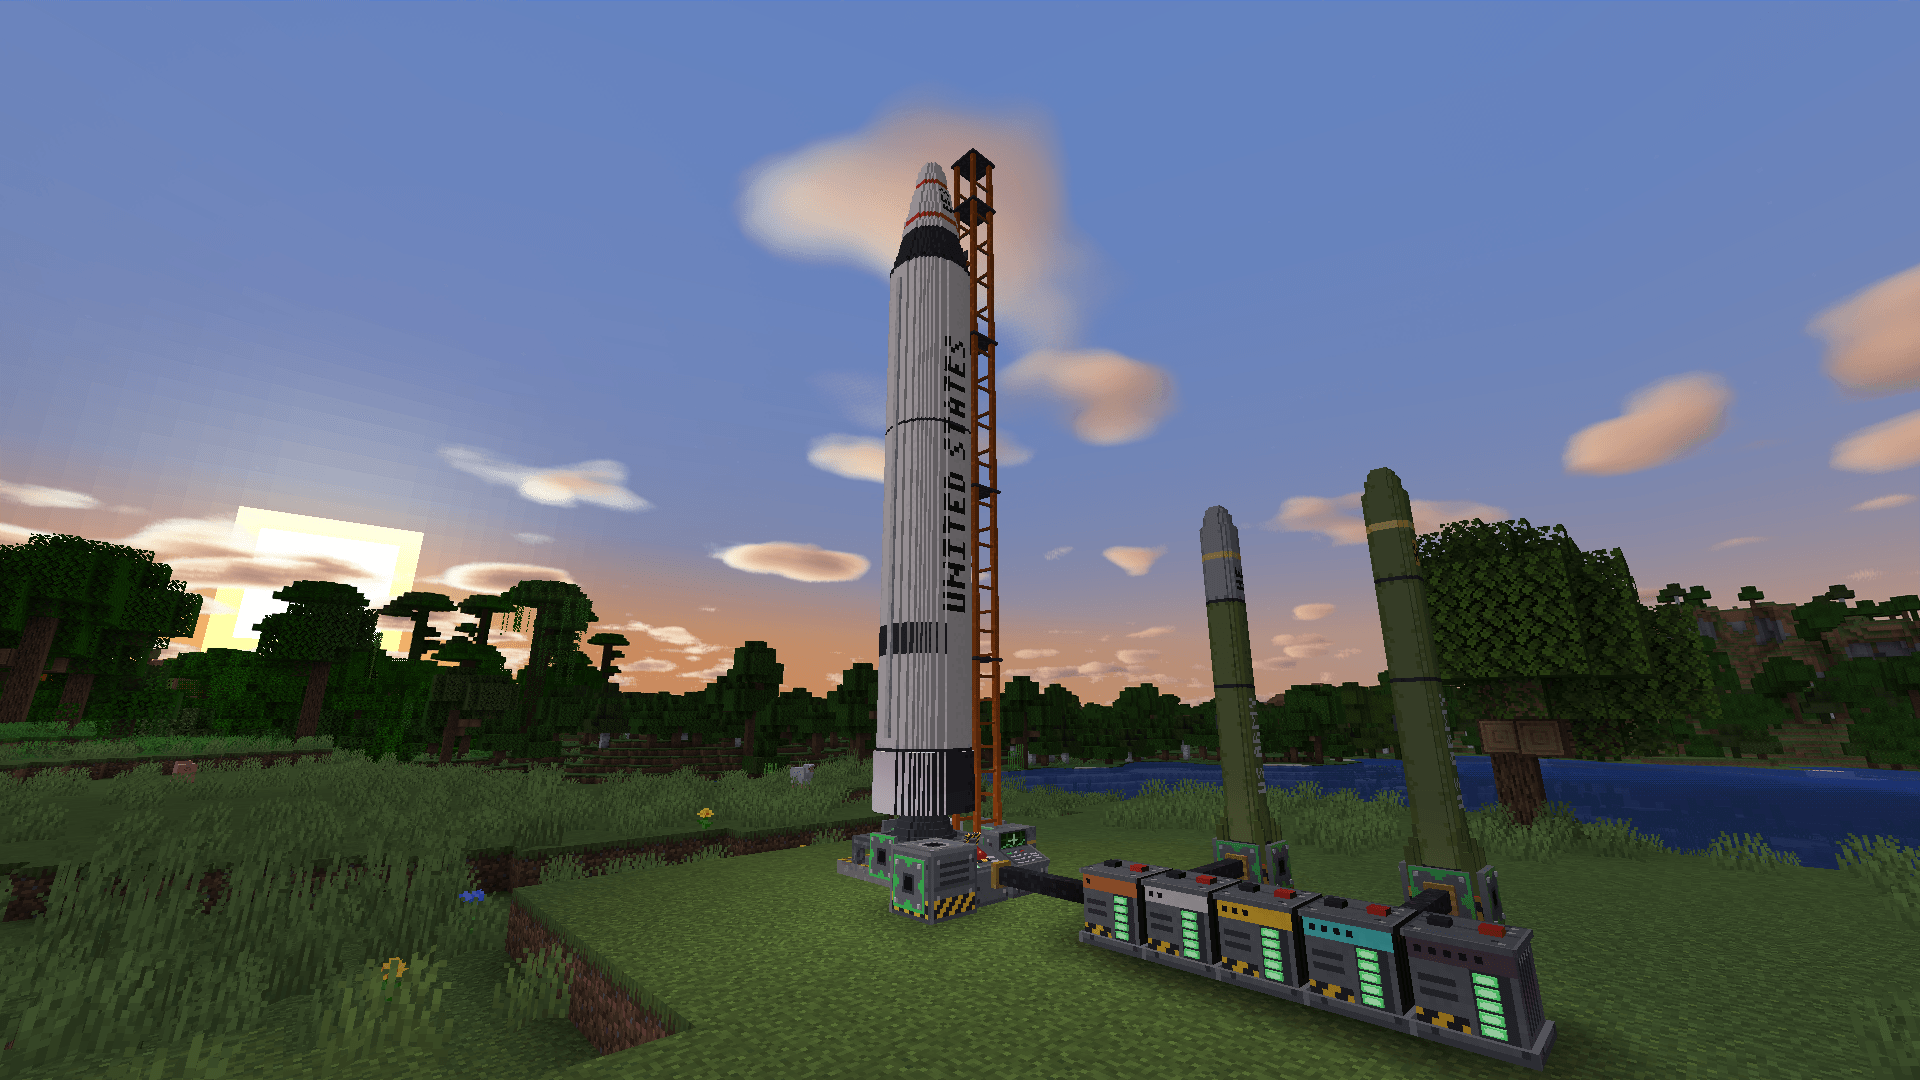
A Jupiter on its medium pad and two Lances on small pads, wired by launch cable to a launch panel and a row of launch batteries.
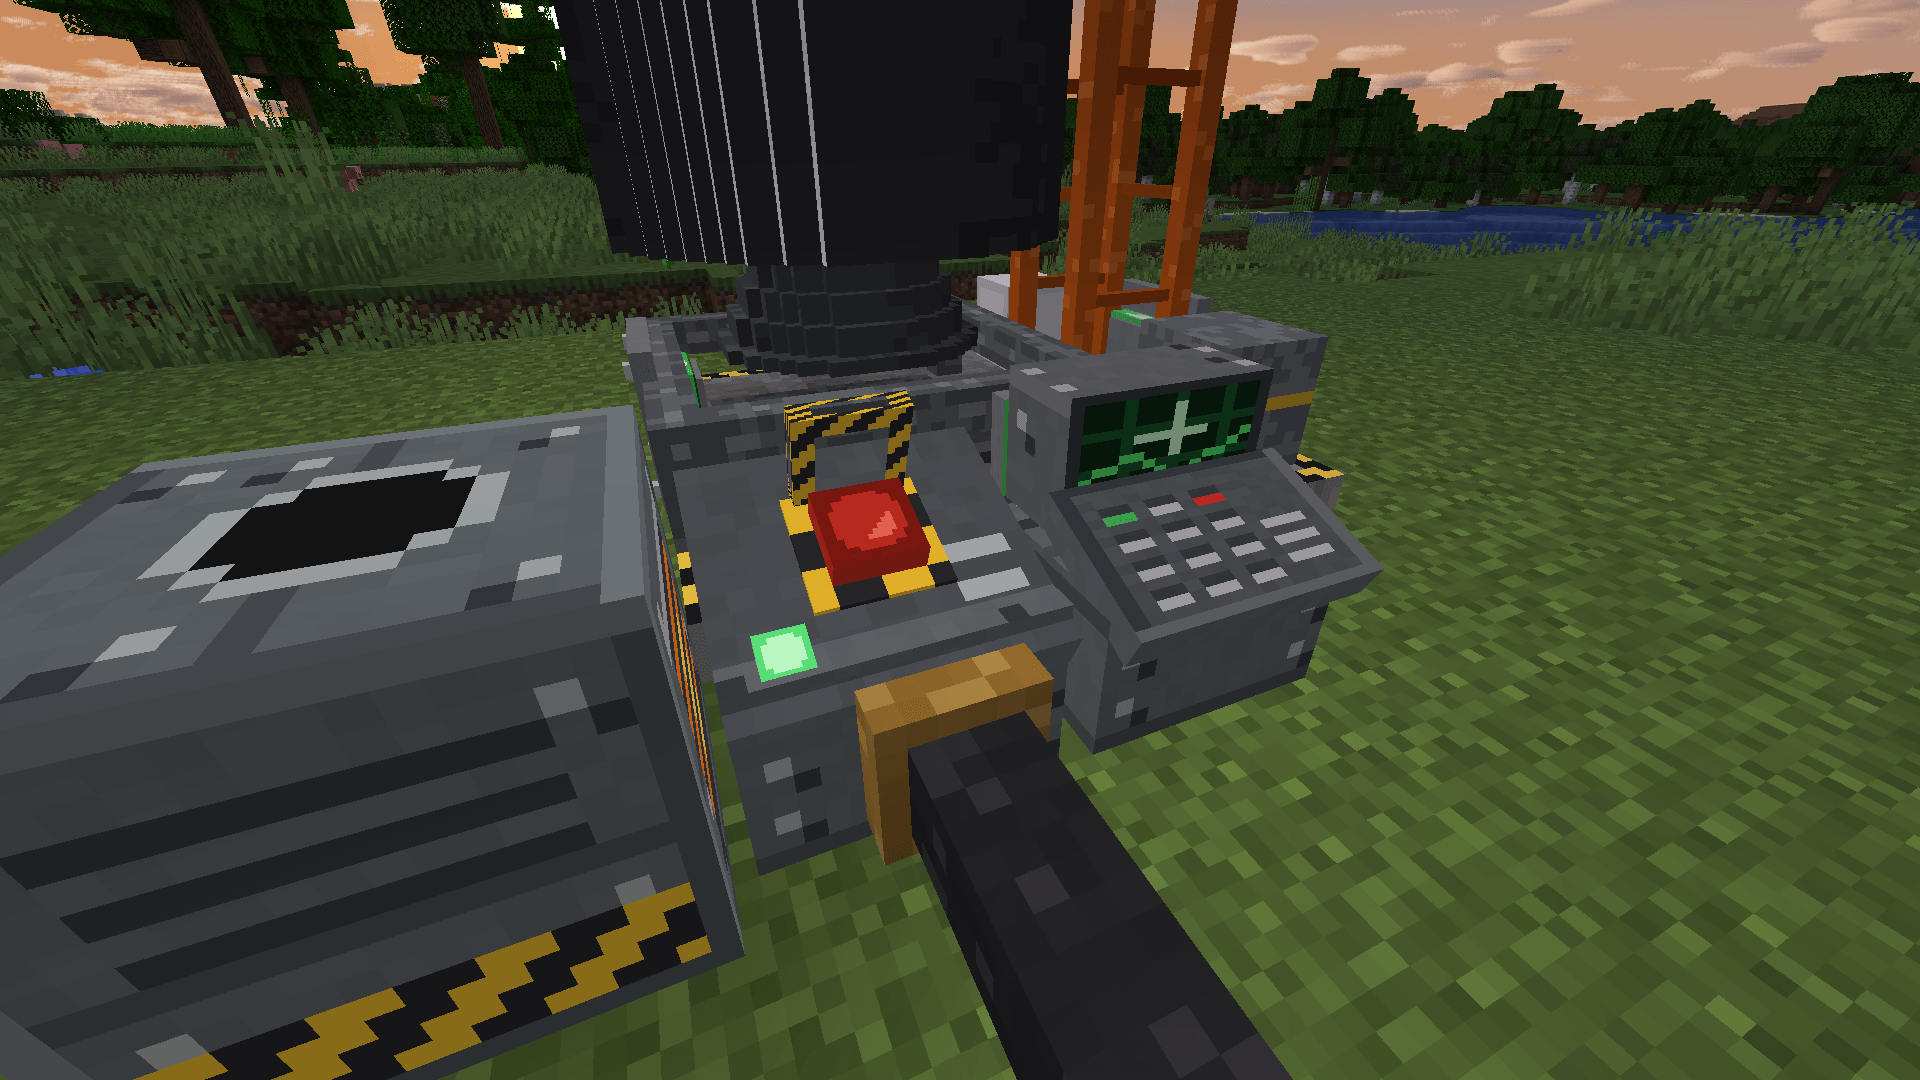
The launch panel with its safety cover raised, between a fuel generator and the targeting panel at the foot of the pad.
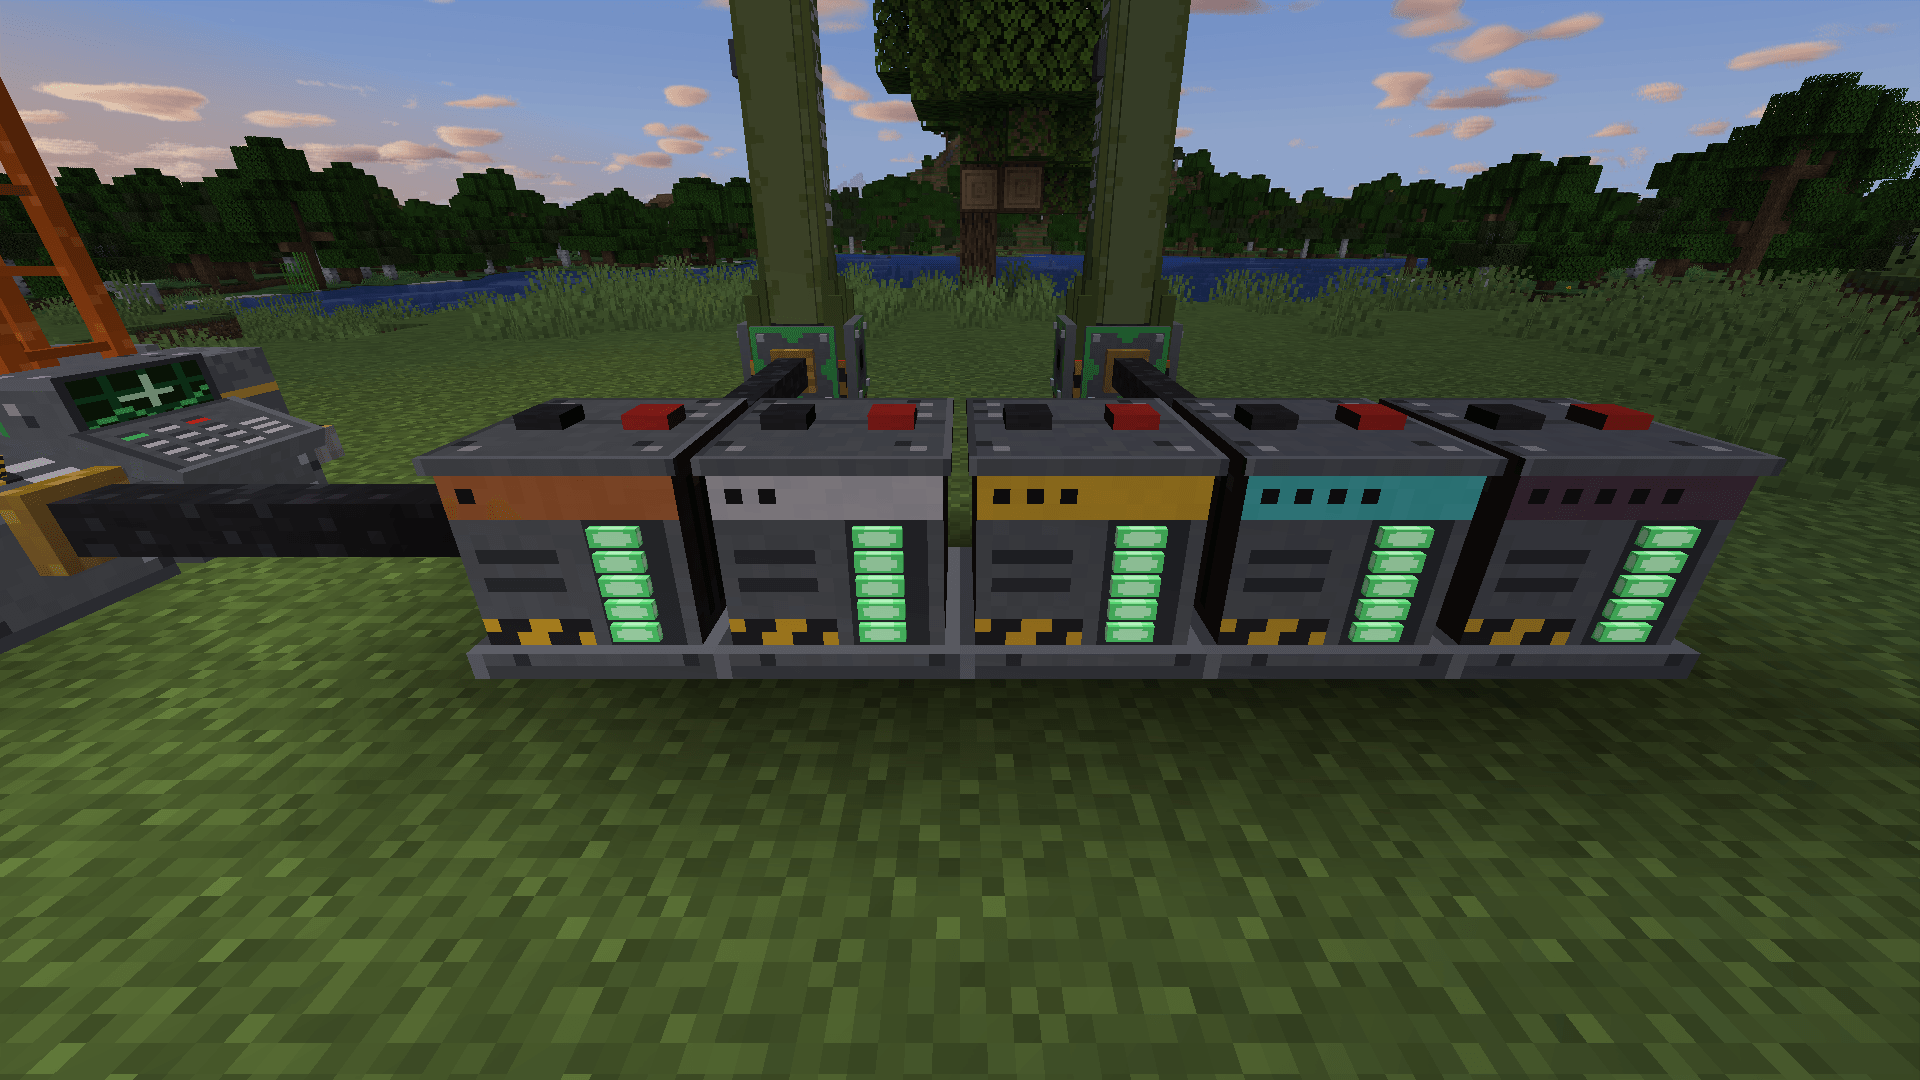
All five launch batteries, from 50k to 1M FE, joined to the launch network with every charge lamp lit.
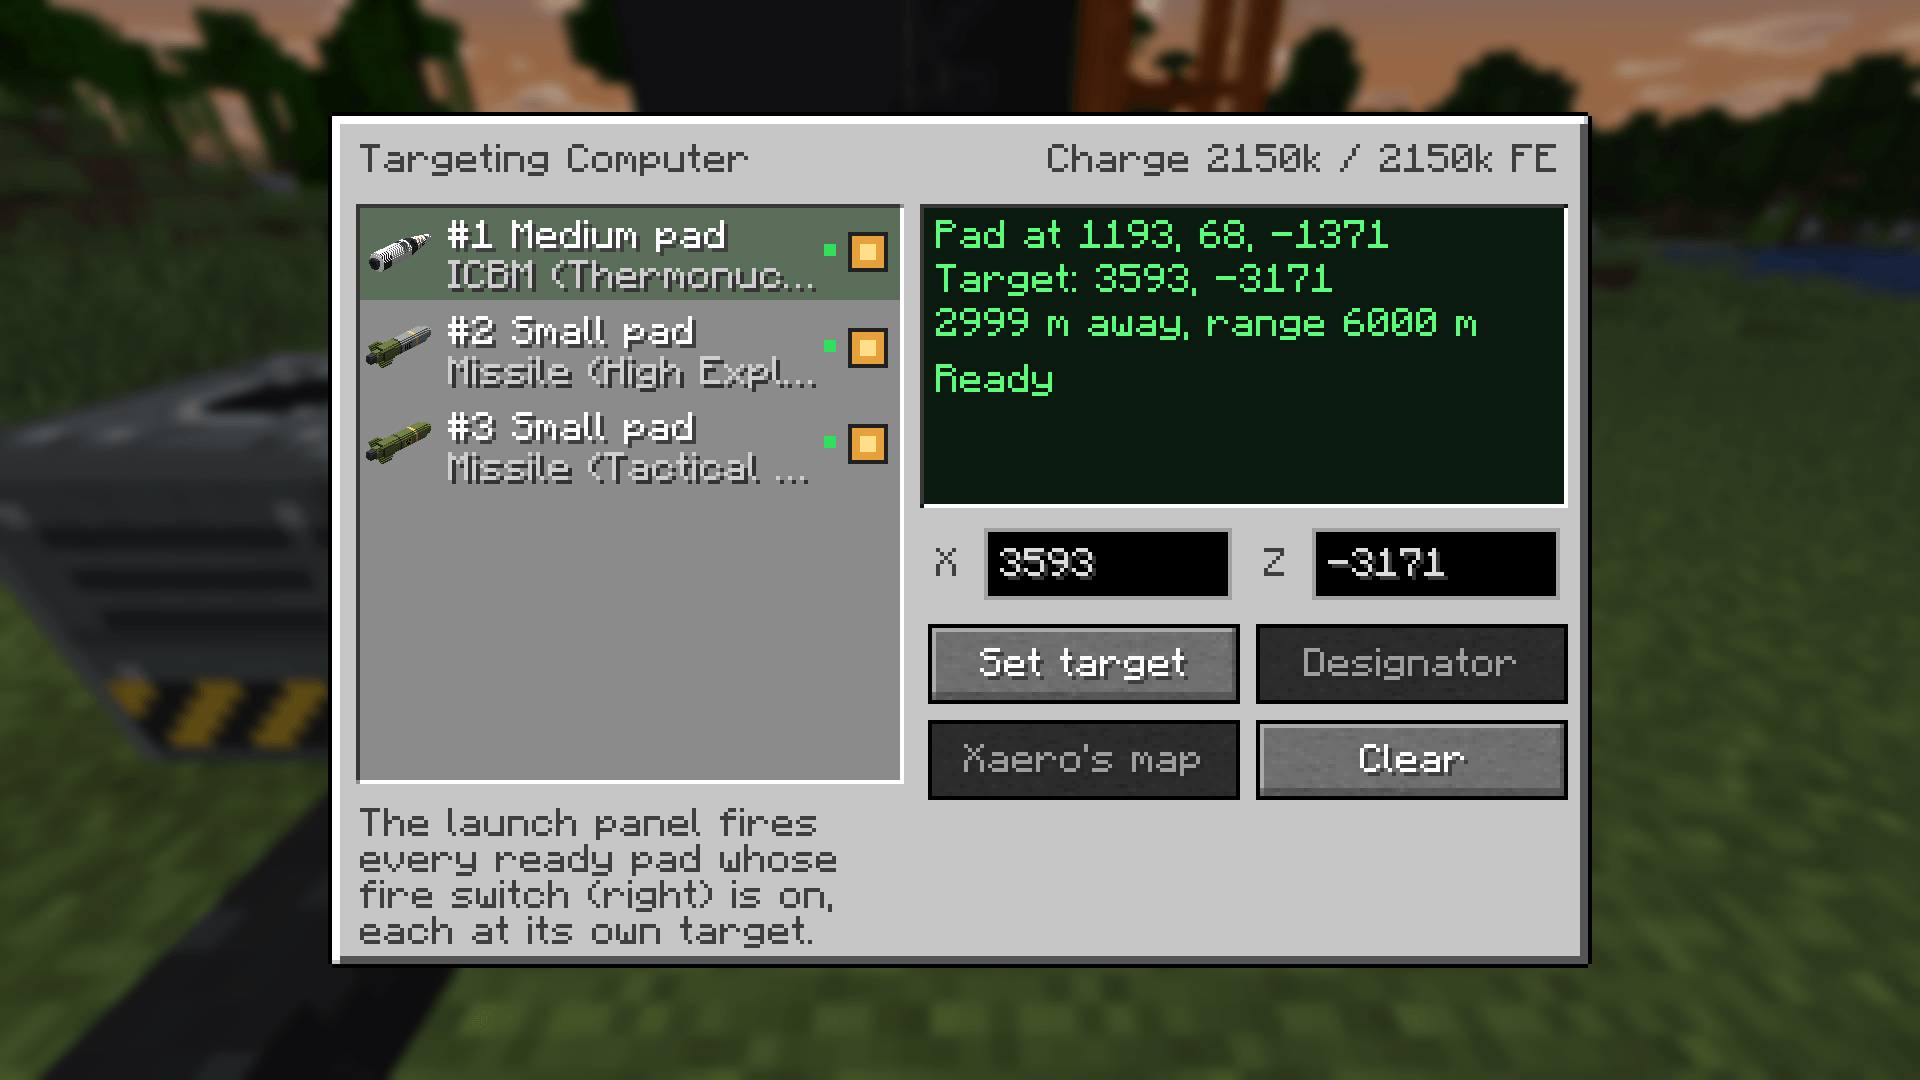
The targeting panel lists every pad on its network and sets each one's target by coordinates, designator or Xaero's World Map.
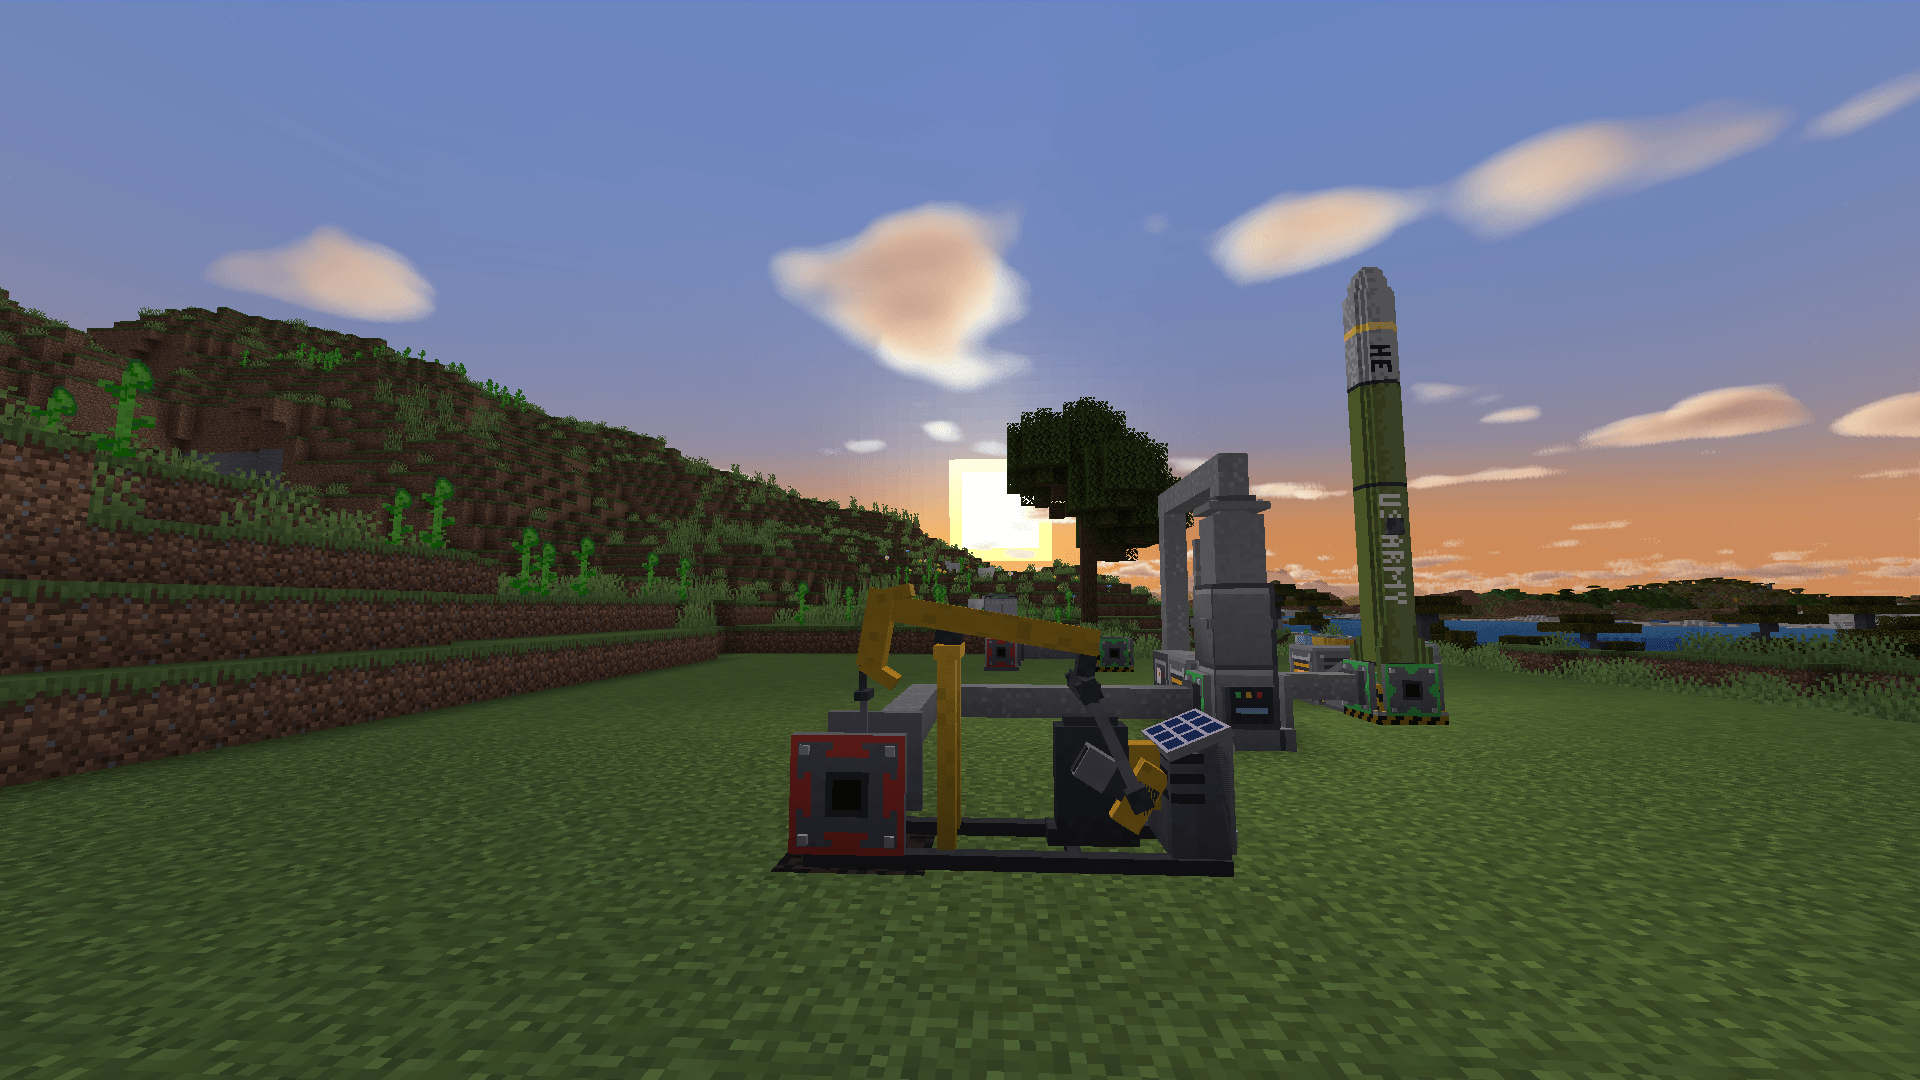
A solar pumpjack on an oil spout pipes crude to the distillation column and fuel plant, which fuel a Lance on its pad.
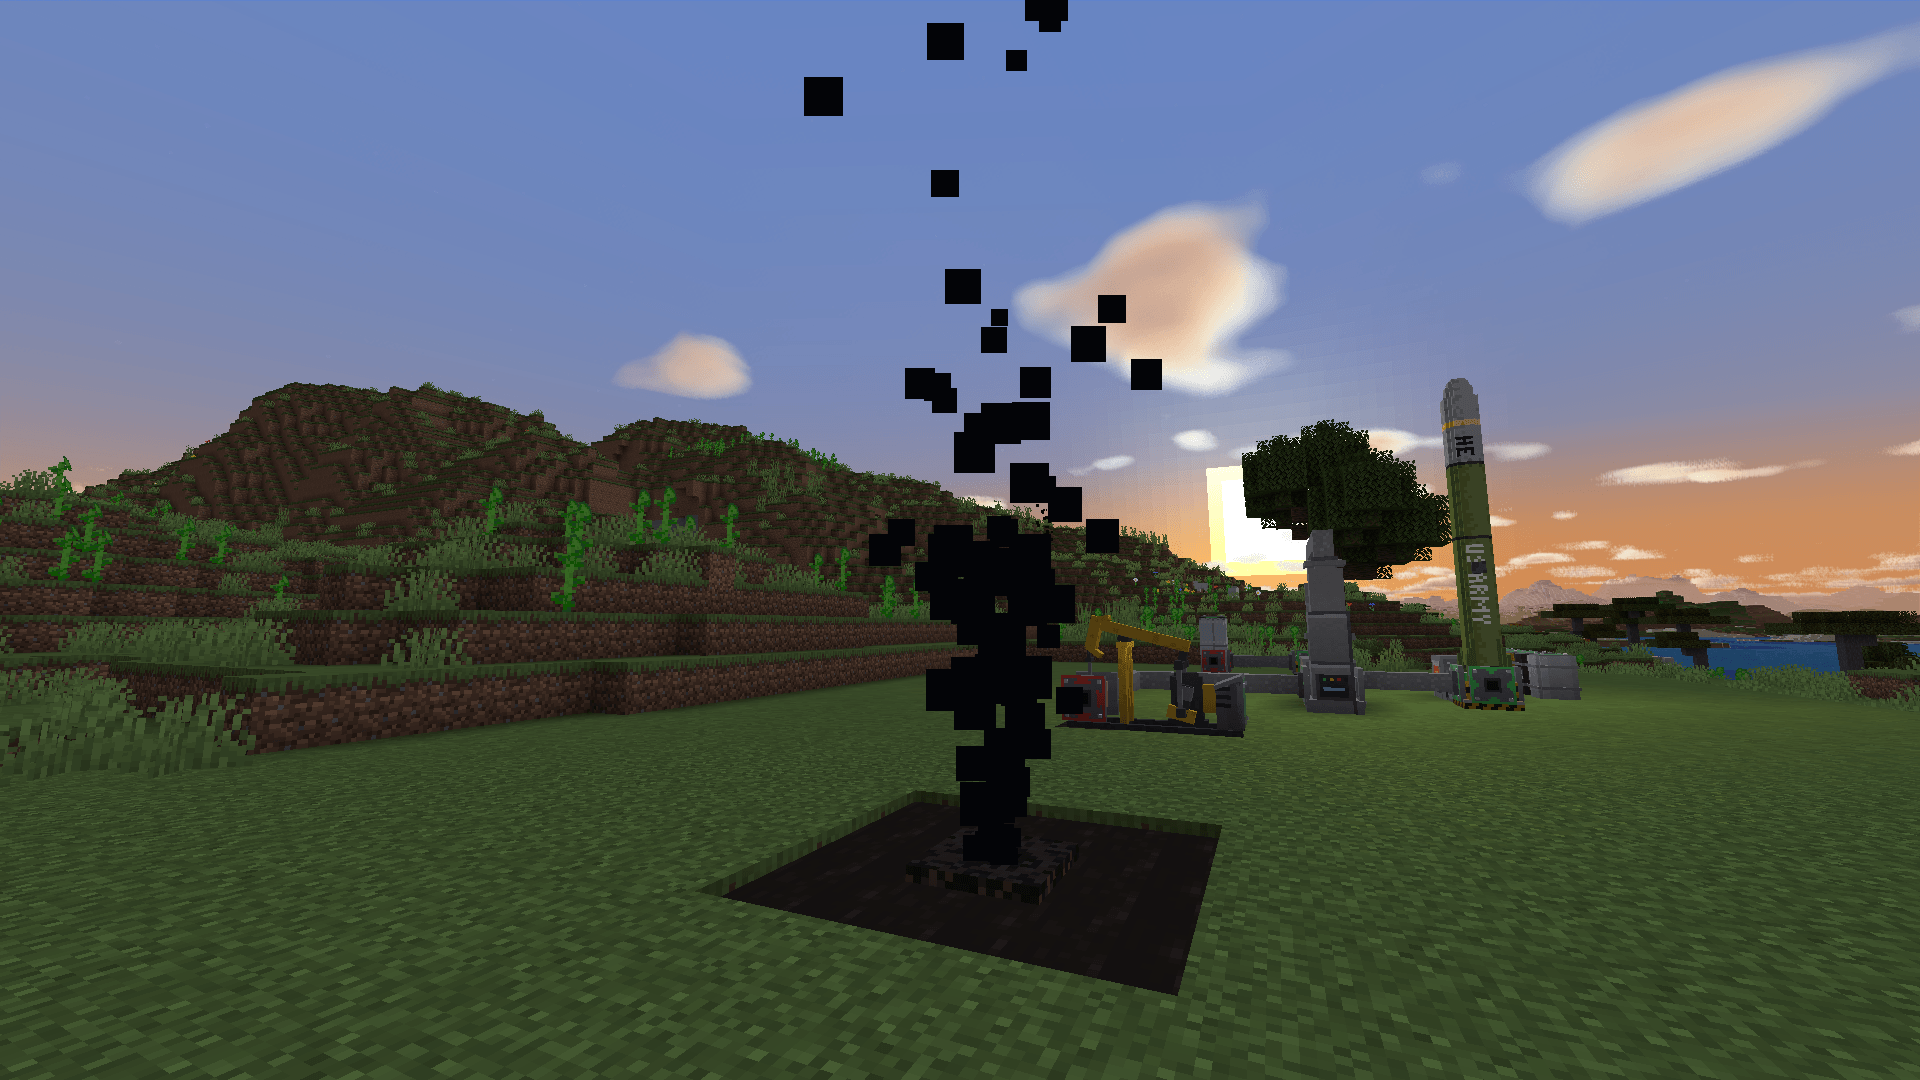
An untapped oil spout throws a jet of crude out of its pool every few seconds until a pumpjack is set on it.
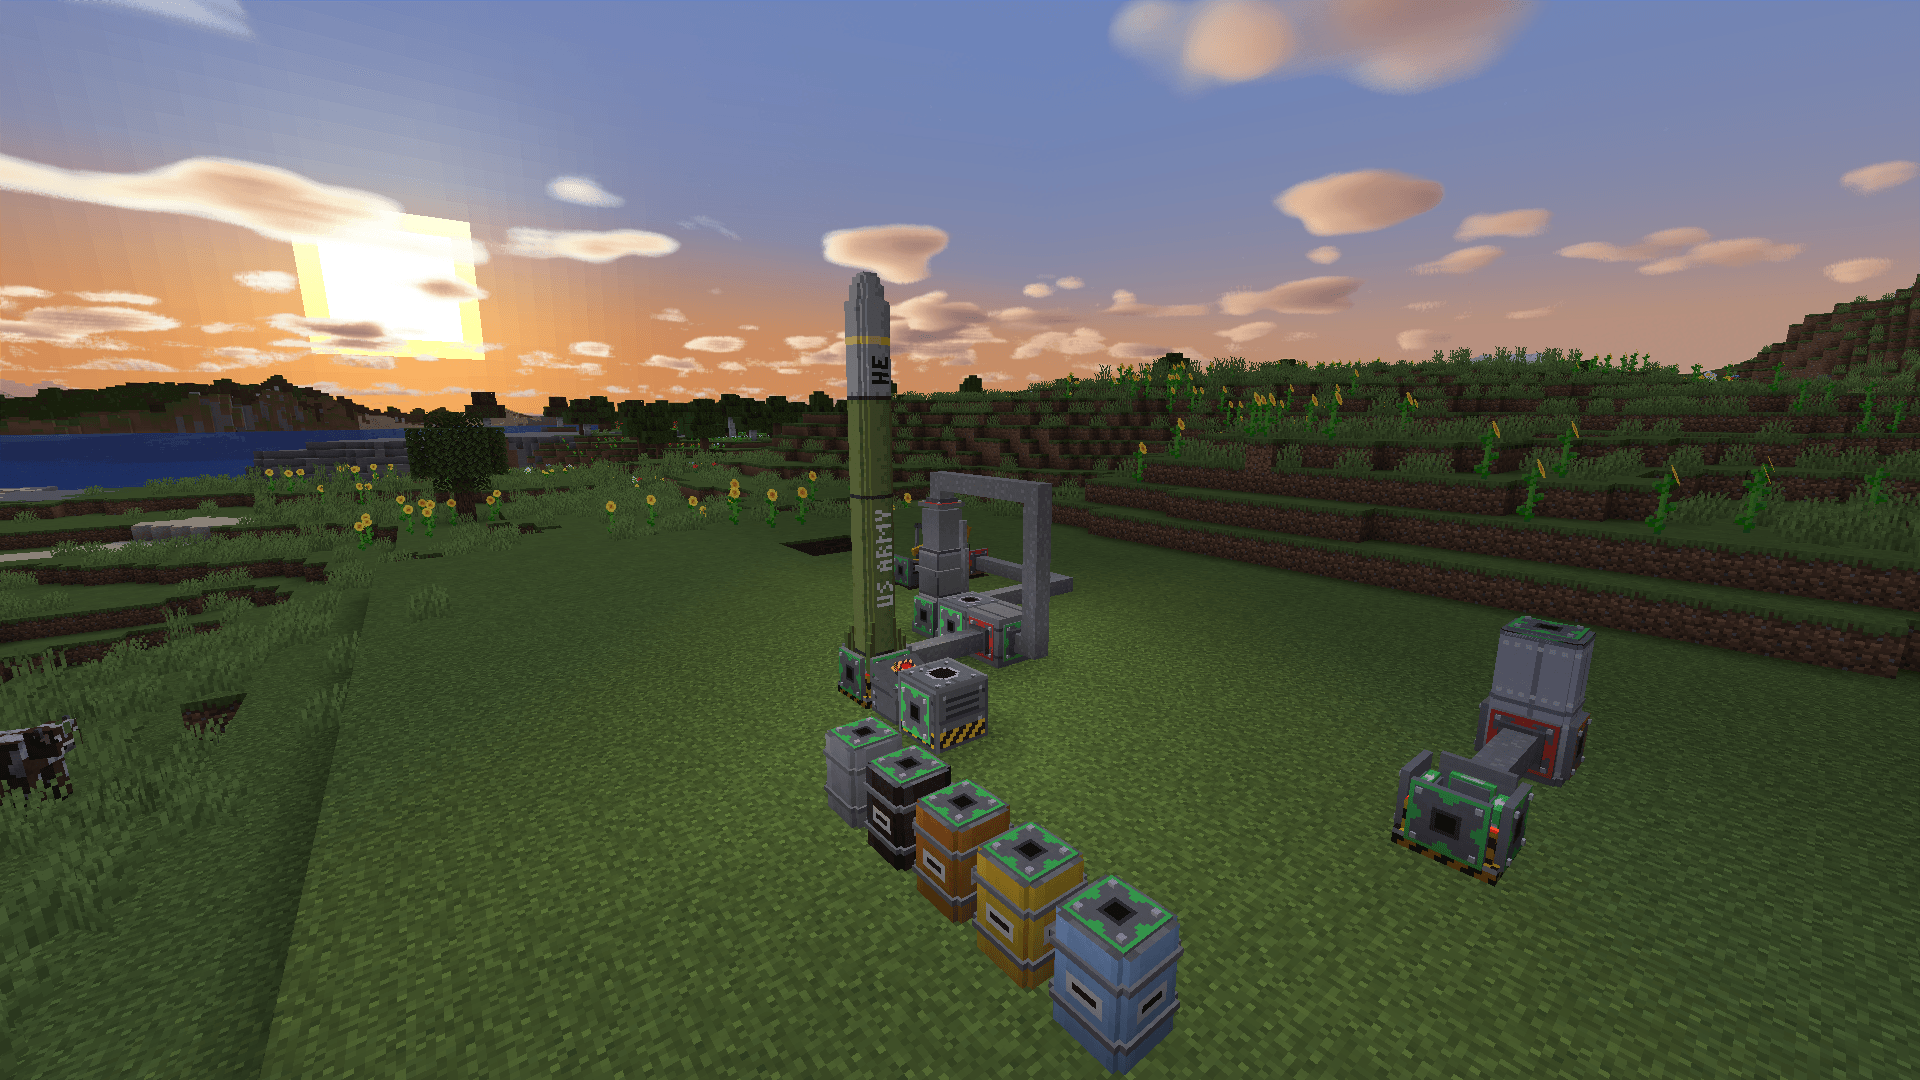
Barrels of every oil set down in a row, and a stack of fuel tanks feeding rocket fuel to a launch pad.
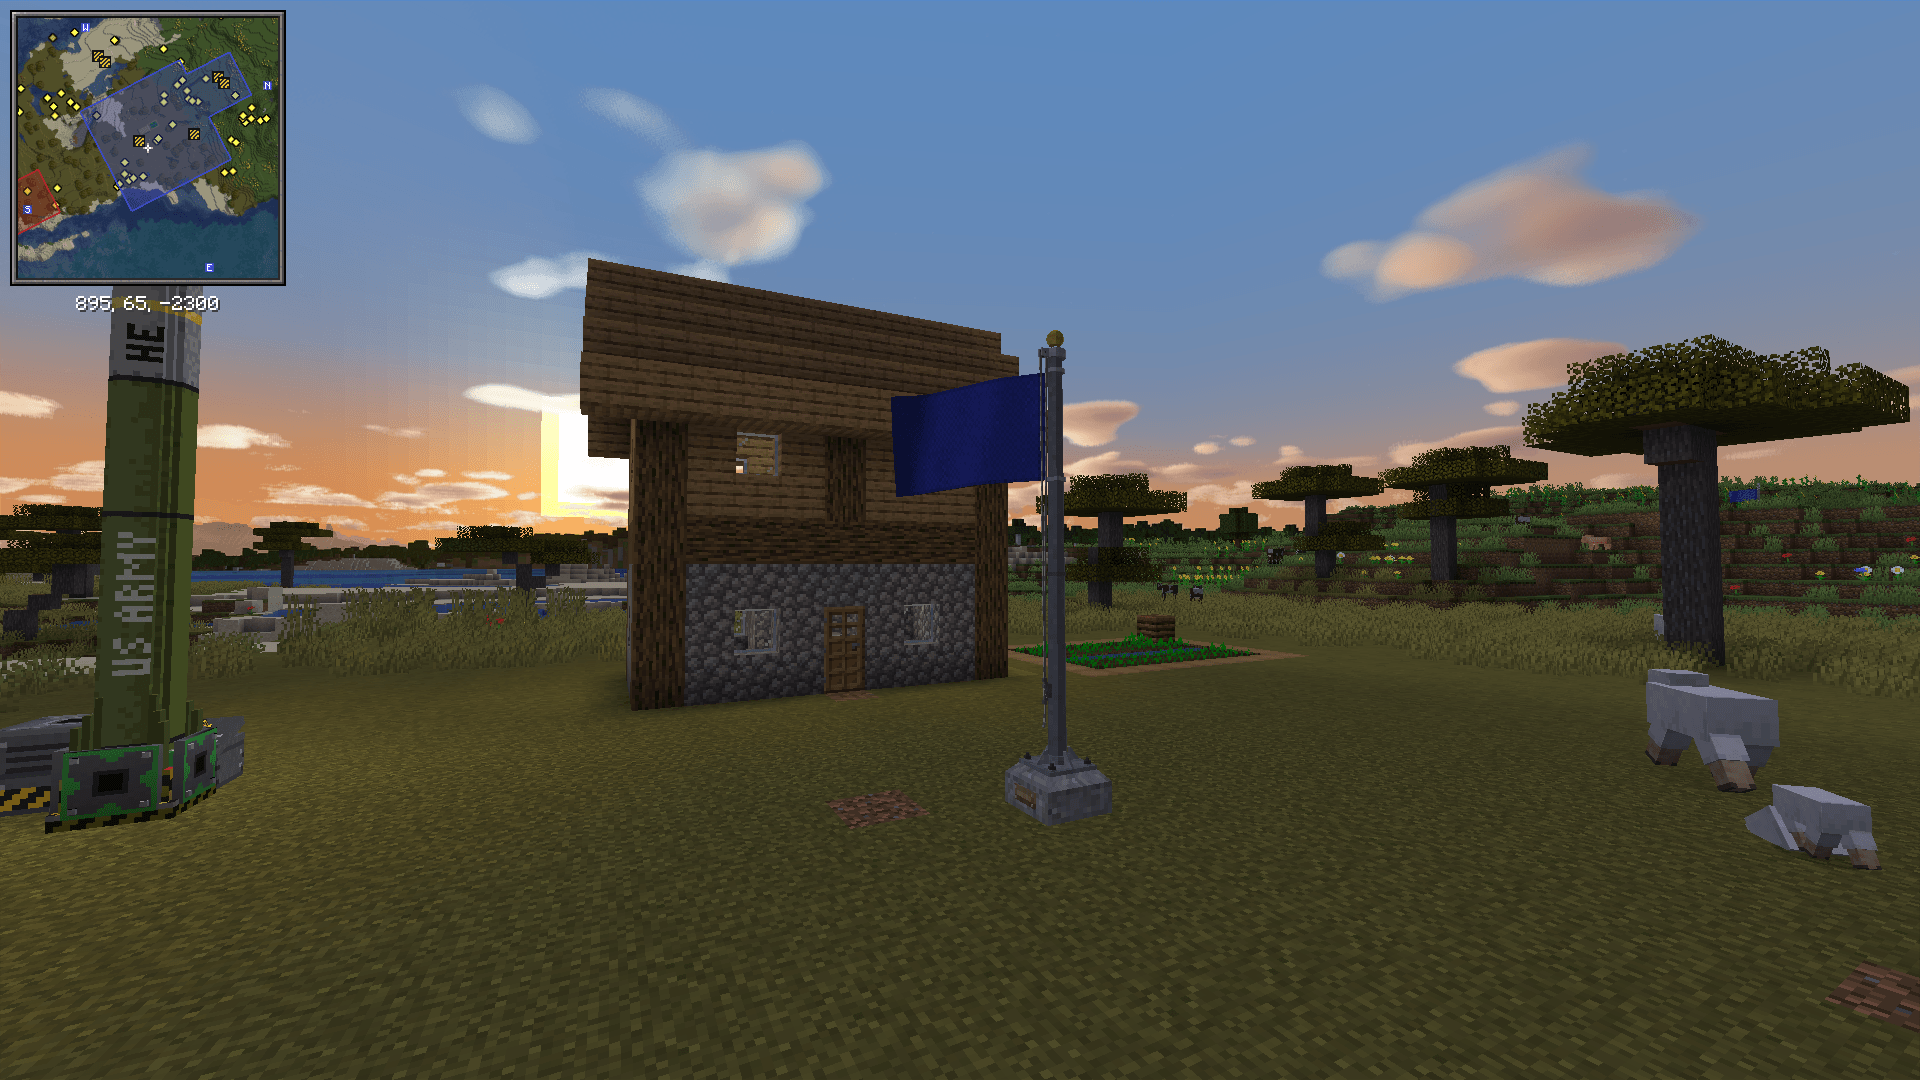
A base flag flies in the team's colour over a homestead, and the minimap tints the land it claims.
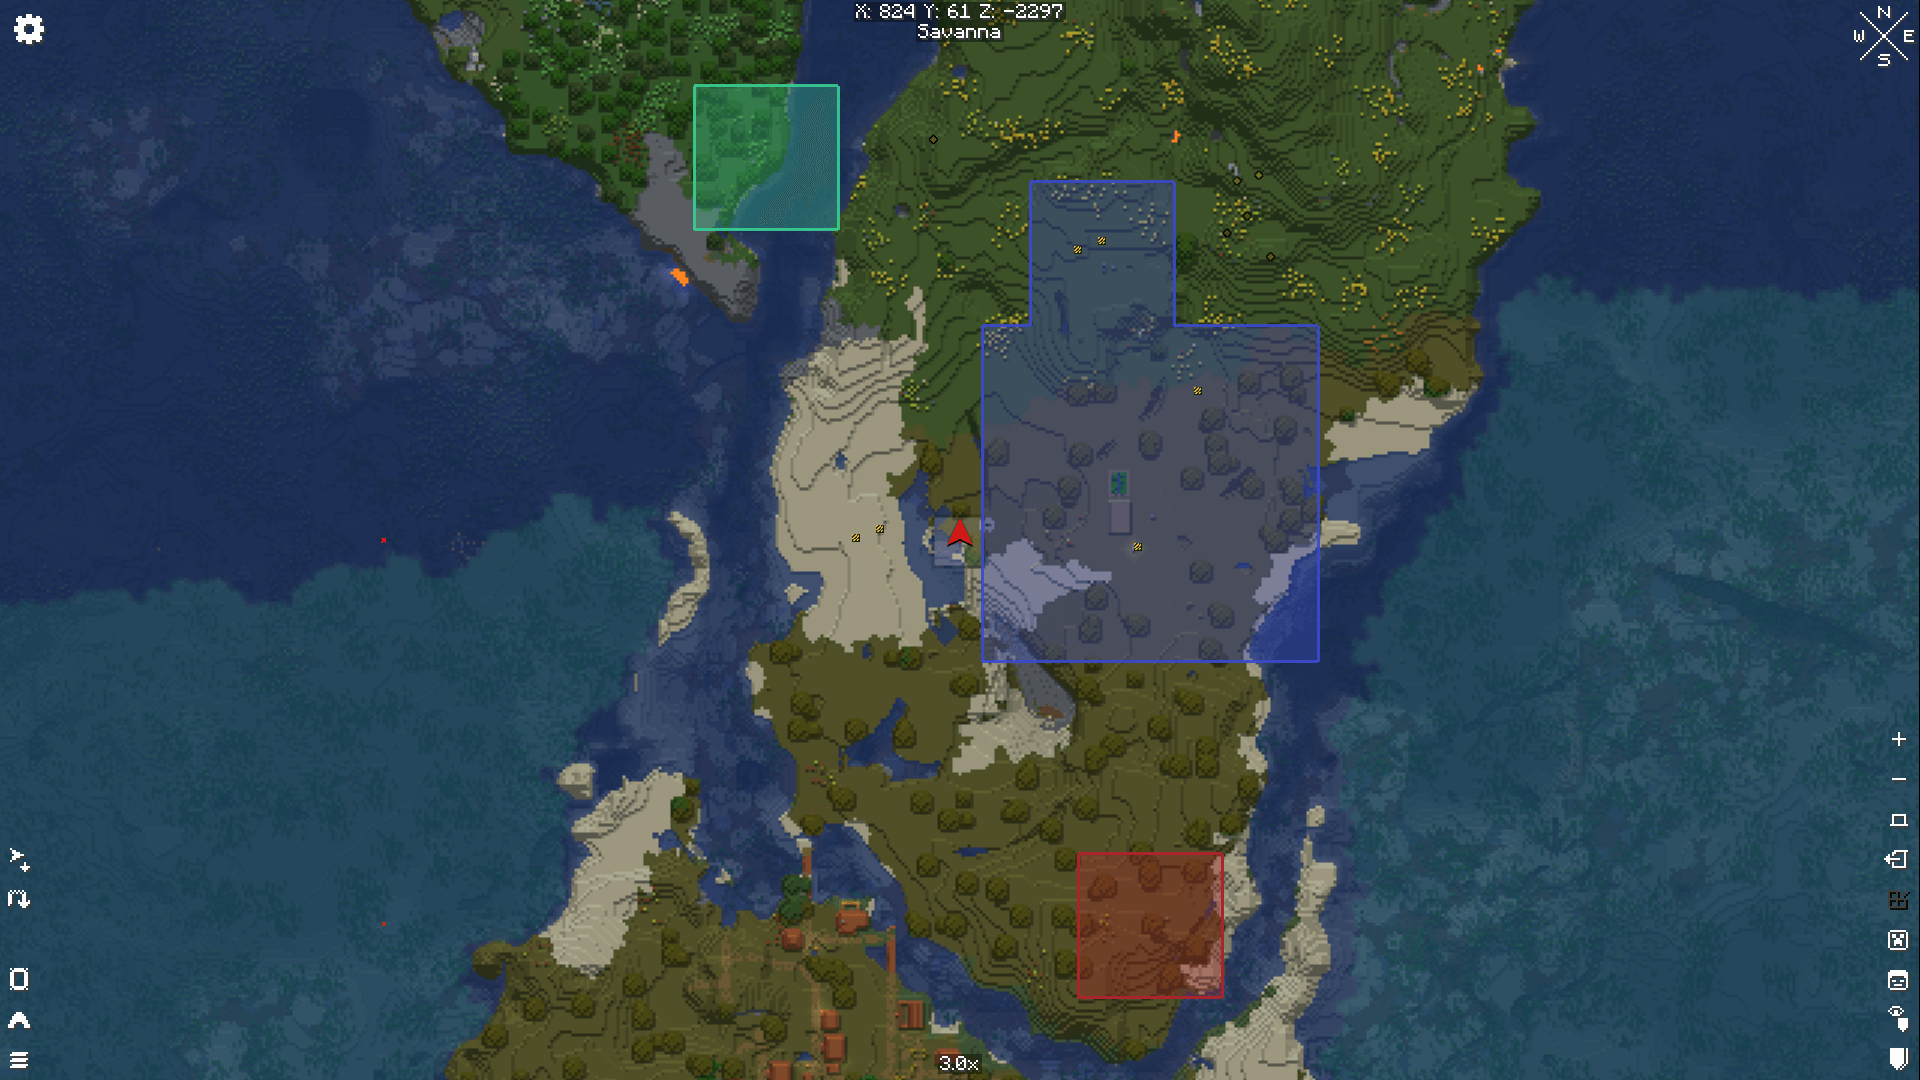
Xaero's World Map shows every claim in its owner's colour: your base and outpost, a rival team's outpost and a Crimson outpost.
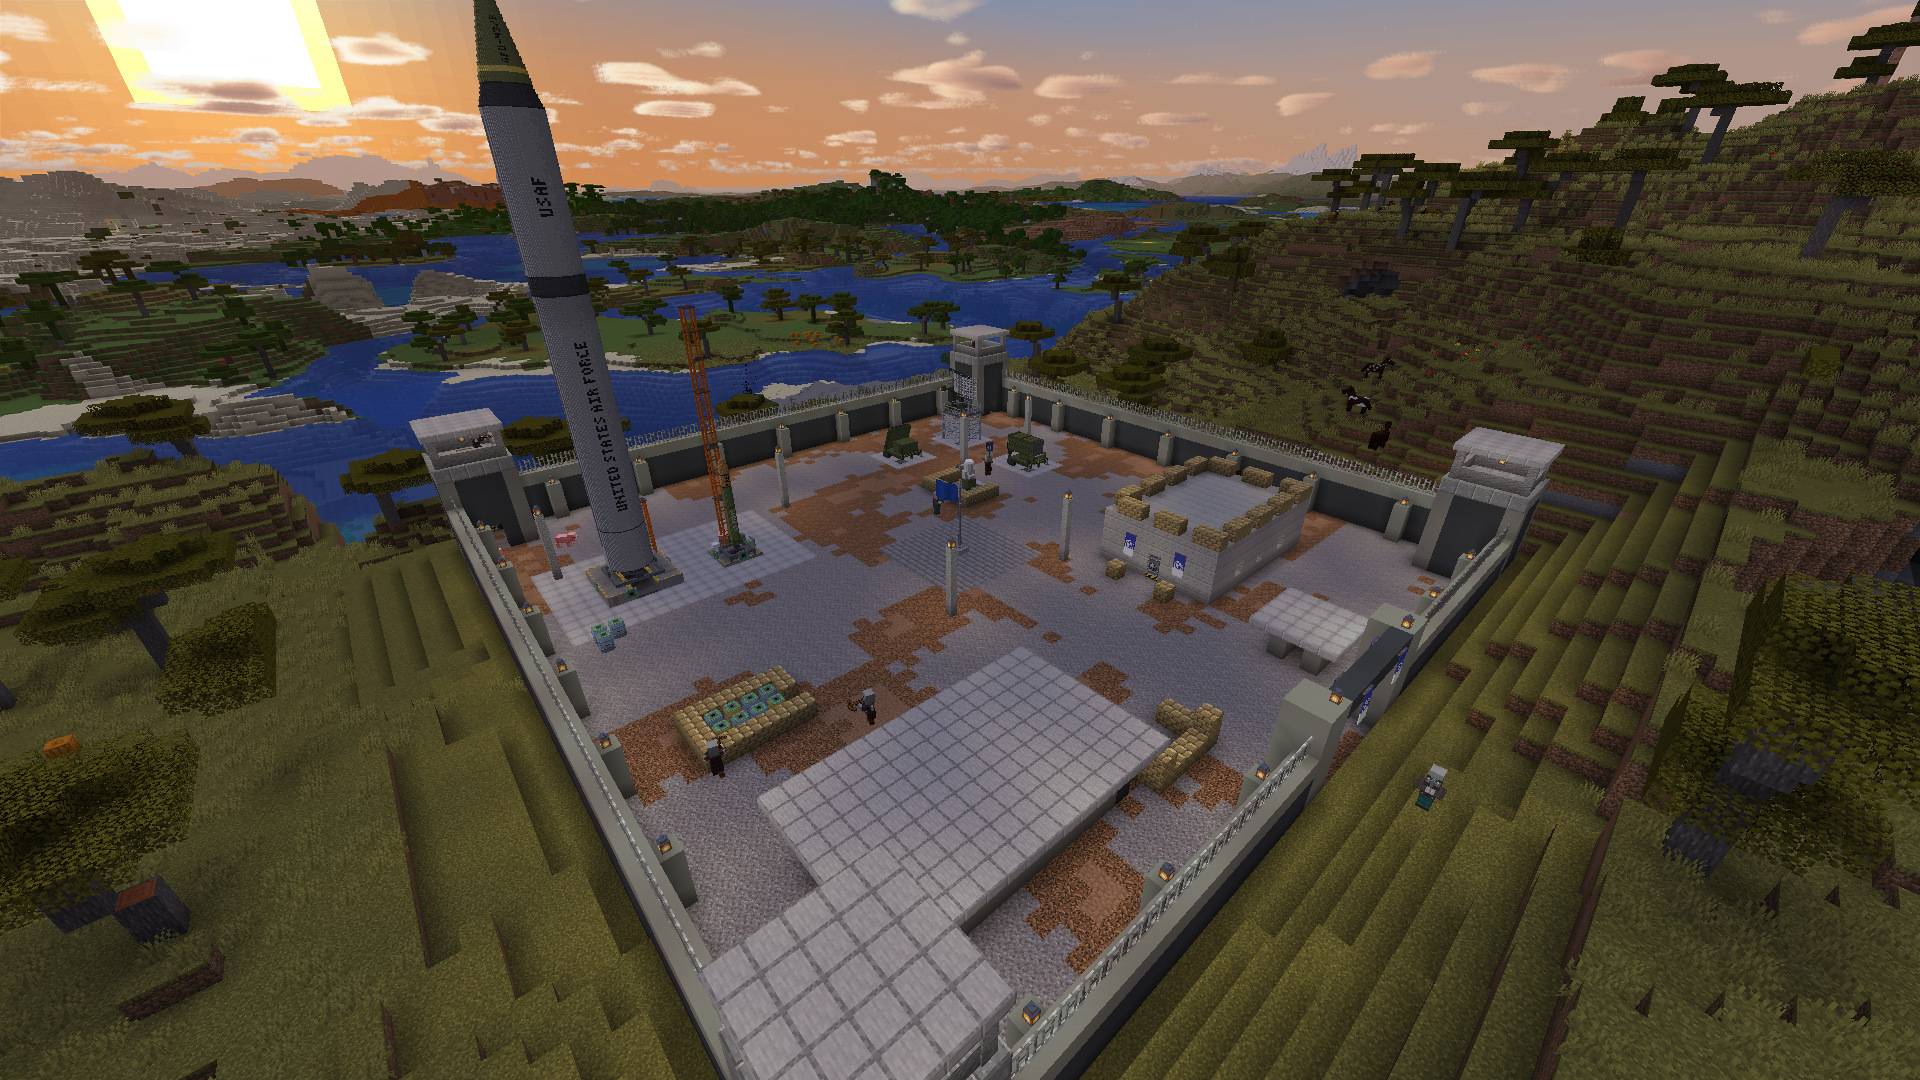
A Cobalt fortified base: concrete walls and corner towers around a Titan II and a Jupiter on their pads, its air defense and a bunker.
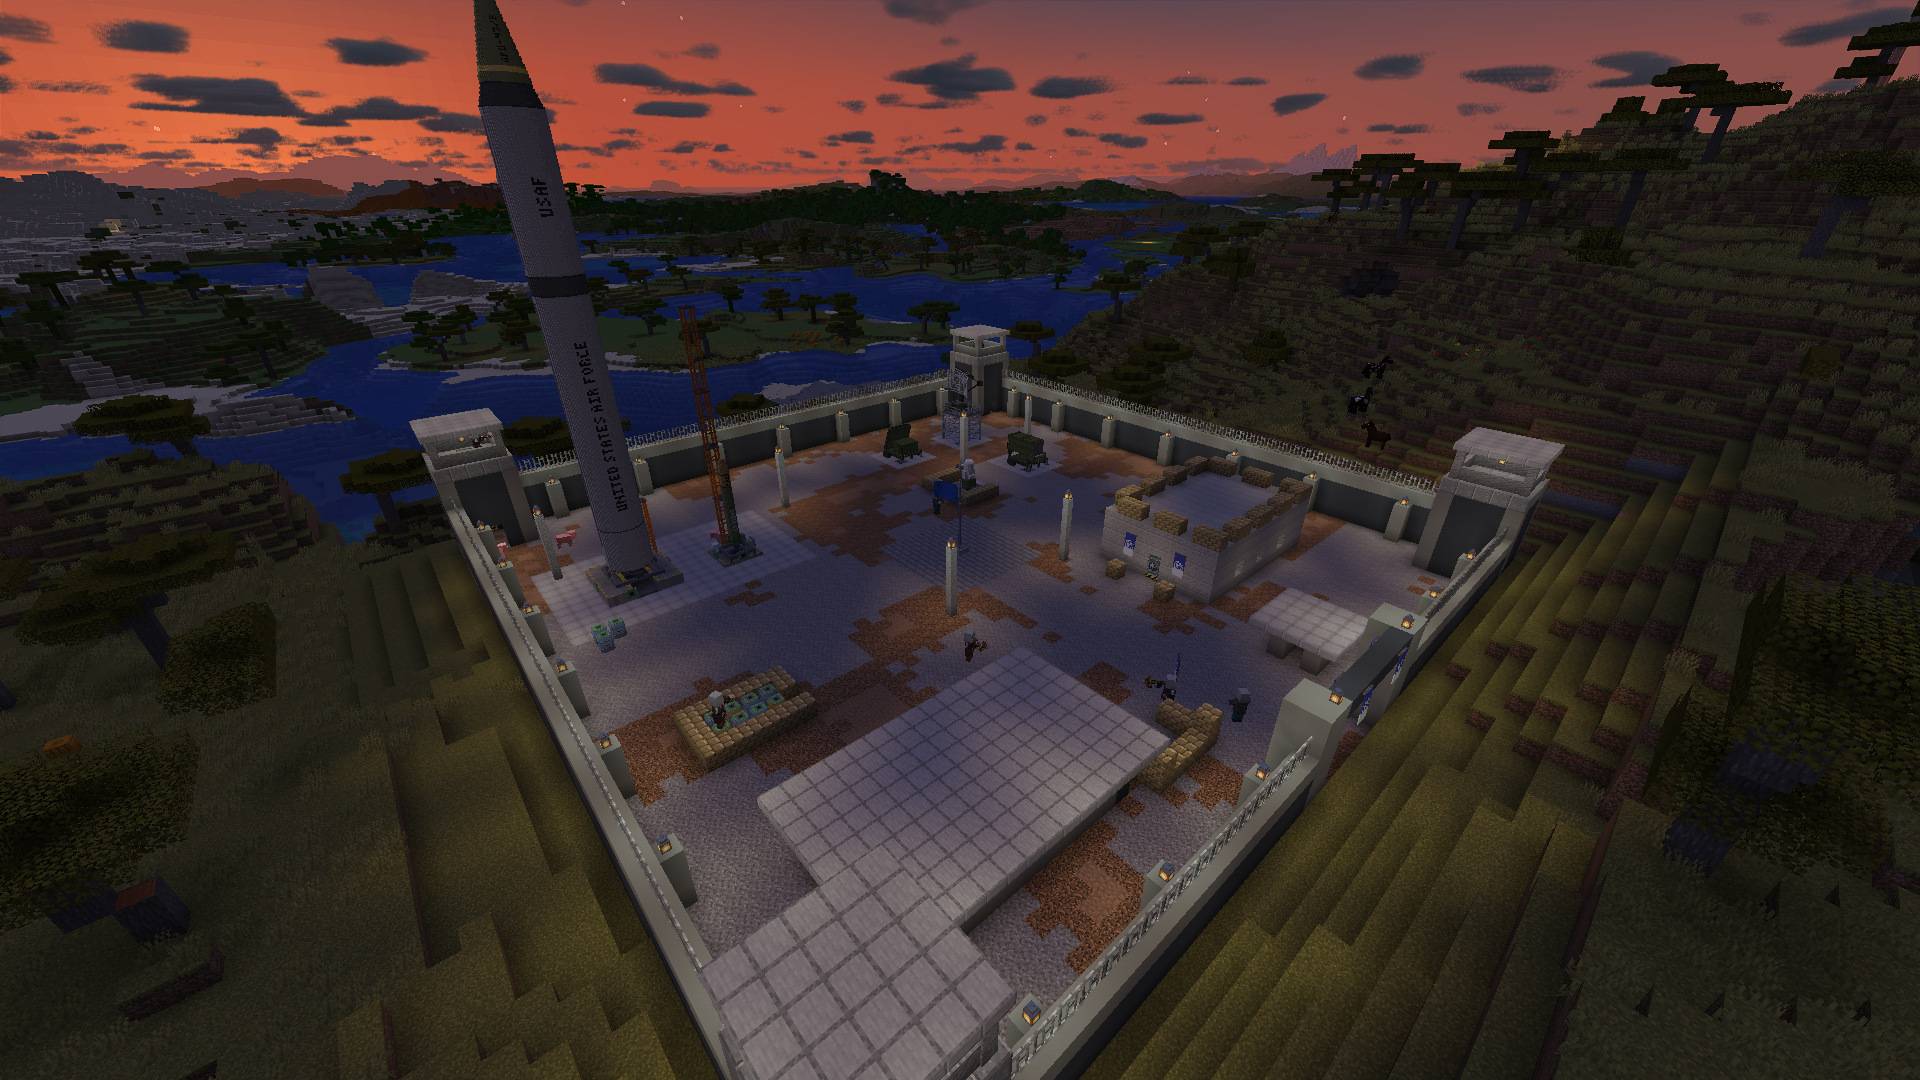
The same base after sunset, with its lamps lit along the walls and on the towers.
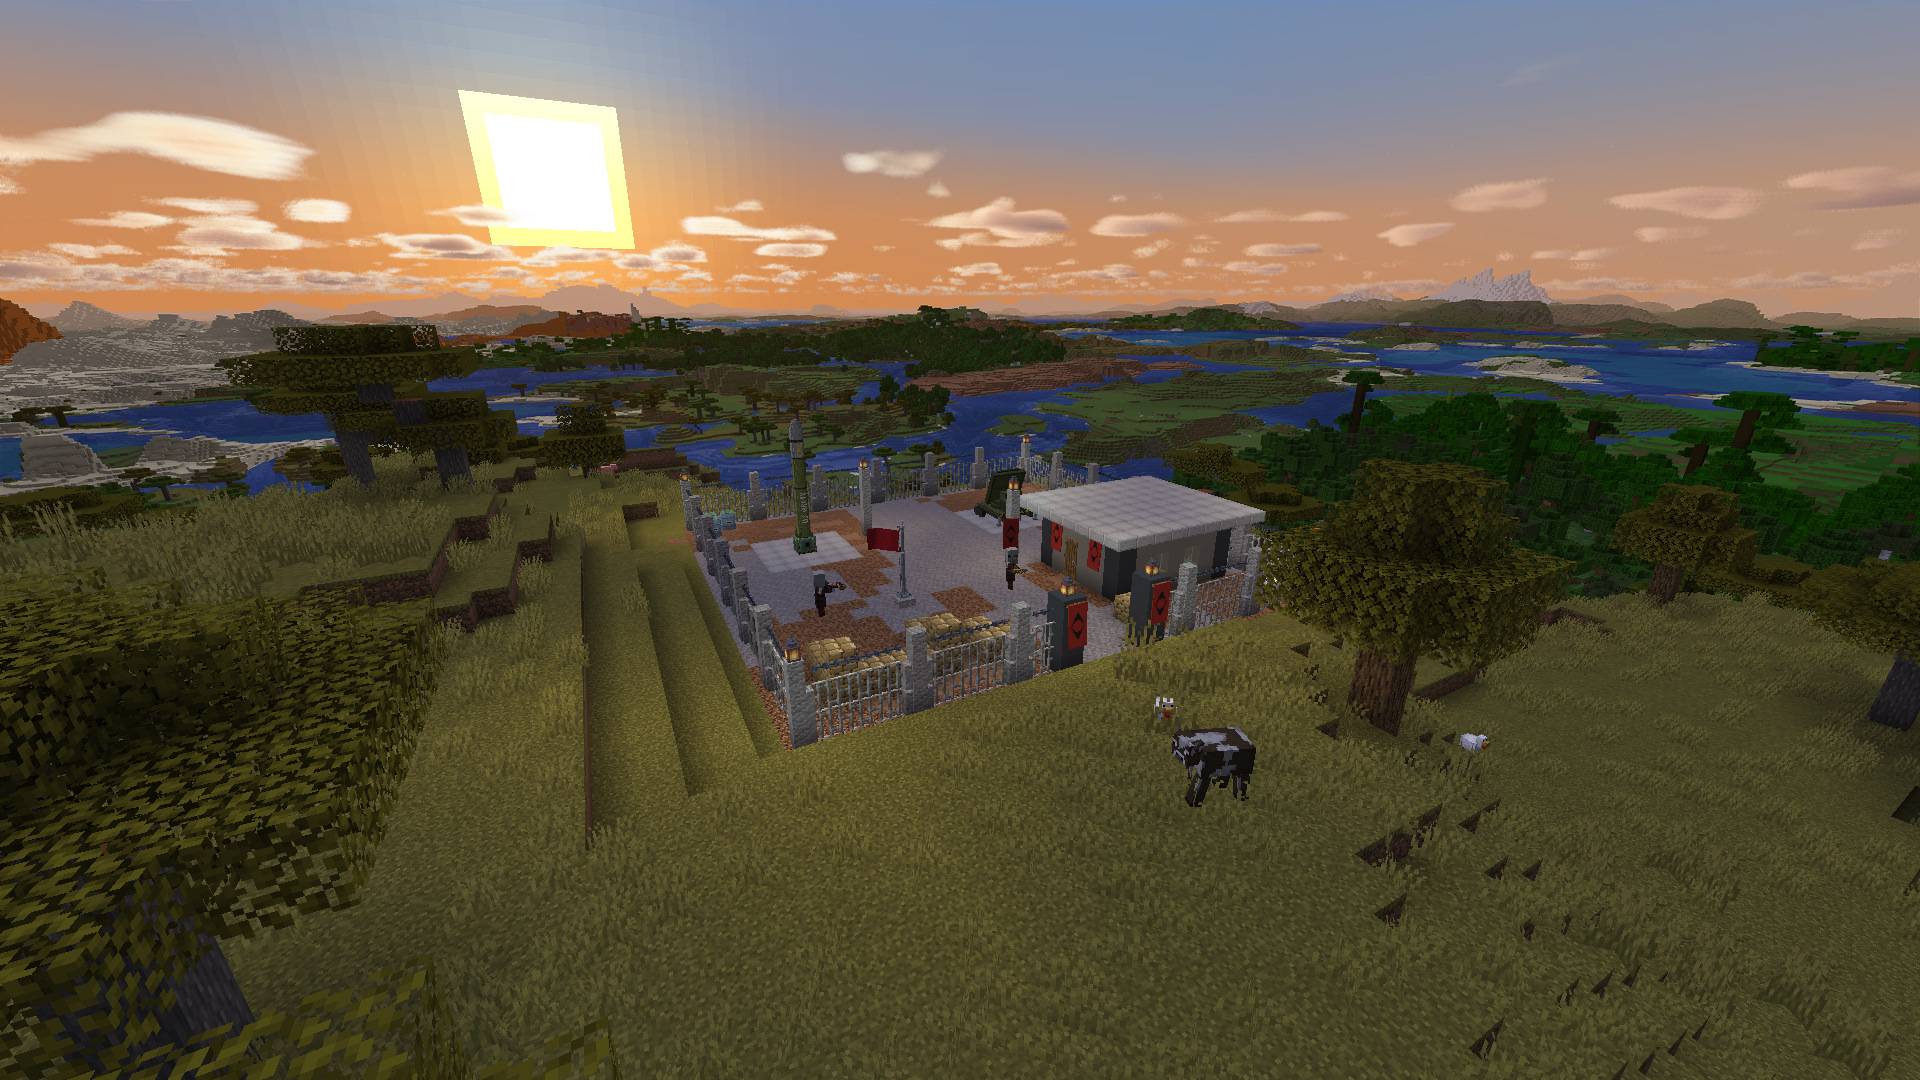
A Crimson Directorate outpost on a hilltop: a fenced compound with a launch pad, a radar, a hut and its guards.
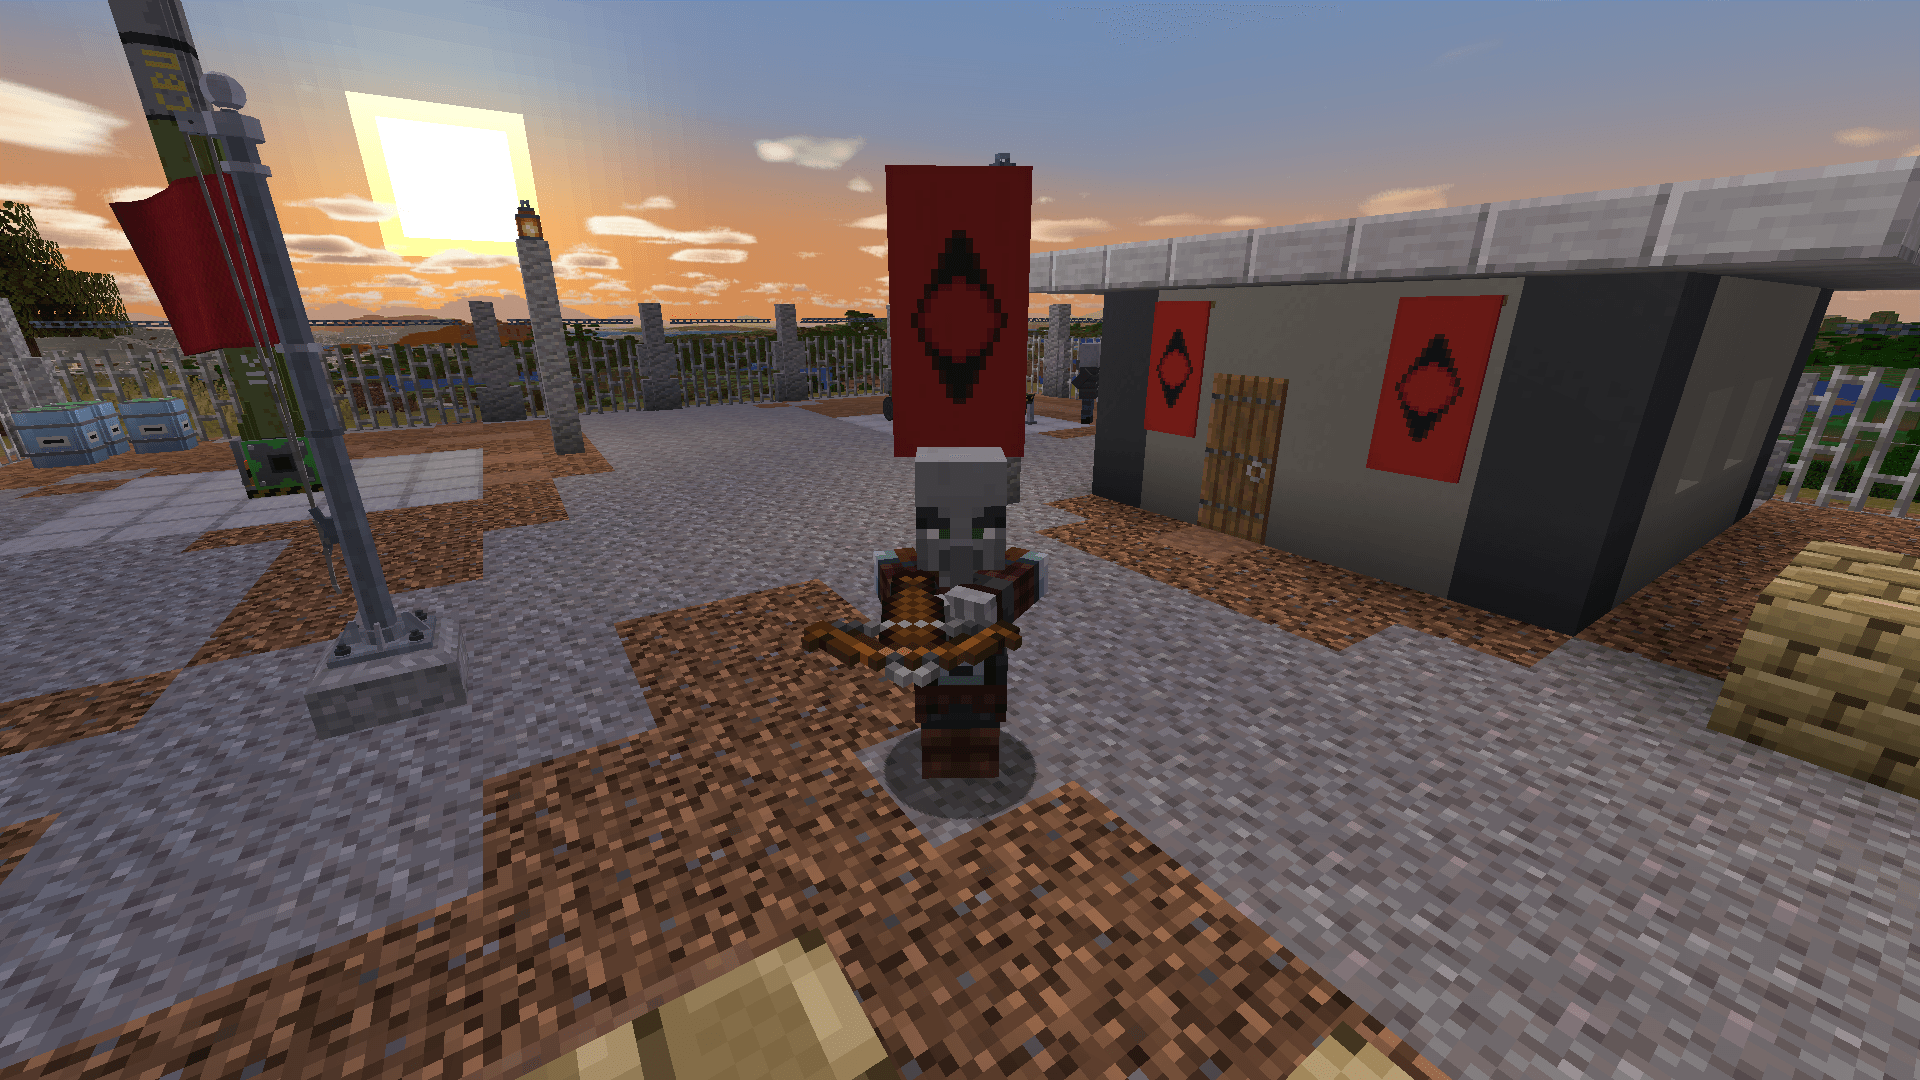
The captain of a Crimson outpost wears the faction's banner, and drops it when he falls.
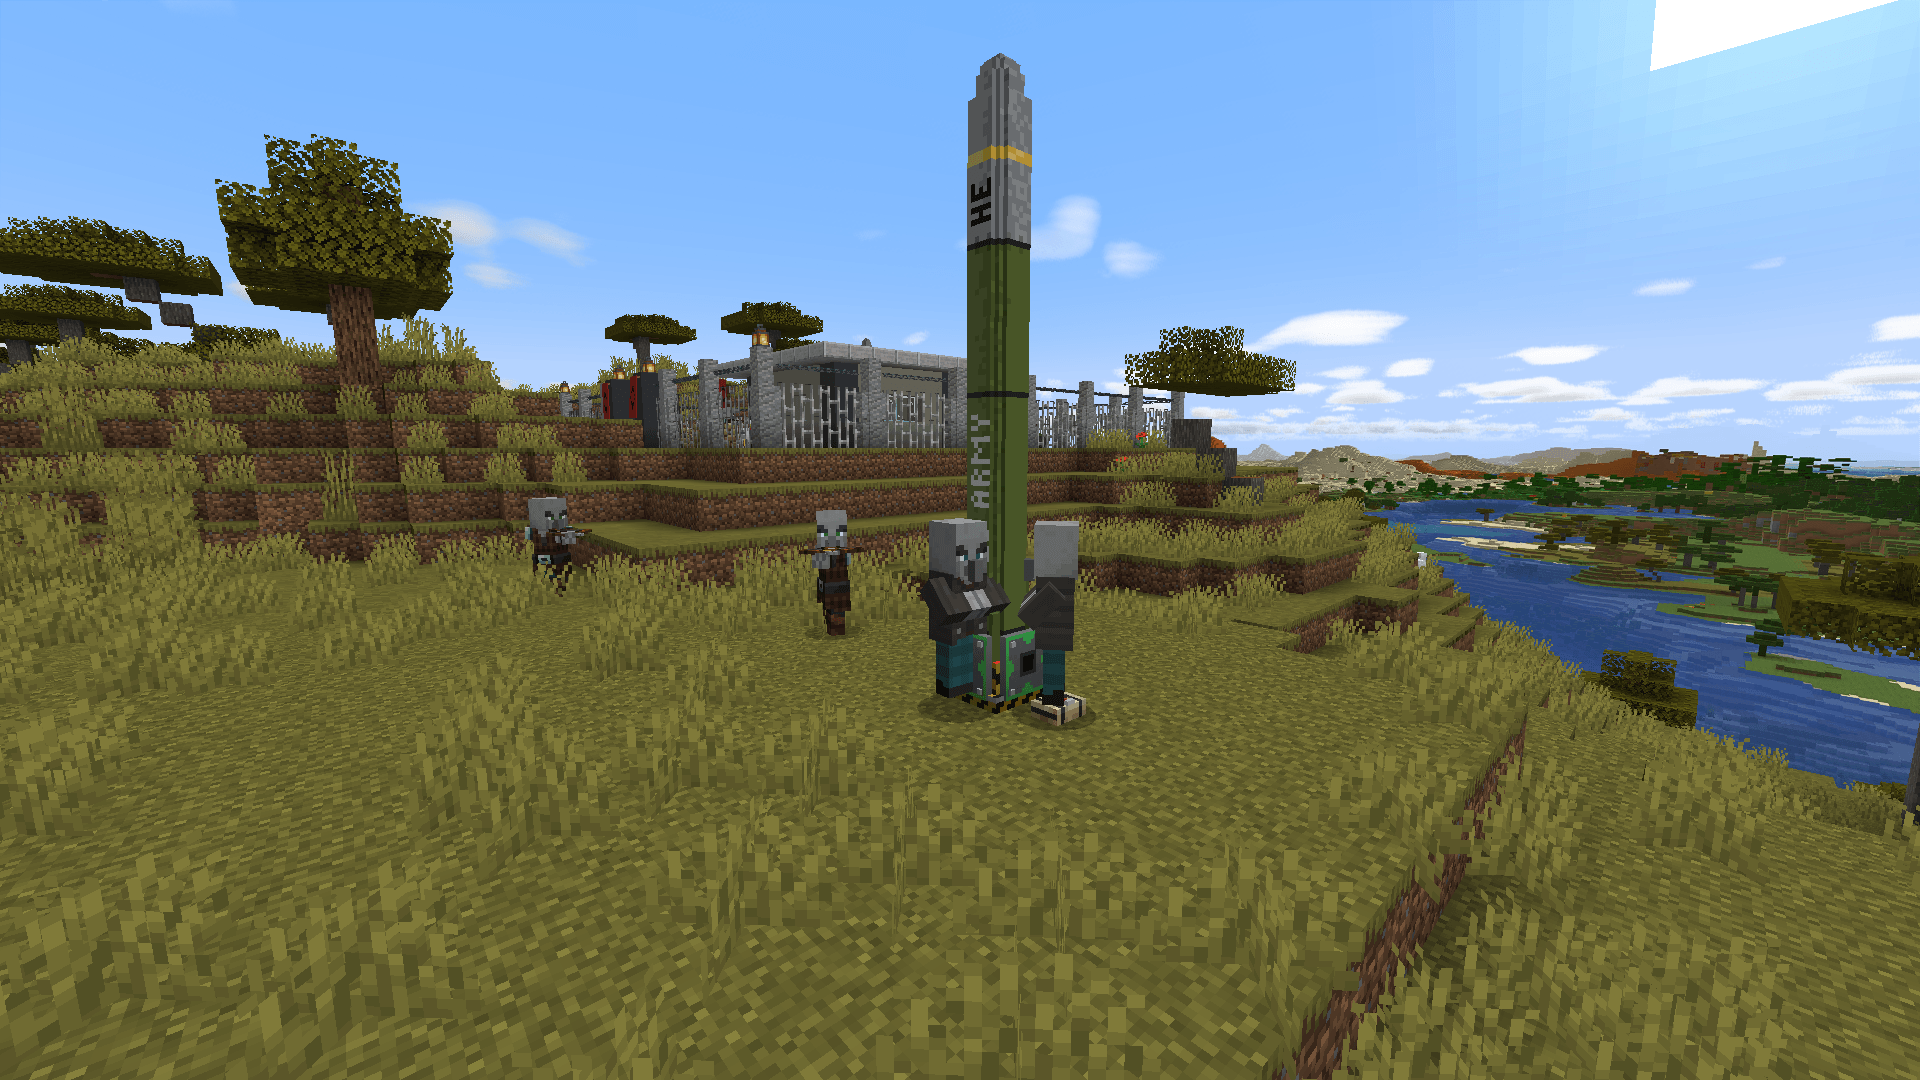
Raiders from the Crimson outpost have walked to a player's launch pad and planted a charge beside it.
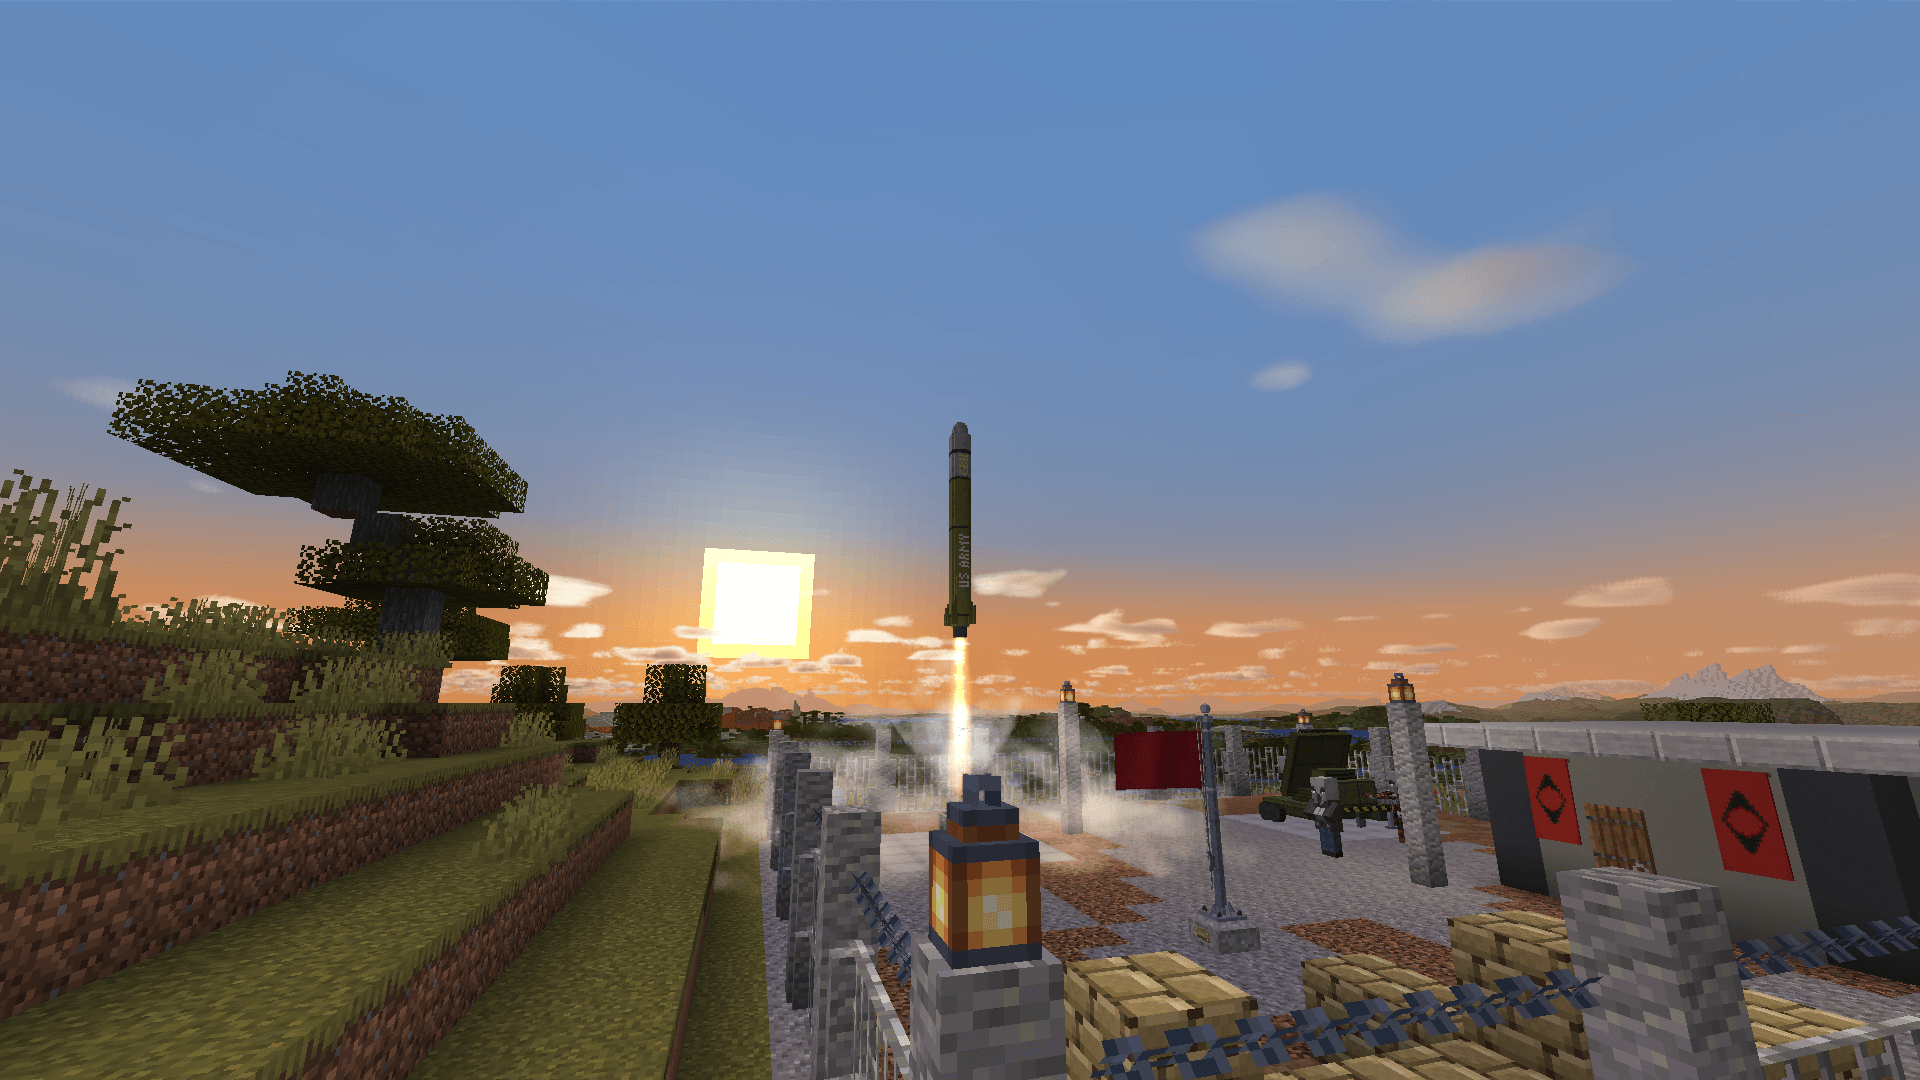
A Crimson outpost launches its missile at a player's unclaimed launch pad.
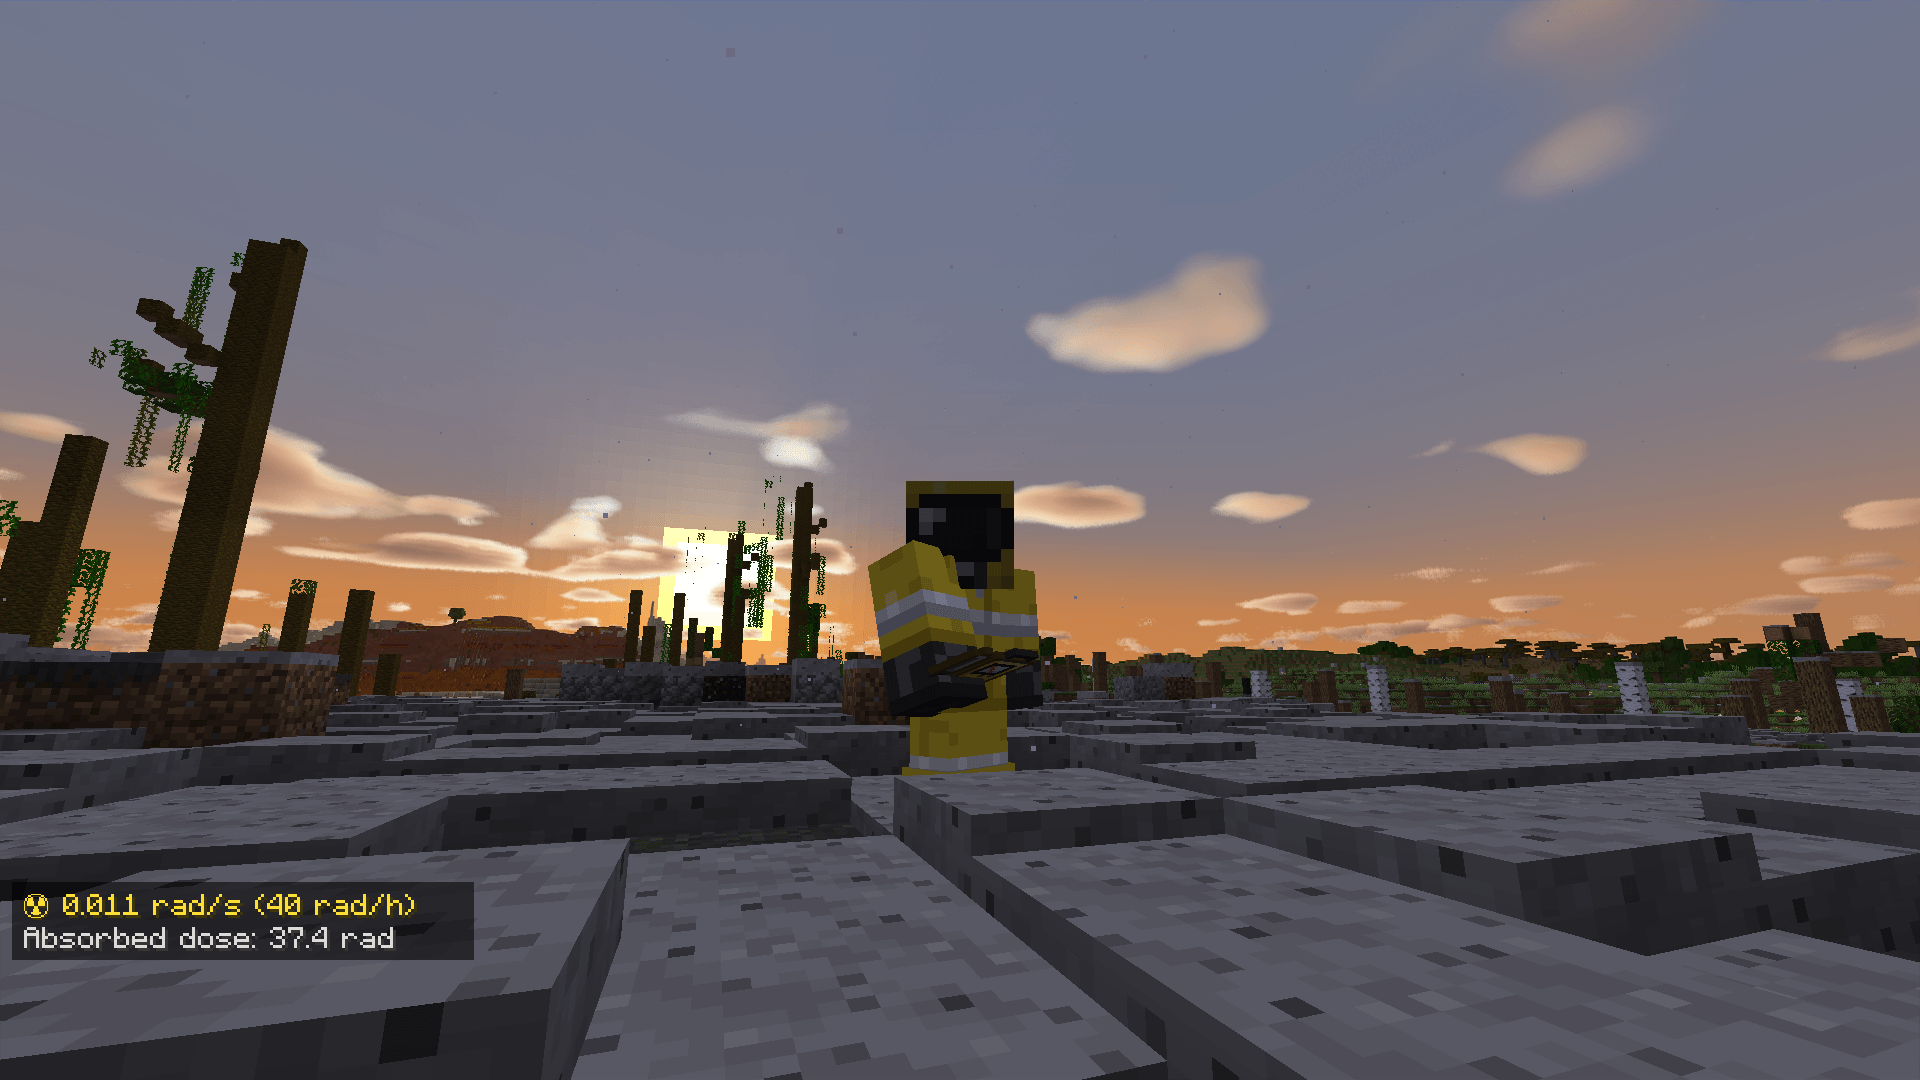
A player in a full hazmat suit reads the Geiger counter in the fallout of a 25 kt burst.
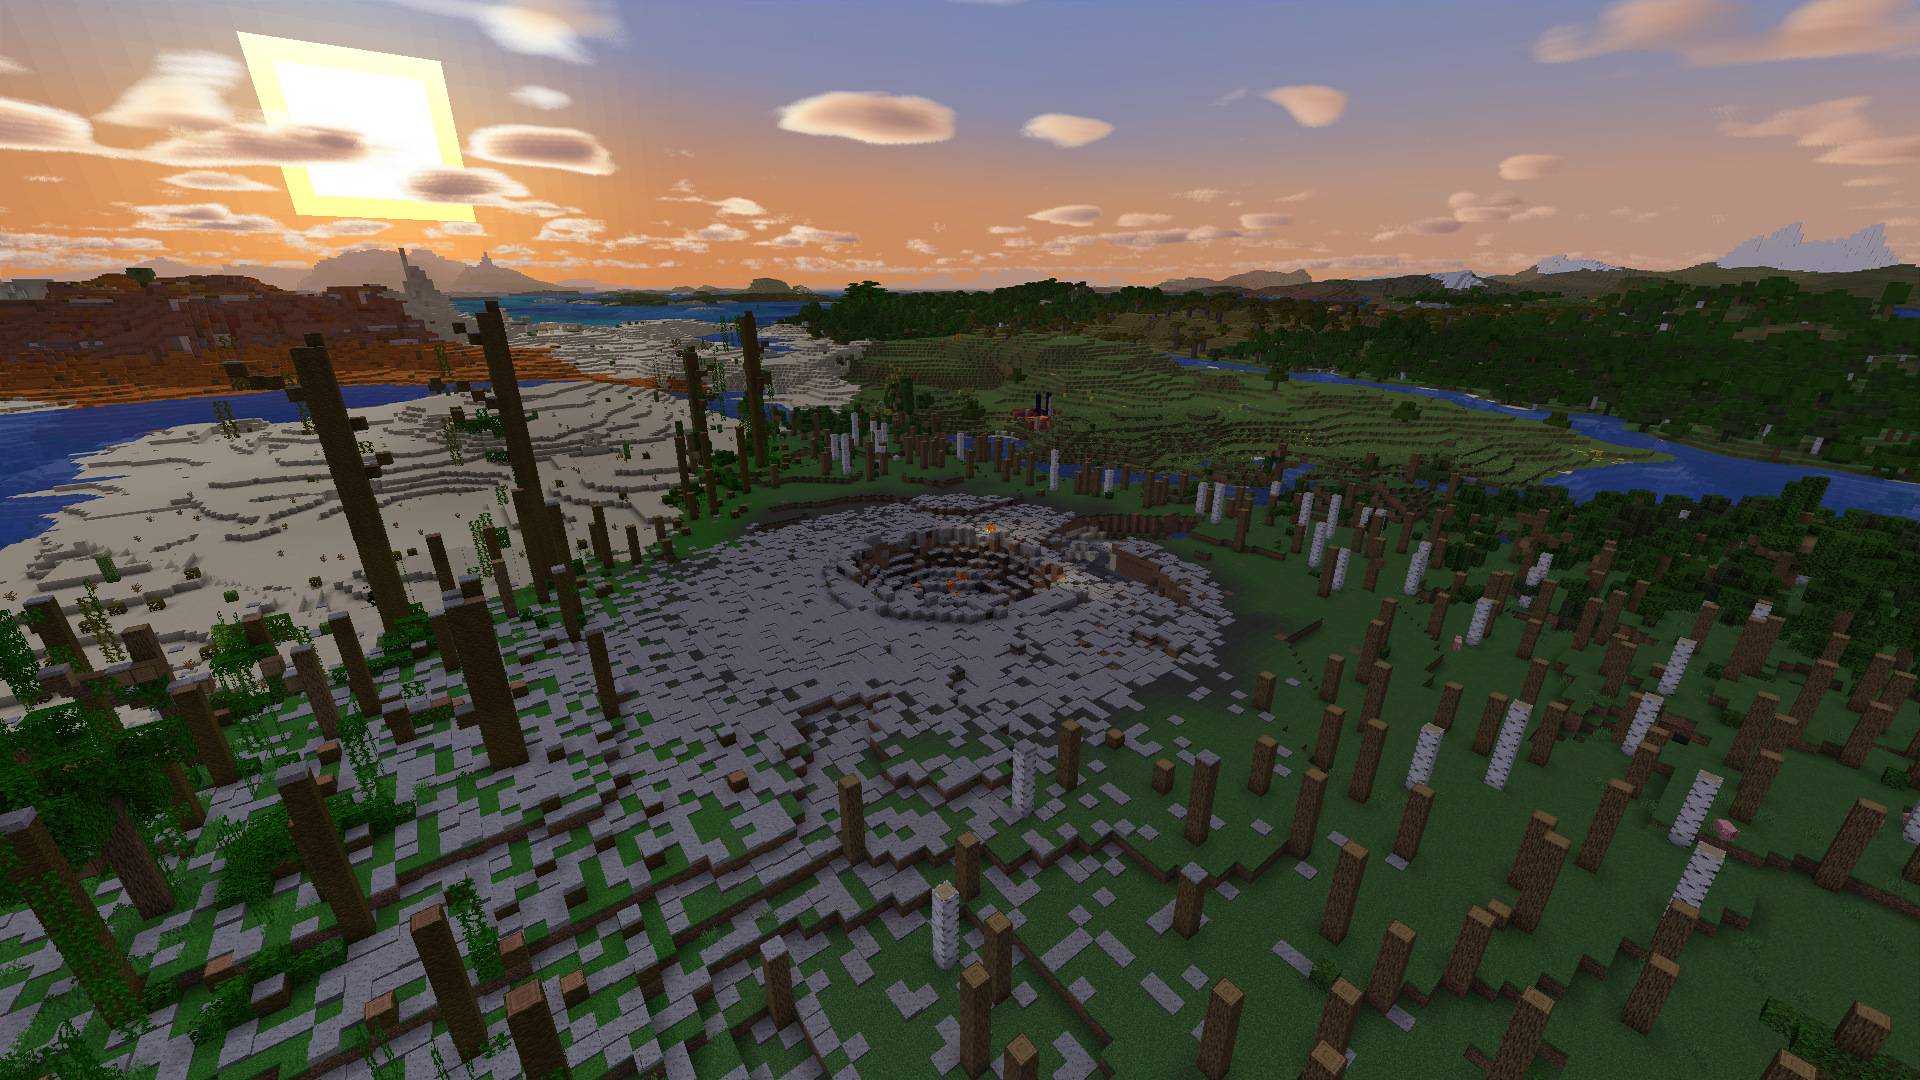
A forest flattened by a 25 kt fission bomb: the crater, charred trunks and fallout settled over the ground.
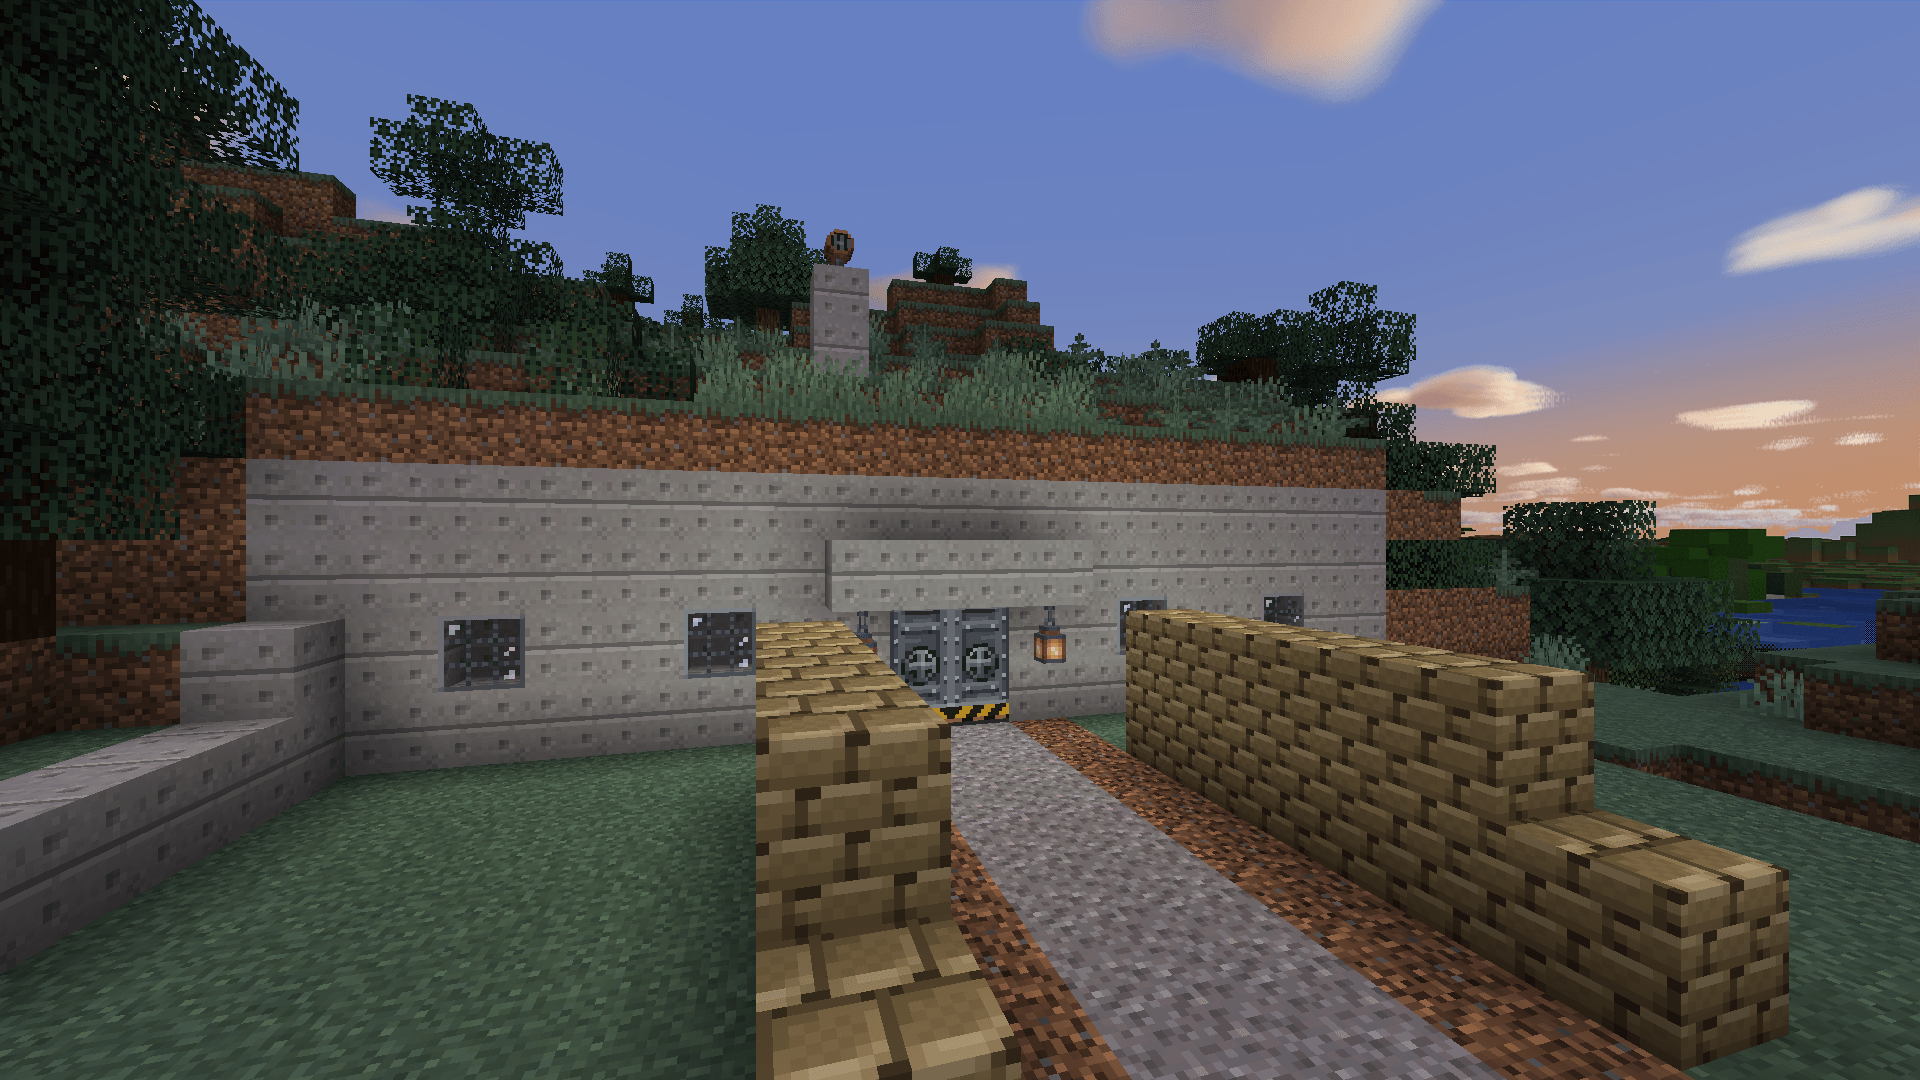
A bunker cut into a hillside: reinforced concrete, a double blast door, sandbags, and an air-raid siren on the berm.
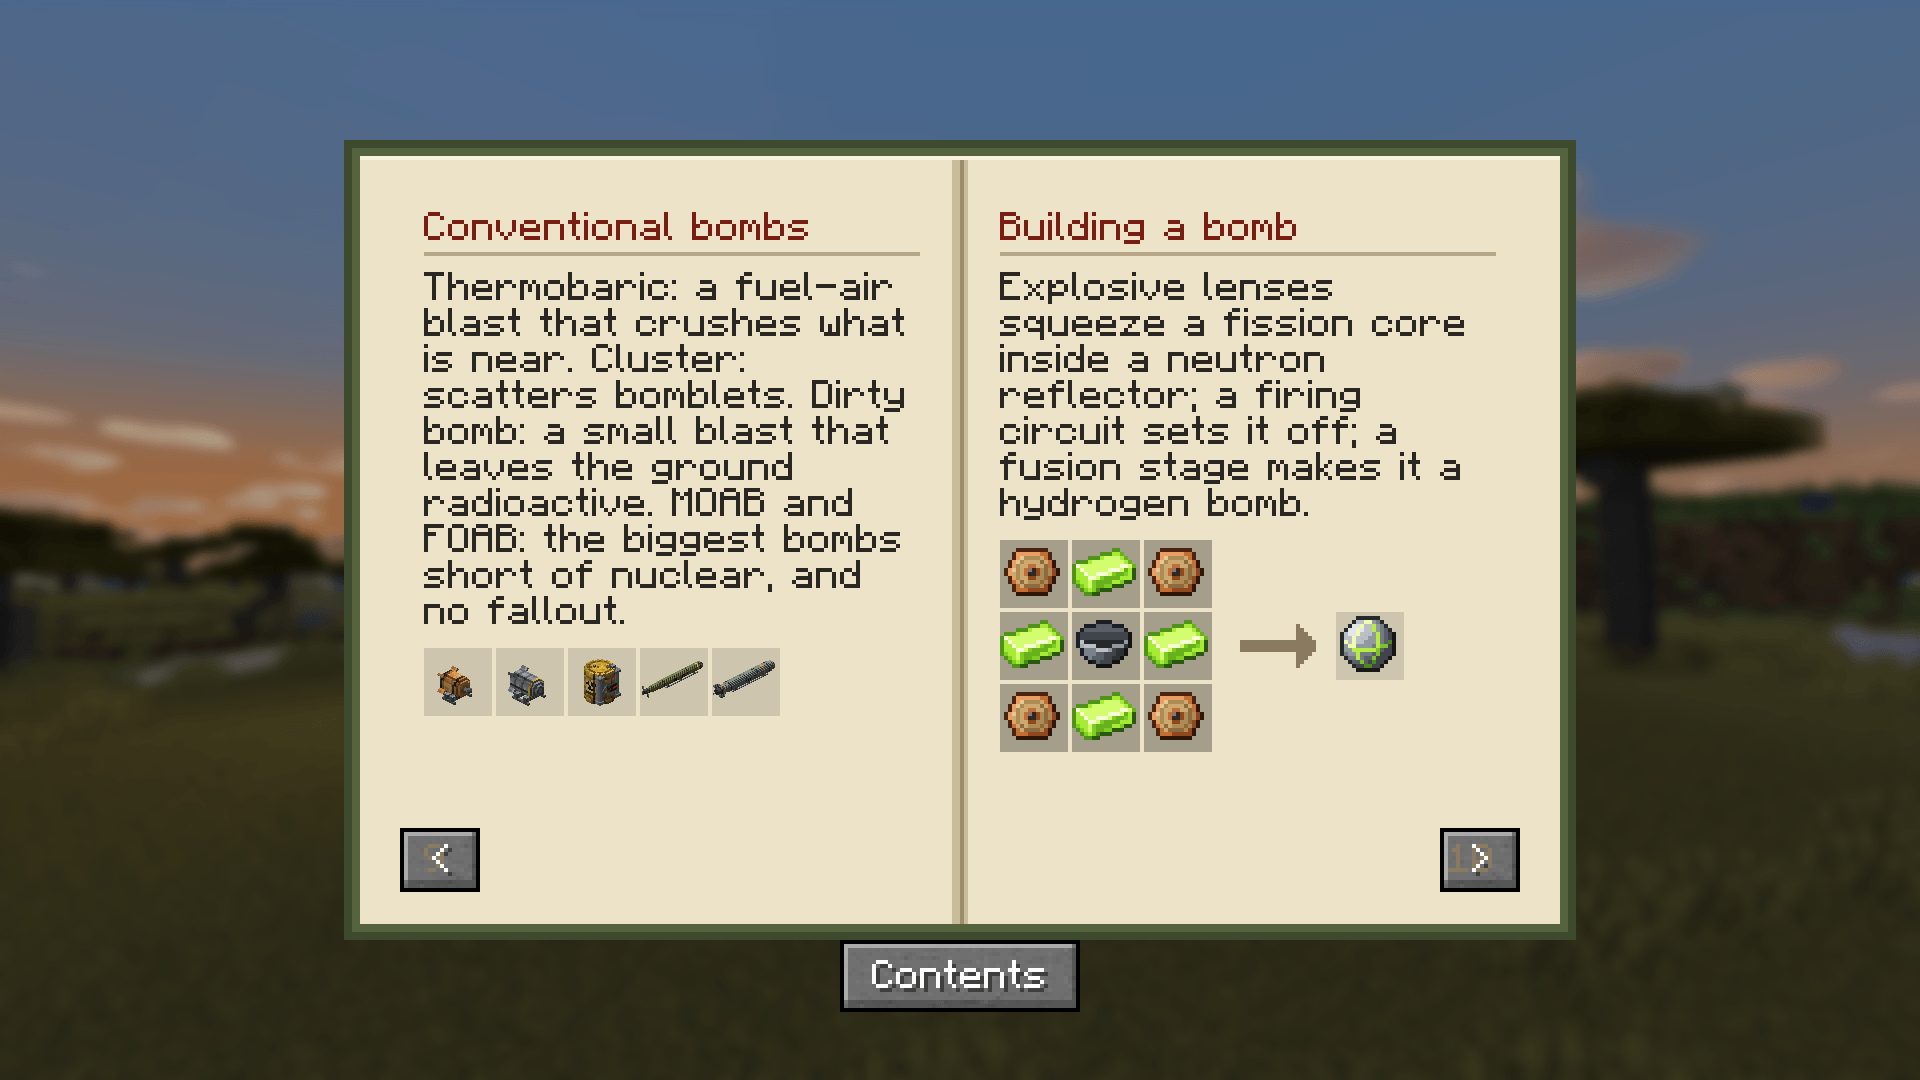
The Deterrence Field Manual explains every device, with crafting grids taken from the game's own recipes.