BetterGregTechPonder
- By
Draws a GregTech CEu Modern machine's real UI inside Create Ponder scenes, filling the machine with items, fluids and whole recipes by true slot index.
BetterGregTechPonder
Draws a GregTech CEu Modern machine's own UI inside Create Ponder scenes, and reads and writes its items and fluids by real slot index.
English | 简体中文
- Built against official GTCEu (
curse.maven:gregtechceu-modern-890405:7917773); no fork or patch is required - Client-side library only: nothing drawing-related is ever loaded on the server
- Panels are drawn with Ponder's own speech box, with the pointer aimed at a coordinate in the scene
- Slot indices match the machine UI in game; item counts and tank amounts grow from 0 to the target value within one second
- Covers and switching the machine model between working and idle are separate scene edits (they change machine state) and have nothing to do with the panel; a machine that does not support one reports an error in the log
- Give it a recipe id and it fills the machine for you: inputs, fluids and outputs all land where they belong and the panel's progress bar runs through once; when the recipe needs a programmed circuit it is written into the circuit slot; a machine that does not match the recipe reports an error in the log
- Item and fluid auto-output sides can be set from a scene too (auto-output is switched on along the way); a machine that does not support it reports an error in the log
- The programmed-circuit UI is off by default: it appears when the recipe being shown carries
circuitMeta(n), or it can be pinned on withshowCircuit(); the expanded panel takes the inventory row and its button sits vertically centered on the panel's left - Slots, tanks, the progress bar and the circuit UI can each be boxed in red to draw the eye
showFullUI()draws GT's whole UI exactly as it is in game (configurator panel, tooltip panel, player inventory) with nothing trimmed- The working toggle, auto-output, circuit settings and distinct (bus isolation) buttons in that UI can be boxed one by one; a machine that lacks one reports an error line
- With Ponder's editing mode on (
editingModeinponder-client.toml), hovering a slot shows that slot's real index in the machine as the first tooltip line
## Showcase
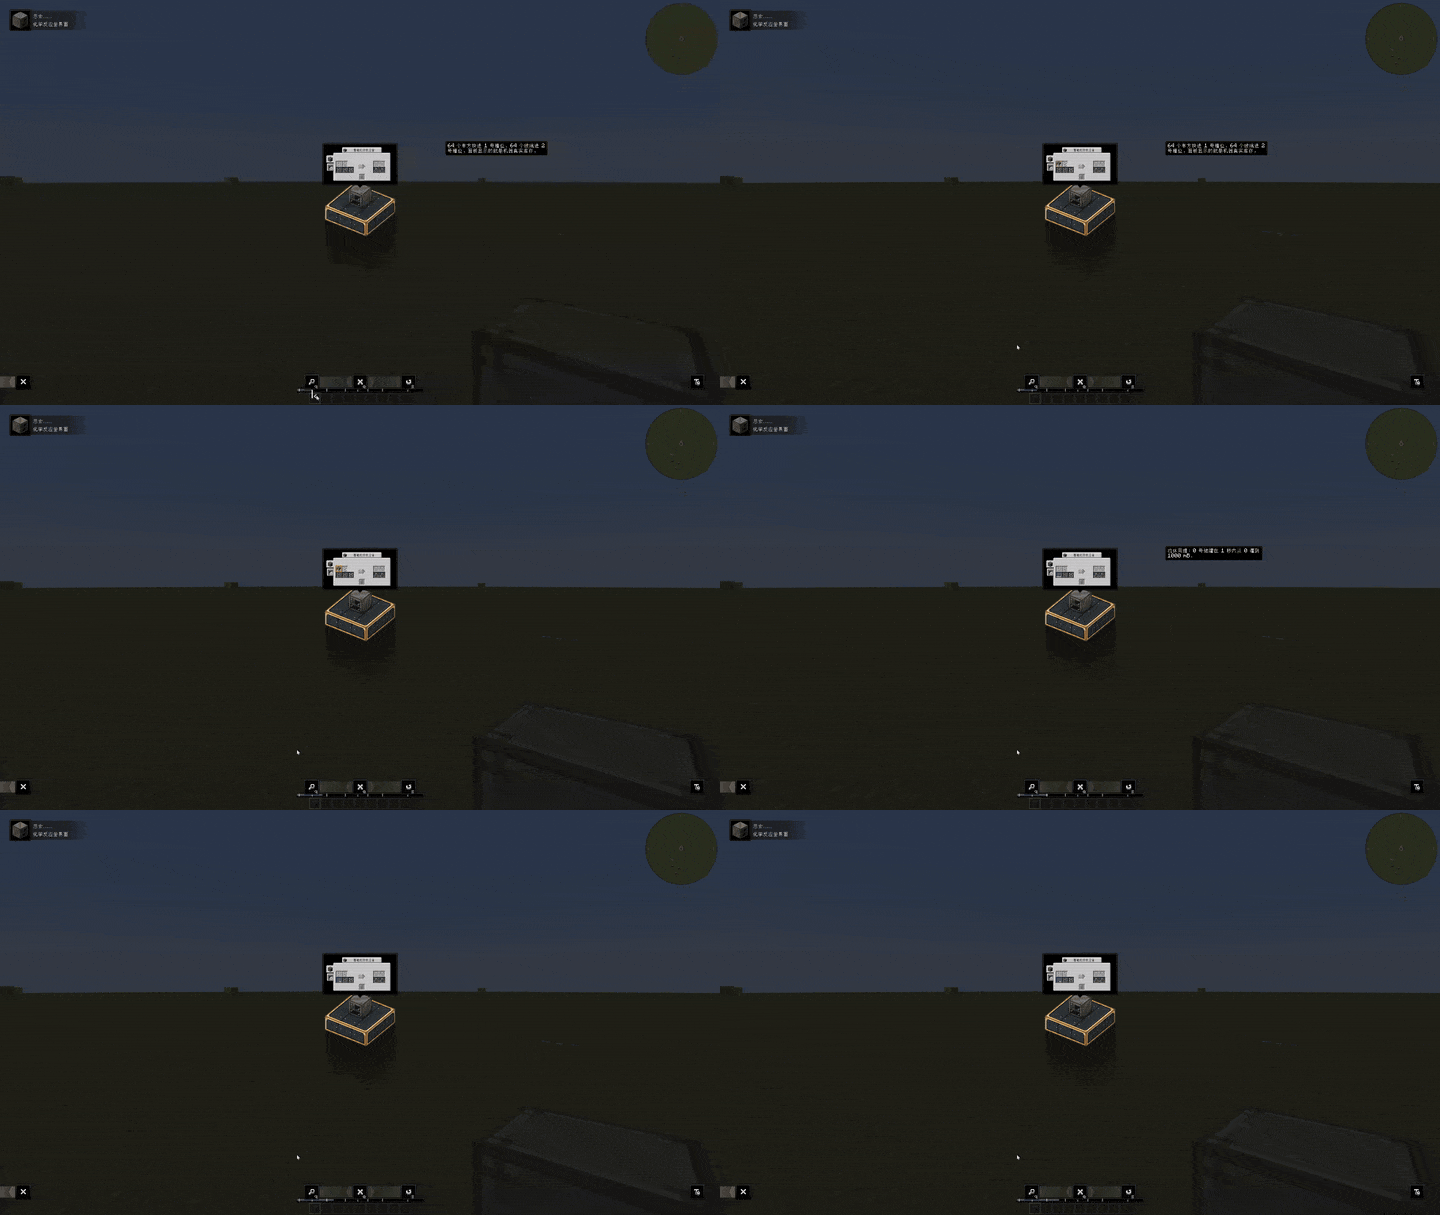
Items and fluids — the numbers are the real slot indices from the machine UI, and counts and amounts grow from 0 to the target value within one second (see the example usage below):
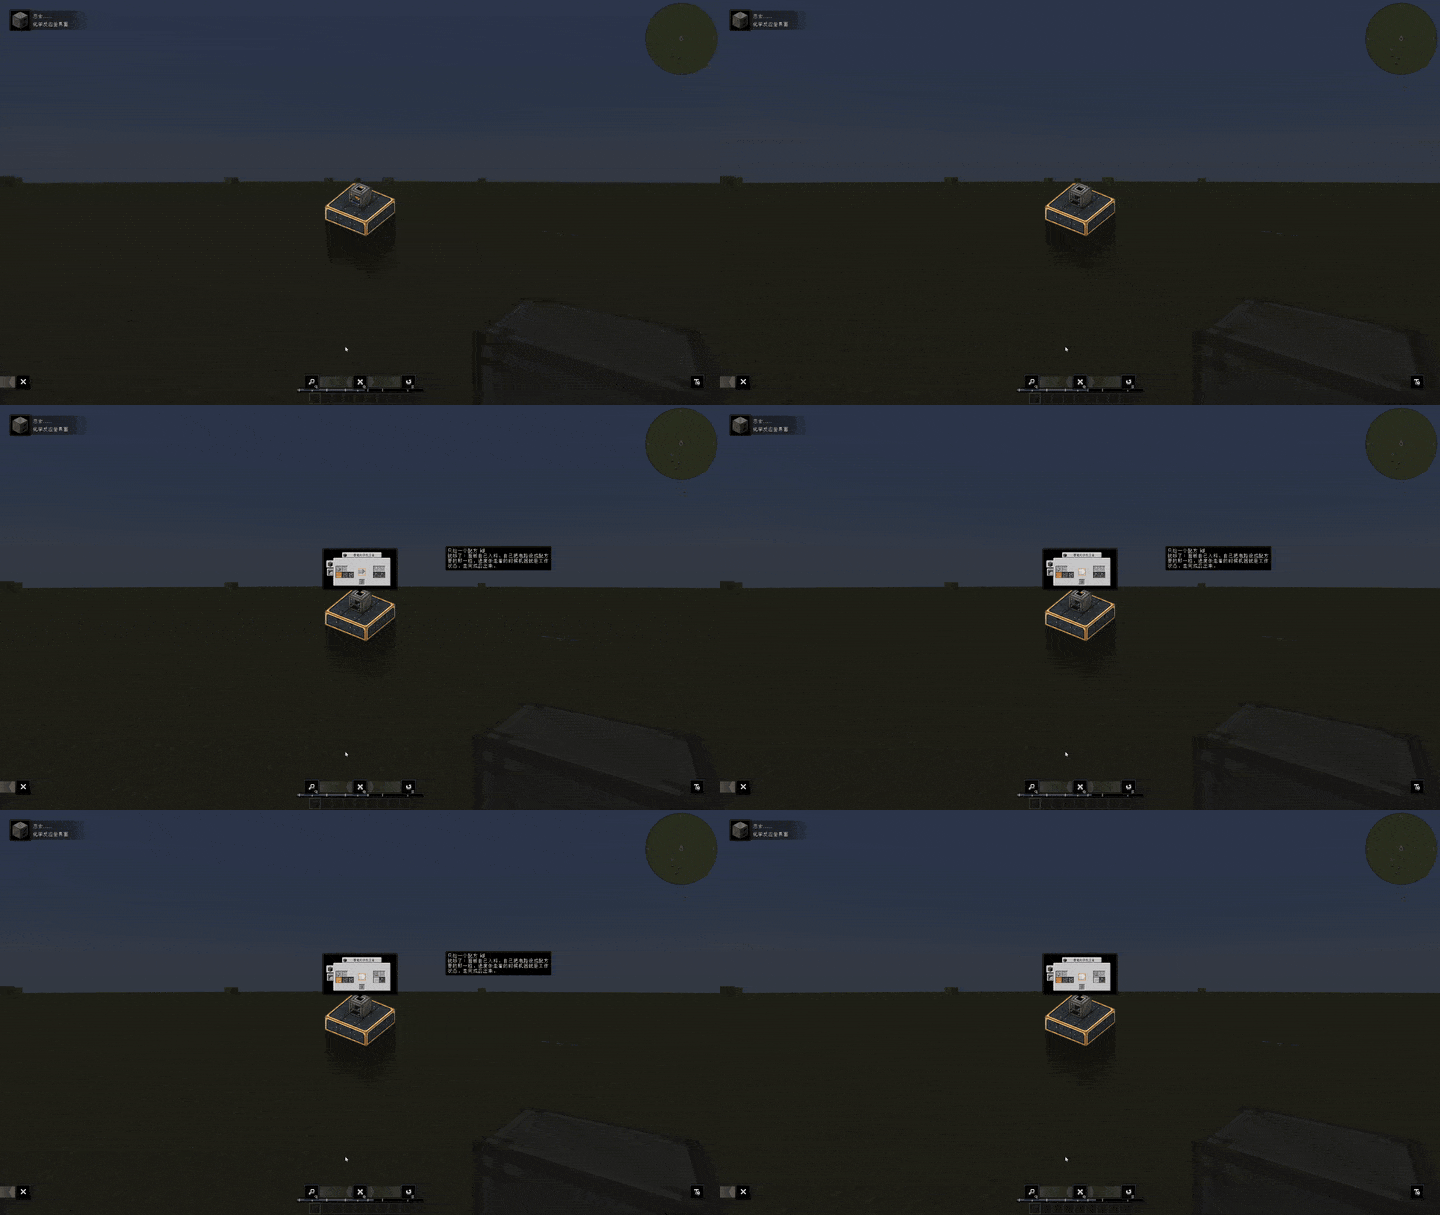
Recipe auto-fill — one recipe id is all it takes: inputs, programmed circuit and outputs all land where they belong and the progress bar runs through once (see the example usage below):
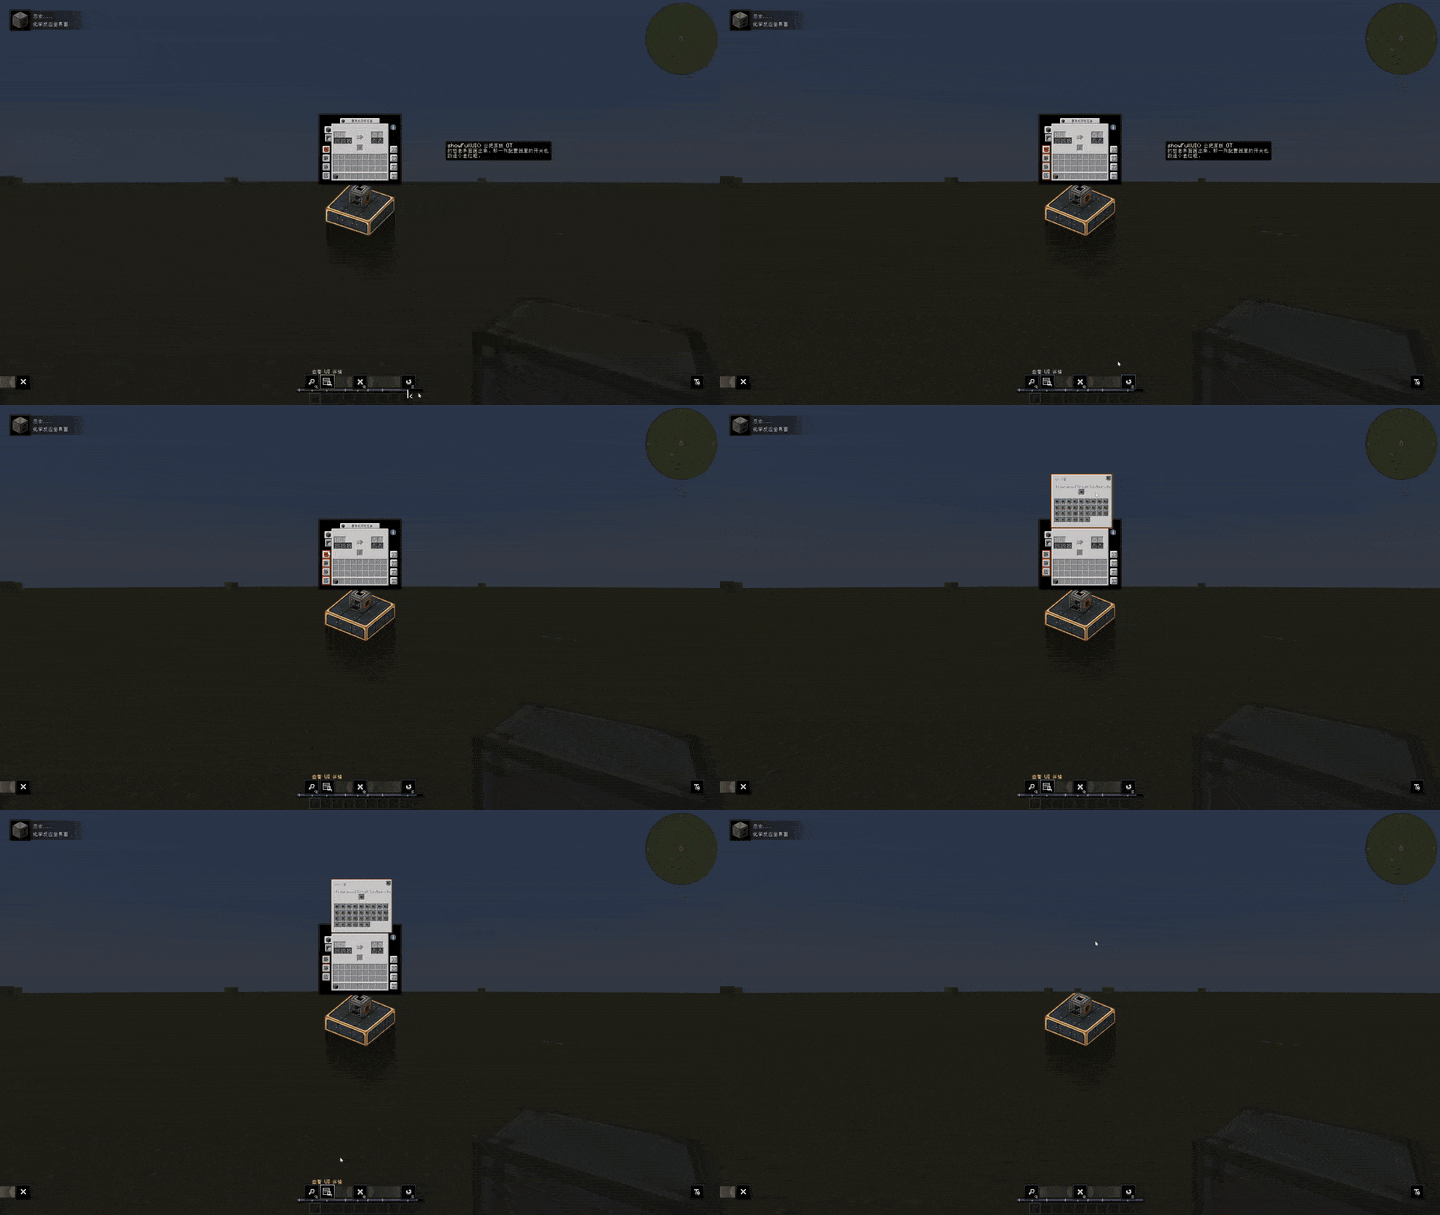
UI details — click "Show UI details" in the bottom-left corner: the scene freezes and the configurators and switches of GT's whole UI become clickable (how it is wired up is shown in the example usage below):
Machine state is editable from a scene too — the working toggle, covers and auto-output sides are not read-only: the working/idle model follows the recipe progress and only the front overlay changes, while recipe logic and power draw stay untouched (see the example usage below):
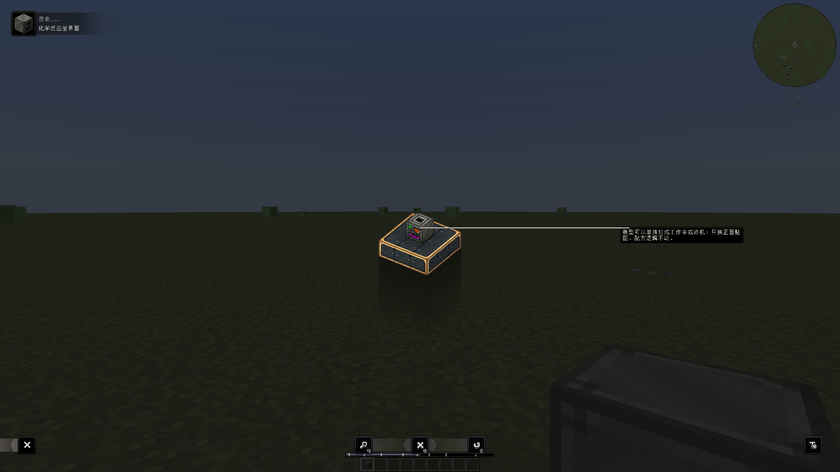
Covers and output sides work the same way — putting a cover on a chosen side or changing an item/fluid auto-output side is a scene edit independent of the UI, reverted once the segment ends (see the example usage below):
Environment
| Dependency | Version |
|---|---|
| Minecraft / Forge | 1.20.1 / 47.4.1 |
| GregTech CEu Modern | official CurseForge build (file id in gradle.properties) |
| Create + Ponder | 6.0.8-291 / Ponder-Forge 1.20.1 |
| LDLib | 1.0.52 |
Usage
private static final MachineUI LV_INPUT_BUS_UI = MachineUI.of(GTMachines.ITEM_IMPORT_BUS[GTValues.LV])
        .scale(0.6f);

// inside a PonderStoryBoard
MachineUIs.showUI(builder, LV_INPUT_BUS_UI)
        .at(pos)                          // point at this machine: the tail lands on the block centre, and the panel shows it too
        .pointing(Pointing.DOWN)          // which side of the pointing target the panel sits on, DOWN by default
        .slot(0).withItem(new ItemStack(Items.GRASS_BLOCK, 64), 20)
        .tank(0).withFluid(new FluidStack(Fluids.WATER, 1000), 20)   // tanks work the same way
        .show(200);
slot(index) is the index-th item slot in the UI and tank(index) the index-th tank; the second argument of withItem / withFluid is the tick at which the write starts after the panel appears, while the write itself always takes one second. Both GT's and LDLib's TankWidget are supported. When the pointing target has to be exact, give the arrow and the machine separately: at(vec) sets only the arrow and machinePos(pos) says which machine to draw; at(pos) is the one-step form that points at a block centre and draws that machine; by default only the title bar, the side tabs and the machine page are drawn; showPlayerInventory(), showConfigurators(), showCircuit() and showNavigationButtons() switch the remaining parts on; showFullUI() is the shortcut: it draws GT's entire UI at once (title bar, tabs, machine page, configurator panel, tooltip panel, player inventory) in GT's own layout, trimming no component at all. Scaling is done with scale(f), or with fitToPanel(0.42f) to fit Ponder's panel width. Scaling can also be given at the placement step (showUI(builder, ui, 0.6f) or the chained .scale(0.6f)), which overrides the value set on the UI definition:
MachineUIs.showUI(builder, LV_CHEMICAL_REACTOR_UI, 0.6f).at(pos).show(120);
MachineUIs.showUI(builder, LV_CHEMICAL_REACTOR_UI).at(pos).scale(0.45f).show(120);
When the machine has a programmed circuit slot (IHasCircuitSlot), the inventory row can carry an extra programmed-circuit UI. It is off by default; it appears automatically when the recipe being shown carries circuitMeta(n) (so the circuit can be seen being set to the tier the recipe wants), or it can be pinned on with showCircuit() on the MachineUI. When it is drawn: the expanded panel takes the place the inventory had (with GT's own background and title), a vertically centred circuit button sits next to it on the left, and the panel holds GT's own 0-32 configuration grid (it is GT's CircuitFancyConfigurator, drawing that one configurator only and not the whole configurator panel). The button icon is re-read every frame, so it follows the circuit in the machine. This only draws and never changes machine state; the ghost slot of the circuit slot does not count towards slot(index), so slot indices still match the in-game UI.
To point the viewer at a control, box it in red (2 px in panel pixels, scaling with the panel, with a breathing alpha):
MachineUIs.showUI(builder, LV_CHEMICAL_REACTOR_UI).at(pos)
        .slot(1).withItem(stack, 20)
        .outlineSlot(1)          // box slot 1
        .outlineTank(0)          // box tank 0
        .outlineProgress()       // box the progress bar
        .outlineCircuit()        // box the circuit UI (button plus expanded panel)
        .show(160);
All four take an optional delay (outlineSlot(1, 20)): the box lights up when the delay is over and stays lit until the panel is dismissed.
Together with showFullUI() the buttons in GT's configurator column can be boxed as well (they are GT's own widgets; which one is which is decided by its tooltip):
MachineUIs.showUI(builder, FULL_REACTOR_UI).at(pos)
        .outlinePowerToggle()    // working toggle (power button)
        .outlineAutoOutput()     // item and fluid auto-output toggles, one box for each that exists
        .outlineCircuitButton()  // GT's own circuit settings button
        .outlineDistinct()       // distinct (bus isolation)
        .show(160);
A box that cannot be placed is never silent: when the machine lacks that control, or that configurator column was not drawn (the trimmed UI has none by default, so showFullUI() is needed), each red box reports one error line in the log while the panel is drawn as usual.
The machine page's own buttons and switches (everything createUIWidget() adds, chrome excluded) can be boxed by index as well — the index is their add order in that page:
MachineUIs.showUI(builder, LV_UI).at(pos)
        .outlineButton(0, 20)    // the first button or switch in the machine page
        .show(160);
Those named methods (outlineSlot / outlineTank / outlineProgress / outlineCircuit / outlineButton, plus the configurator ones above) are the everyday way to box something; they all funnel into the generic outline(Part, index, delayTicks), which doubles as the extension point: Part is public, so a new kind of widget costs one enum value plus collecting it, with no change to the API.
Turn on Ponder's editing mode (editingMode in ponder-client.toml) and hovering a slot, a tank or a button shows its real index in the machine as the first tooltip line — exactly the number you can pass to slot(index), tank(index) or outlineButton(index); a button's own tooltip shows up as well.
A multiblock controller reads structure invalid by default, because a Ponder level never ticks GT's formation check; write forceMultiblockActivated() on the UI definition and it is formed outright:
private static final MachineUI KINETIC_GENERATOR_UI = MachineUI.of(CTPPMultiblocks.KINETIC_GENERATOR)
        .scale(0.6f)
        .forceMultiblockActivated();
Every showUI segment restores the machine when it finishes (as the panel fades out) — items written and fluids filled during that segment are reverted and never leak into the next segment; scene rollback behaves the same way.
Give it a recipe id and it takes care of inputs, fluids, outputs and the progress bar:
MachineUIs.showUI(builder, LV_CHEMICAL_REACTOR_UI).at(machinePos)
        .recipe("gtceu:chemical_reactor/sodium_sulfide", 10)   // 1 s of inputs -> 1 s of progress -> 1 s of outputs
        .show(200);
The recipe id is the one JEI shows for that recipe, shaped like <mod>:<recipe type path>/<recipe name>. Input items go into input slots and input fluids into input tanks; outputs land in output slots and output tanks once the progress bar has run through. Which slots and tanks count as input and which as output is decided by the IngredientIO tags GT itself puts on them, so there is no guessing about order. When the machine and the recipe do not match (not a recipe machine, unknown recipe id, recipe type not belonging to this machine, no matching slot in the panel) it reports one error line in the log and skips the segment while the panel is still drawn; the show(...) duration has to allow for 3 seconds (1 s of inputs, 1 s of progress, 1 s of outputs).
When the recipe carries circuitMeta(n), that programmed circuit tier is written into the machine's circuit slot automatically (which is what the configuration UI below the panel reads), it takes effect together with the inputs, and it is reverted when the panel is dismissed or the scene rolls back; if the machine has no circuit slot it reports one error line in the log and fills the inputs as usual.
While the recipe runs, the machine model follows the progress bar automatically: it switches to the working look as soon as the bar starts and back to idle the moment it ends (decided the same way as setWorkingModel), and it is also reverted when the panel is dismissed or the scene rolls back.
Machine state is changed by independent scene edits that are not attached to the panel, so they are not affected by the restore described above:
MachineEdits.placeCover(builder, pos, Direction.UP, GTItems.CONVEYOR_MODULE_LV.asStack());
MachineEdits.placeCover(builder, pos, Direction.NORTH, GTCovers.PUMPS[1], 40);   // a definition works too
When a cover cannot be placed (no cover container on the machine, that side rejects it, the cover refuses to attach) it reports one error line in the log, skips that entry and the scene plays on.
Auto-output sides are machine state as well:
MachineEdits.setItemOutput(builder, pos, Direction.UP);         // items leave through the top
MachineEdits.setFluidOutput(builder, pos, Direction.SOUTH, 40); // fluids leave through the south, 40 ticks later
MachineEdits.setAutoOutput(builder, pos, Direction.NORTH);      // both at once
Setting a side also switches that auto-output path on (GT's model draws an arrow on the output side and an extra marker while auto-output is on); when the machine does not support that kind of output it reports one error line in the log and skips it. Sides and switches are both reverted when the scene rolls back. Remember to turn the camera towards the side the arrow is drawn on with scene.rotateCameraY(180) (the scene on the CTNH side does the same), otherwise the sides facing away are invisible.
The machine model can also be switched to the working look on its own:
MachineEdits.setWorkingModel(builder, pos, true, 20);    // light up the running front overlay
MachineEdits.setWorkingModel(builder, pos, false, 20);   // back to idle
Only the model state is changed (a recipe-capable machine uses RECIPE_LOGIC_STATUS, a few machines use IS_ACTIVE); recipe logic, progress, power draw and the working toggle in the panel stay untouched; when the machine model has no working/idle state it reports one error line in the log and skips it. The model is reverted when the scene rolls back.
Hatches on a multiblock are machine state a scene can set as well: a parallel hatch's parallel count, a maintenance hatch's problems (with or without the tape). Every machine edit makes the panels rebuild themselves, so the numbers their input boxes show follow along.
MachineEdits.setParallel(builder, parallelHatchPos, 16);                    // parallel count
MachineEdits.fixMaintenance(builder, maintenanceHatchPos);                 // clear the problems and apply the tape
MachineEdits.fixMaintenanceWithoutTape(builder, maintenanceHatchPos, 20);  // clear them only, no tape
They are reverted when the scene rolls back, and a machine that is not that kind of hatch reports one error line in the log.
Example scene
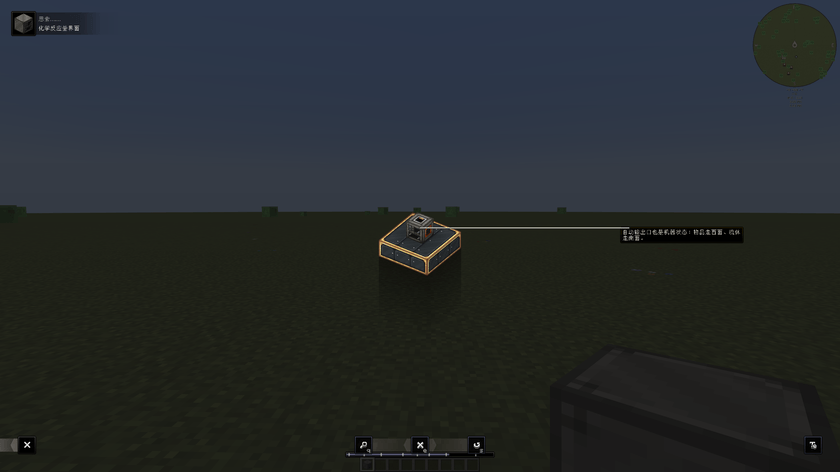
bettergregtechponder:chemical_reactor_ui uses the LV chemical reactor: the first step draws the UI alone; the second writes 64 grass blocks into slot 1 and 64 glass into slot 2; the third fills tank 0 with 1000 mB of water; the fourth draws no panel at all and puts a conveyor cover on the top side with a scene edit; the fifth switches the machine model to the working look and back to idle; the sixth gives one recipe id and the panel fills in 1 carbon dust and 4000 mB of hydrogen by itself, sets the circuit to the tier the recipe wants, runs the progress bar through and produces 1000 mB of methane. Steps four and five are there to show that machine edits are independent of the UI.
Example usage
// LV chemical reactor - the whole example is ChemicalReactorUi
private static final MachineUI LV_UI = MachineUI.of(GTMachines.CHEMICAL_REACTOR[GTValues.LV]).scale(0.6f);
private static final MachineUI FULL_UI = MachineUI.of(GTMachines.CHEMICAL_REACTOR[GTValues.LV]).showFullUI().scale(0.6f);

public static void Common(SceneBuilder builder, SceneBuildingUtil util) {
    CreateSceneBuilder scene = new CreateSceneBuilder(builder);
    BlockPos machinePos = util.grid().at(1, 1, 1);

    // 1. the UI alone
    MachineUIs.showUI(scene, LV_UI).at(machinePos).show(120);

    // 2. items go into the machine's real slot indices
    MachineUIs.showUI(scene, LV_UI).at(machinePos)
            .slot(1).withItem(new ItemStack(Items.GRASS_BLOCK, 64), 20)
            .slot(2).withItem(new ItemStack(Items.GLASS, 64), 20)
            .show(140);

    // 3. fluids work the same way
    MachineUIs.showUI(scene, LV_UI).at(machinePos)
            .tank(0).withFluid(new FluidStack(Fluids.WATER, 1000), 20)
            .show(140);

    // 4. machine state: a cover on a chosen side, no panel involved
    MachineEdits.placeCover(scene, machinePos, Direction.UP, GTItems.CONVEYOR_MODULE_LV.asStack(), 10);

    // 5. machine state: working / idle model
    MachineEdits.setWorkingModel(scene, machinePos, true, 10);
    MachineEdits.setWorkingModel(scene, machinePos, false, 10);

    // 6. one recipe id fills inputs, sets the circuit, runs the bar, drops the outputs
    MachineUIs.showUI(scene, LV_UI).at(machinePos)
            .recipe("gtceu:chemical_reactor/sodium_bisulfate_from_salt", 10)
            .outlineProgress(20)
            .show(160);

    // 7. machine state: auto-output sides
    MachineEdits.setItemOutput(scene, machinePos, Direction.WEST, 10);
    MachineEdits.setFluidOutput(scene, machinePos, Direction.SOUTH, 10);

    // 8. GT's whole UI, with the configurator switches boxed one by one
    MachineUIs.showUI(scene, FULL_UI).at(machinePos)
            .outlinePowerToggle(20)
            .outlineAutoOutput(20)
            .outlineCircuitButton(20)
            .show(160);

    scene.markAsFinished();
}- In game: search JEI for "LV Chemical Reactor", hover it and press W (or use
/ponder bettergregtechponder:chemical_reactor_ui) - storyboard:
assets/bettergregtechponder/ponder/chemical_reactor_ui/common.nbt(3x3 floor plusgtceu:lv_chemical_reactorat (1,1,1)) - The development dependencies bundled for local runs include JEI and JustEnoughCharacters (pinyin search), so a ponder can be opened straight from JEI
en_usis generated intosrc/generated/resourcesbygradlew runData; both the keys and the text are collected by Ponder from the scene script (<modid>.ponder.<scene id>.header|text_N), so nothing is written by hand;zh_cnis written by hand insrc/main/resources/assets/bettergregtechponder/lang/and datagen leaves it alone- The example is registered in development environments only (
BetterGregTechPonderPlugin#exampleScenesEnabled): a release jar does not register it, and-Dbettergregtechponder.exampleScenes=true|falseforces it either way
Layout
src/main/java/com/ctnh/bettergregtechponder/
├── BetterGregTechPonder.java                      mod entry point
├── client/
│   ├── BetterGregTechPonderClient.java            client entry point, hands the scene plugin to Ponder
│   └── ponder/
│       ├── MachineUIs.java            scene-side entry point, showUI
│       ├── BetterGregTechPonderPlugin.java  scene registration
│       ├── machine/                   machine edits: MachineEdit / CoverChange / WorkingModelChange / ParallelChange / MaintenanceChange / MachineEditInstruction / MachineEdits
│       ├── scenes/ChemicalReactorUi.java  example scene
│       └── ui/
│           ├── MachineUI.java            UI description object (scale, which fancy components to draw)
│           ├── MachineUiPlacement.java   placement: at / machinePos / pointing / slot / tank / outline* / recipe / show
│           ├── MachineUiElement.java     overlay element: resolves by coordinate, runs the timeline
│           ├── MachineUiPanelBuilder.java builds the panel: whitelist, bounds, collects slots / tanks / progress bar / machine-page buttons, marks the whole widget tree client-side
│           ├── MachineUiPanel.java       panel snapshot plus slot, tank and button access
│           ├── MachineUiWrites.java      write timeline: 0 -> target value, restored afterwards
│           ├── RecipeFiller.java         recipe id -> inputs, outputs, progress bar
│           ├── MachineUiOverlay.java     speech box, tooltip drawing and the edit-mode index lines
│           └── ShowMachineUiInstruction.java  show and teardown instructions
└── datagen/
    └── BetterGregTechPonderDatagen.java          en_us generation, text collected by Ponder from the scenes
License
GNU General Public License v3.0 (GPL-3.0): LICENSE
BetterGregTechPonder - Copyright and License Notice
This mod is derived from the same implementation used and maintained by the CTNH (Create: New Horizon) project, where it lives in CTNH-Lib under the package
tech.vixhentx.mcmod.ctnhlib.client.ponder. This repository is an independent distribution of that code.This mod is released under the GNU General Public License v3.0. The full text of the license follows below.
Use, modification and redistribution - including source code, compiled artifacts, and any jar-in-jar (bundled or nested) dependencies inside those artifacts - must comply with the GPL-3.0. This notice and the full license text must be preserved when redistributing the mod or any part of it.
The GPL-3.0 does not propagate to CTNH (Create: New Horizon) as a project. CTNH is the origin of this implementation: this derivation places no copyleft obligation on the CTNH project, on its source repositories, or on the other code it distributes, and CTNH is not required to relicense any of it.
That exemption applies to the CTNH project only, and it is not a loophole for anyone else. Taking this code - in whole or in part, from this repository or from the copy inside the CTNH project, in source or compiled form - is still taking GPL-3.0-licensed code: such use, modification or redistribution has to comply with the GPL-3.0, including source disclosure and the same license for derivative works. Doing so places no obligation on the CTNH project itself.
BetterGregTechPonder Team