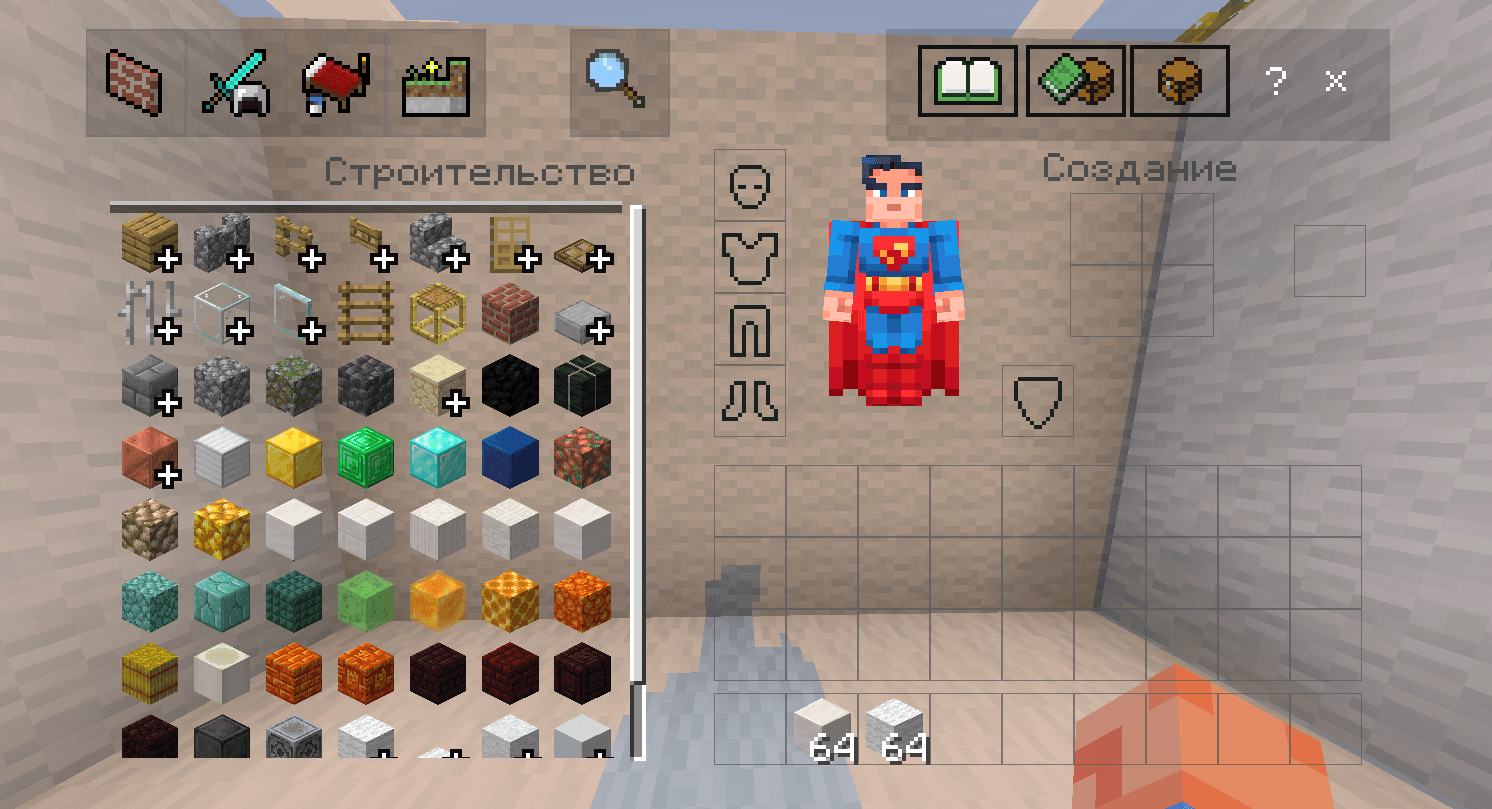
Снимок ÑкÑана 2026-11-09 211300.png
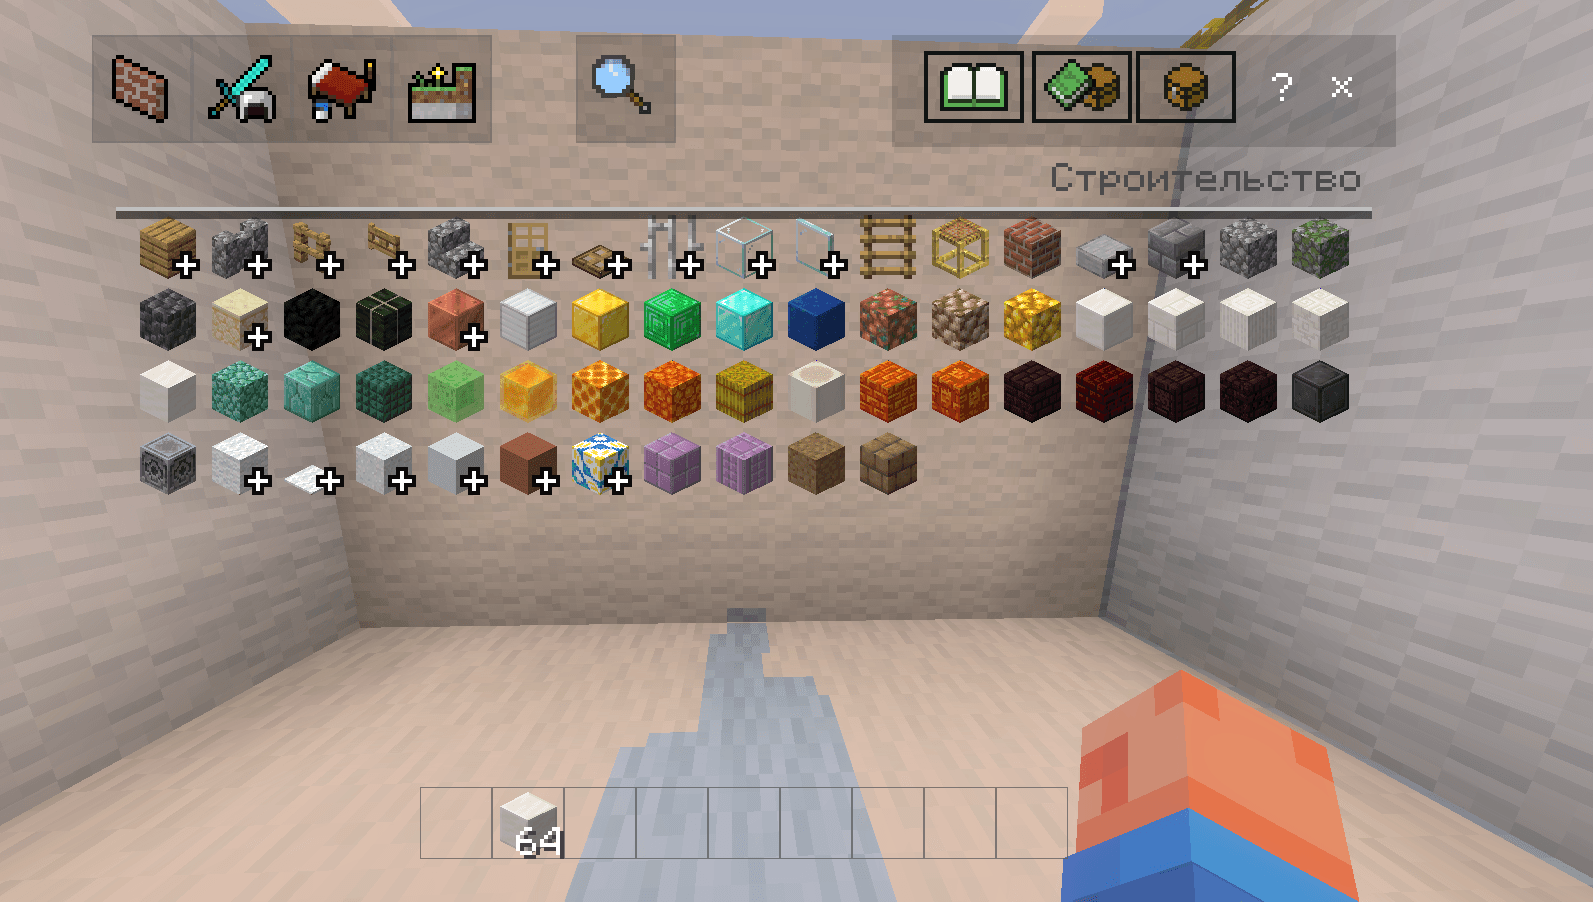
Снимок ÑкÑана 2026-11-09 211315.png
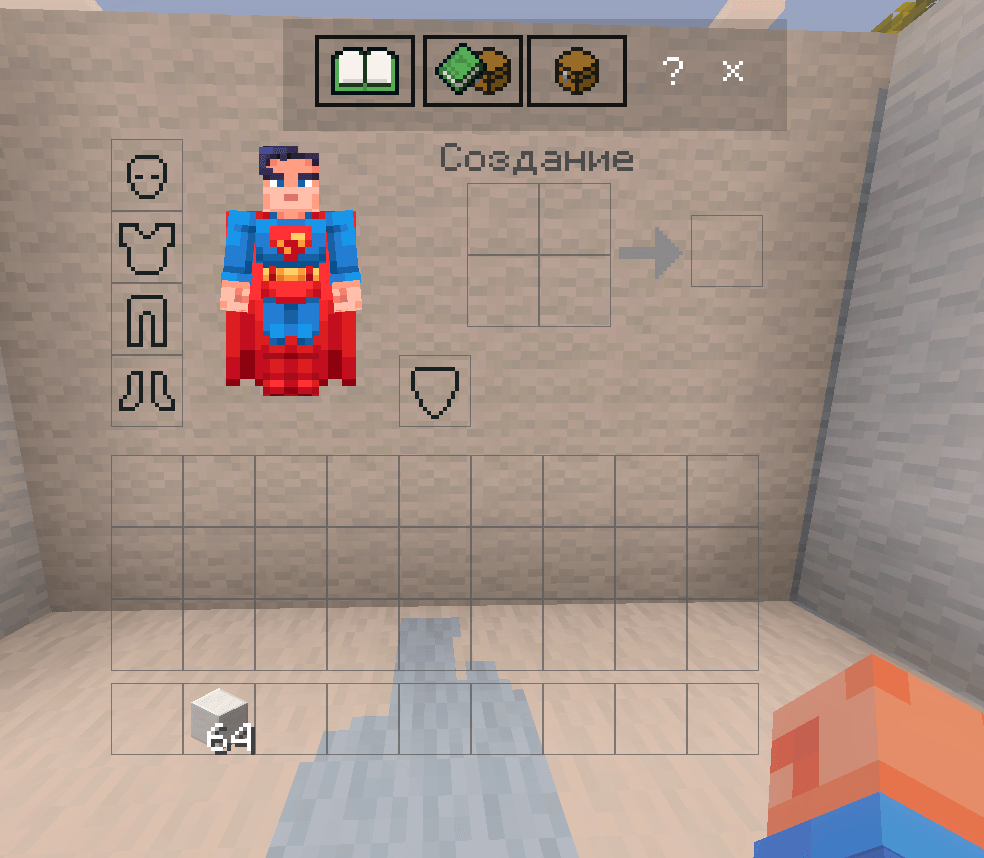
Снимок ÑкÑана 2026-11-09 211319.png
Description
Clear Transparent Inventory makes the inventory interface in Minecraft Bedrock fully clean and transparent, and also provides a simple way to add your own background images.
Important note:
By default this pack is shipped completely empty (no pre-installed wallpapers). When installed as-is, the inventory background becomes fully transparent. The built-in subpacks (dark, light, minimalist) are ready-made templates — just insert your own .png images into them and switch between them in-game at any time.
What it does:
- Fully transparent background — removes the solid black/gray rectangle behind the player model and inventory window so you can clearly see the world around you.
- Clean interface and slots — makes the inventory panel and hotbar slots semi-transparent and less cluttered for better visibility.
Perfect for:
- PvP and BedWars players who need full situational awareness while managing inventory.
- Players who prefer a clean, minimalist interface without the heavy default gray background.
- Anyone who wants custom inventory wallpapers without creating UI JSON files from scratch.
If you only want a transparent inventory You don't have to read further — just install the pack and you're done.
---
Step 1: Unpack and replace the background image
1. Rename the .mcpack file to .zip and unpack it into a separate folder.
2. Go into one of the subpack folders, for example:
subpacks/dark/textures/ui/ (or light / minimal)
3. Replace the file dialog_background_opaque.png with your own image.
Important: The image must be in .png format and keep the exact same filename: dialog_background_opaque.png
4. (Optional) You can also edit dialog_background_opaque.json. This file controls how the image is stretched and scaled. If your image has a specific resolution (for example 1280×1088), open the .json file and update the "base_size" values:
"base_size": [1280, 1088]
Note: Do not replace files in the root textures/ui/ folder. Always work only inside the subpack folders to keep the pack stable.
---
Step 2: Rename or add new subpacks (optional)
How to rename a subpack (example: dark → scare):
1. Rename the folder: subpacks/dark → subpacks/scare
2. Open manifest.json and find the corresponding entry:
{
"folder_name": "dark",
"name": "Dark"
}
3. Change both values to the new name:
{
"folder_name": "scare",
"name": "scare"
}
4. Save the file.
How to add a new subpack:
1. Create a new folder inside subpacks, for example: subpacks/my_bg
2. Copy the entire textures folder from an existing subpack (e.g. subpacks/dark) into the new folder.
3. Go to subpacks/my_bg/textures/ui/ and replace dialog_background_opaque.png with your image.
4. Open manifest.json and add a new entry to the "subpacks" array:
{
"folder_name": "my_bg",
"name": "my_bg"
}
5. Save the file.
---
Important note about UUIDs
If you customized the pack (replaced dialog_background_opaque.png) and already have the original version installed, it is strongly recommended to change one digit in each of the two UUID values in manifest.json. This prevents Minecraft from treating your customized pack as a duplicate of the original. If you have never installed the original pack, you can skip this step.
---
Step 3: Pack and install
1. Go back to the root folder of the pack (you should see the textures and subpacks folders + manifest.json and pack_icon.png).
2. Select all these items together (do not select the outer parent folder) and compress them into a .zip archive.
3. Rename the .zip file back to .mcpack.
4. Open the .mcpack file to import it into Minecraft.
5. Go to Settings → Global Resources (or the resource packs of your world).
6. Find the pack and open its settings (the three-line icon or settings button next to it). In the subpack selection window, switch the slider to choose the subpack that contains your custom image
After that the new background will be applied. You can switch between subpacks at any time through the same gear menu without reinstalling the pack.
Clear Transparent Inventory Team