Send mail, collect shop payments and keep valuables secure with linked postboxes, owner-only mailboxes, payment chests and safes—all built for your Minecraft multiplayer world.
Players can send items through a 27-slot input chest to a linked 54-slot receiving chest, making it easy to manage player mail and shop payments.
I’ve been using it on my personal Realm for around 12 months, and it has been well received by my players.
Items deposited into an input chest are transferred to a secure storage area, then moved into the linked receiving chest when it is opened. A syncing system keeps the contents of the vanilla chests aligned with the items held in storage.
To set up the storage area, clear all blocks within a minimum two-chunk radius around X: 15000, Z: 15000, from Y: 0 down to Y: -58. On my Realm, I also enclose this area in bedrock to help prevent access by non-admin players.
Postboxes link to mailboxes, while payment chests link to safes. Mailboxes and safes can only be accessed by their owners and admins, keeping mail and payments secure.
To access admin features, give yourself the postal_admin tag:
/tag @s add postal_admin
You’ll also need the Postal Admin Wand to access individual boxes’ admin functions.
The boxes cannot be crafted. They must be obtained from the creative inventory and then given or sold to players. On my Realm, we have an established post office and include a mailbox in each starter kit. Shop owners purchase payment chests and safes as part of setting up their shops.
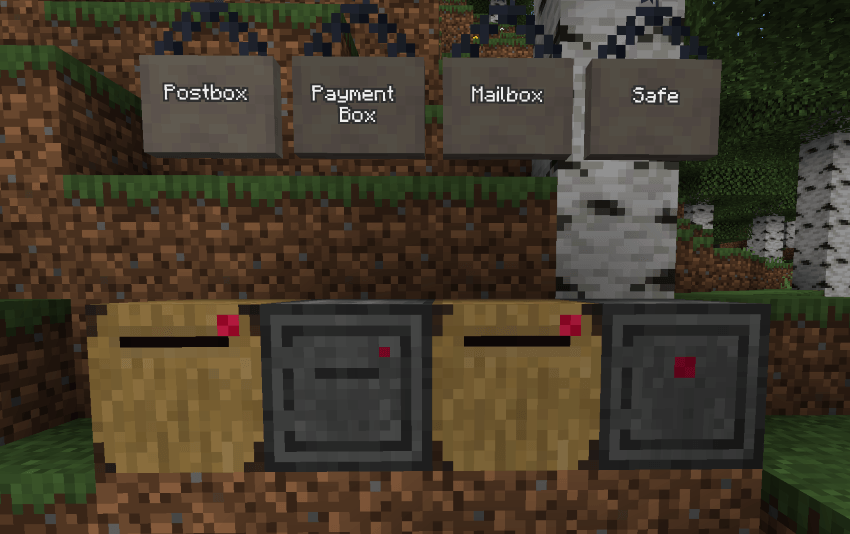
Example of all unlinked boxes
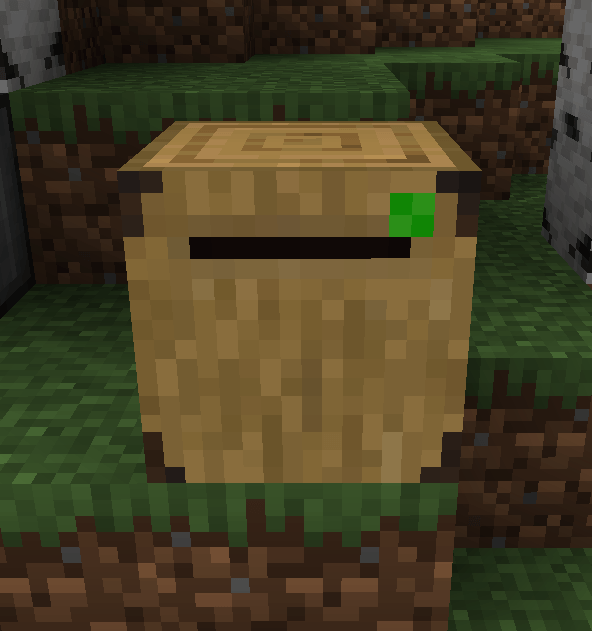
When the boxes are setup the "light" goes green as shown below. Postboxes/Payment boxes will send and store items in the storage area but it is not accessible till the mailbox/safe is set up
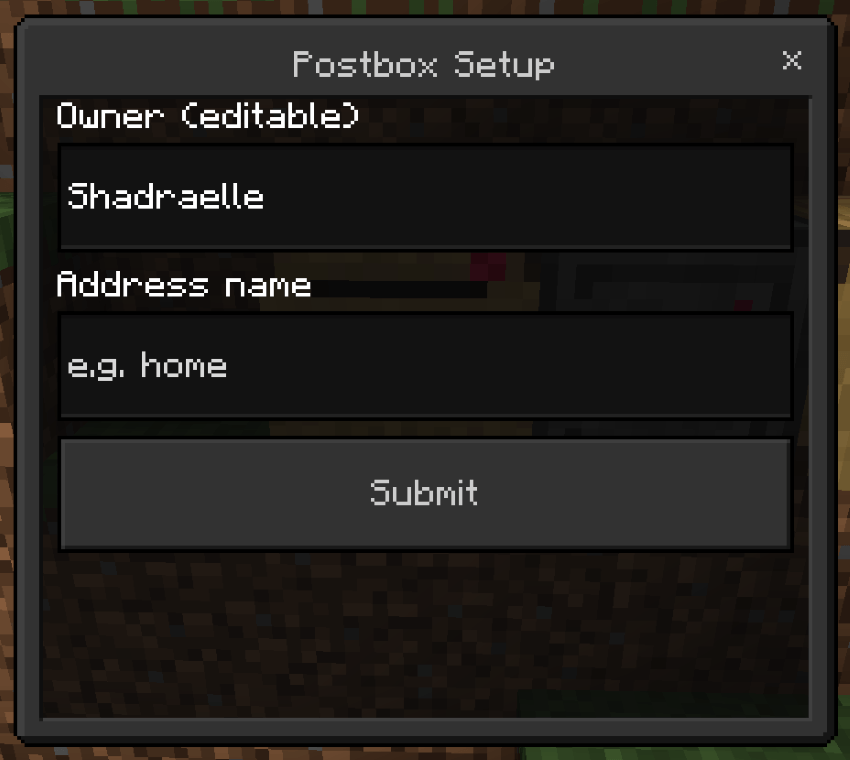
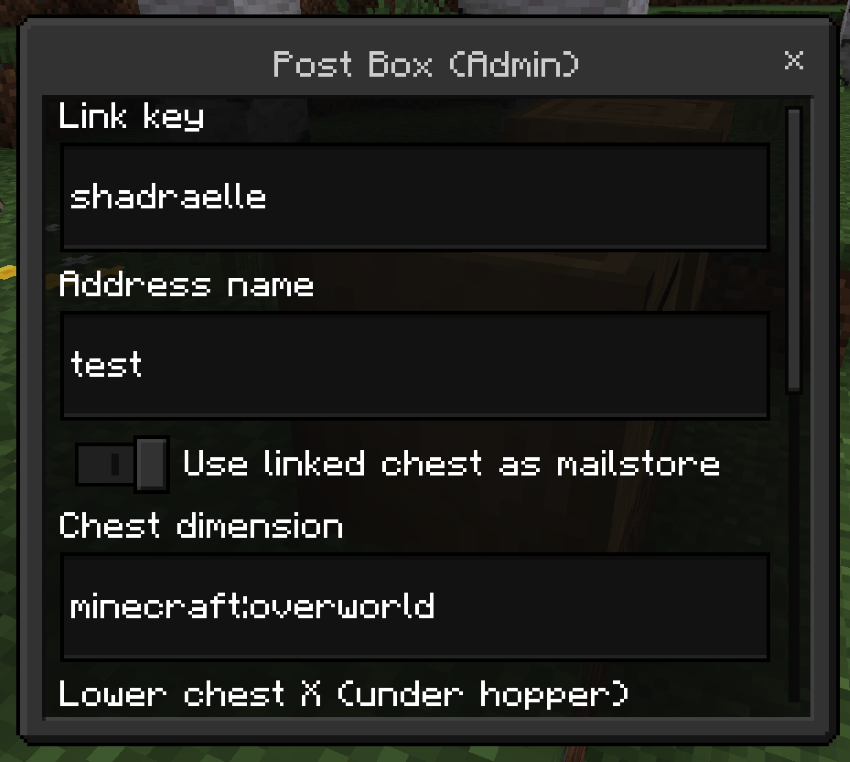
All boxes use the same setup menu. I recommend filling in only the address field. This can be any word or name you choose and becomes the mailbox name visible to other players.
For two boxes to link correctly, their owner and address details must match exactly.
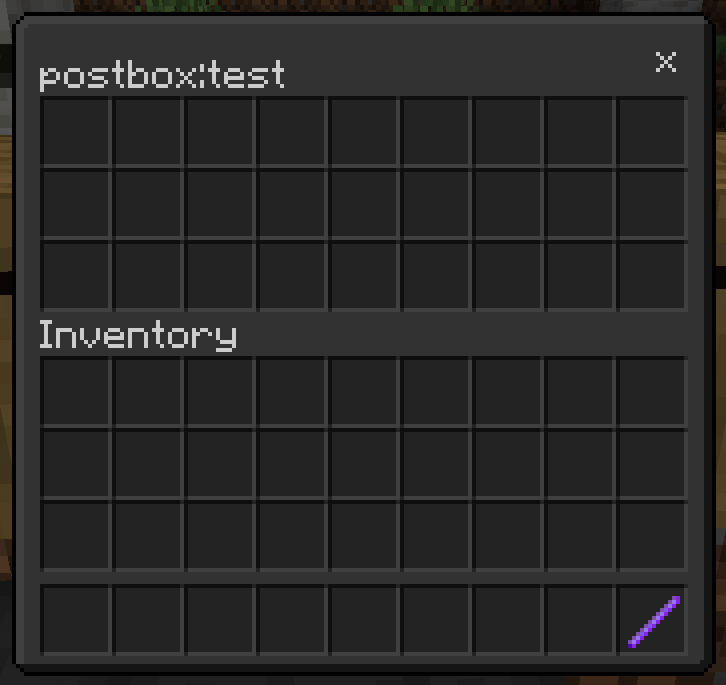
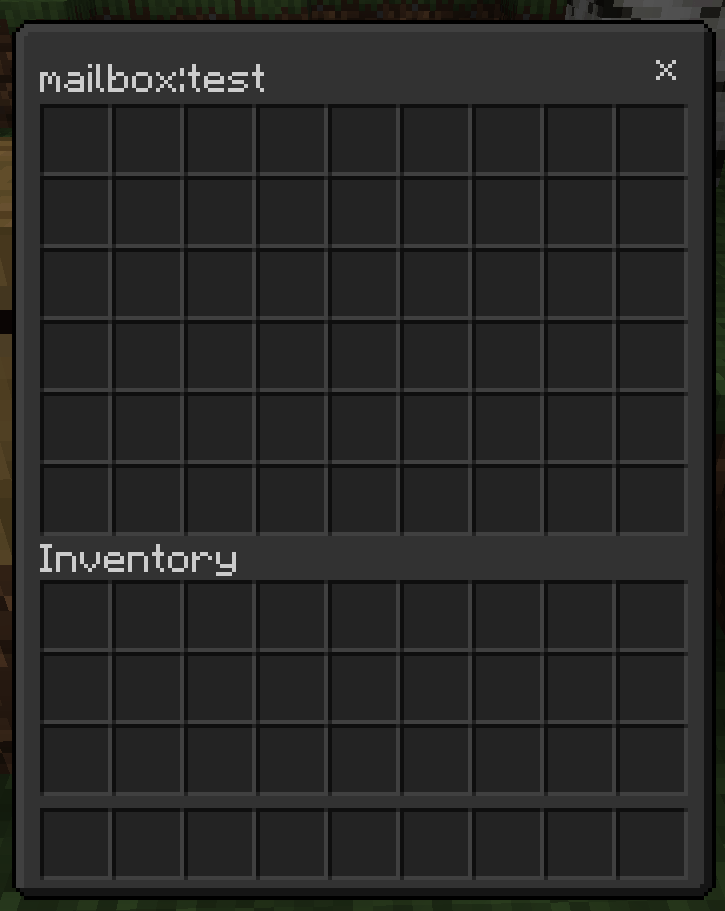
The sending and recieving boxes for both pairs look the same as the below. you can see that these both have the same address name. The first image also has the postal admin wand in it.
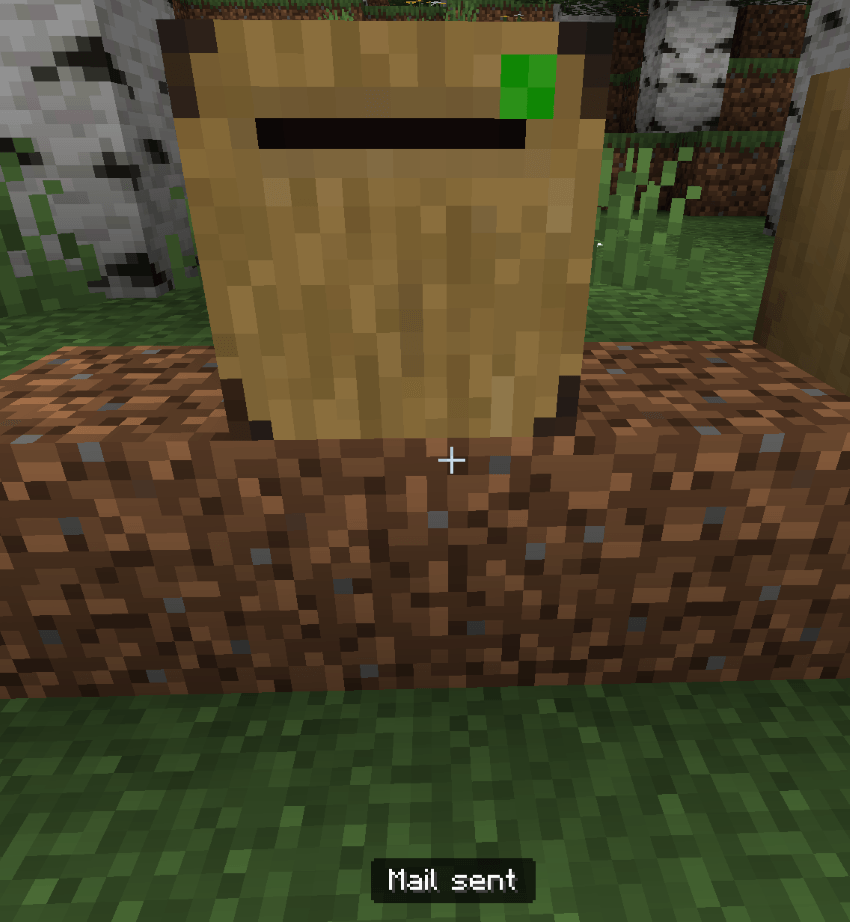
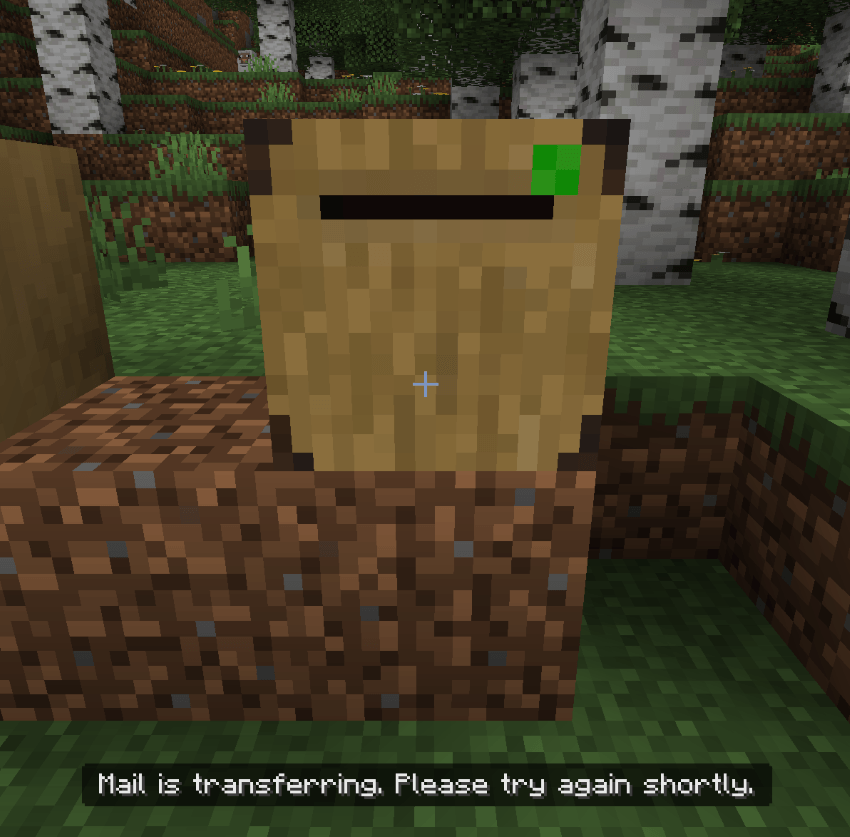
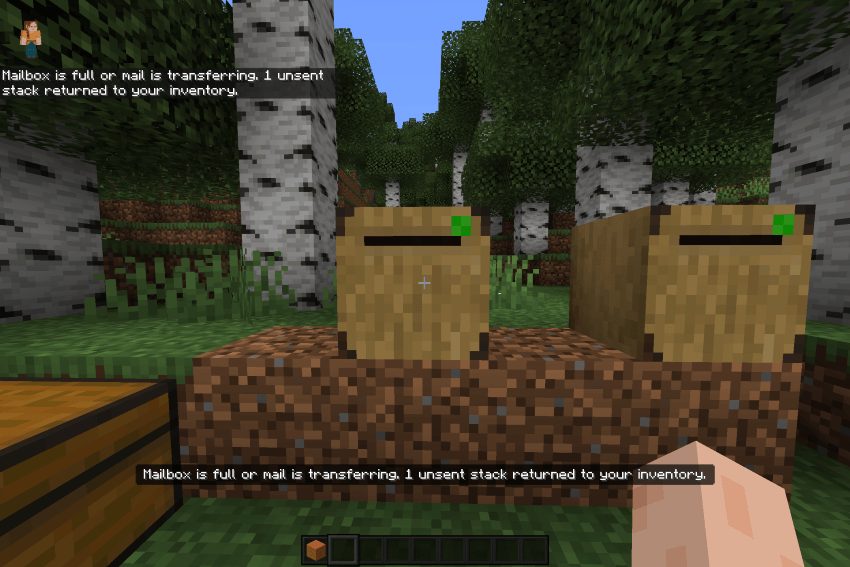
Below are some messages you may see when sending or receiving mail.
Items from the sending chest are moved into a storage chest above a hopper. The hopper feeds them into a double chest below, allowing matching items to combine into stacks. Mailbox access is temporarily locked during this transfer to help prevent accidental item loss.
- Image 1: The message shown after closing a postbox.
- Image 2: The mailbox lock message displayed while mail is being transferred.
- Image 3: Items returned to the sender when the receiving mailbox is full.
An additional message shows how much can be placed in the sending box. This only appears when you click a side other than the front of the postbox or safe.
Admin Menu
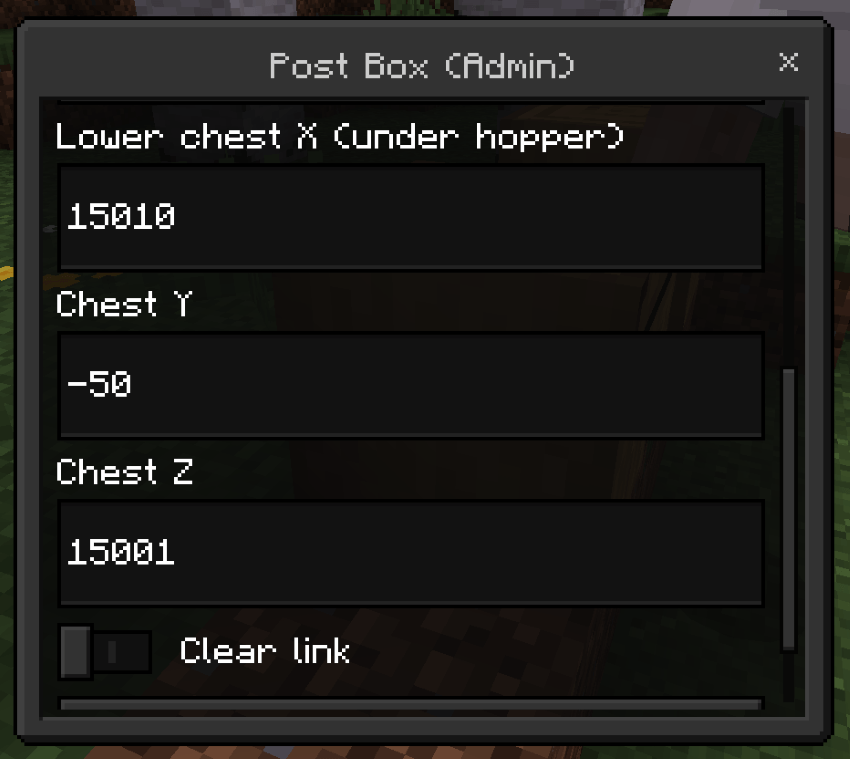
To open the admin menu, use the Postal Admin Wand on any face of a box other than the front. The menu is the same for all box types.
Use the linked chest in the designated mail hub area for storage. Using storage outside this setup may cause the add-on to malfunction.
If a pair fails to link correctly, use Clear Link to reset one or both boxes. I usually check the owner and address details on the postbox or payment chest with the player, then clear the receiving mailbox or safe’s link so they can enter the matching details again.
Click Submit, located below Clear Link, to confirm any changes.
Storage System
All mail is securely held in a vanilla chest-and-hopper storage chain, which acts as the authoritative inventory for each mailbox. The custom chest entities provide access to those items rather than being relied on for permanent storage.
This system was introduced after an issue caused custom chest entities to occasionally lose their inventories. As far as I’m aware, that underlying issue remains unresolved.
Postboxes send deposited items into the storage chain, where a hopper transfers them into the lower chest and combines matching items into existing stacks where possible. When a player opens their mailbox, it displays a synchronised copy of the stored inventory. Any changes made during collection are then saved back to the vanilla storage chest.
Mailbox access is temporarily locked while the hopper transfers items, preventing inventory changes during consolidation and helping protect against item loss.
This setup also preserves item details, including enchantments, shulker box and bundle contents, and other stored item data.
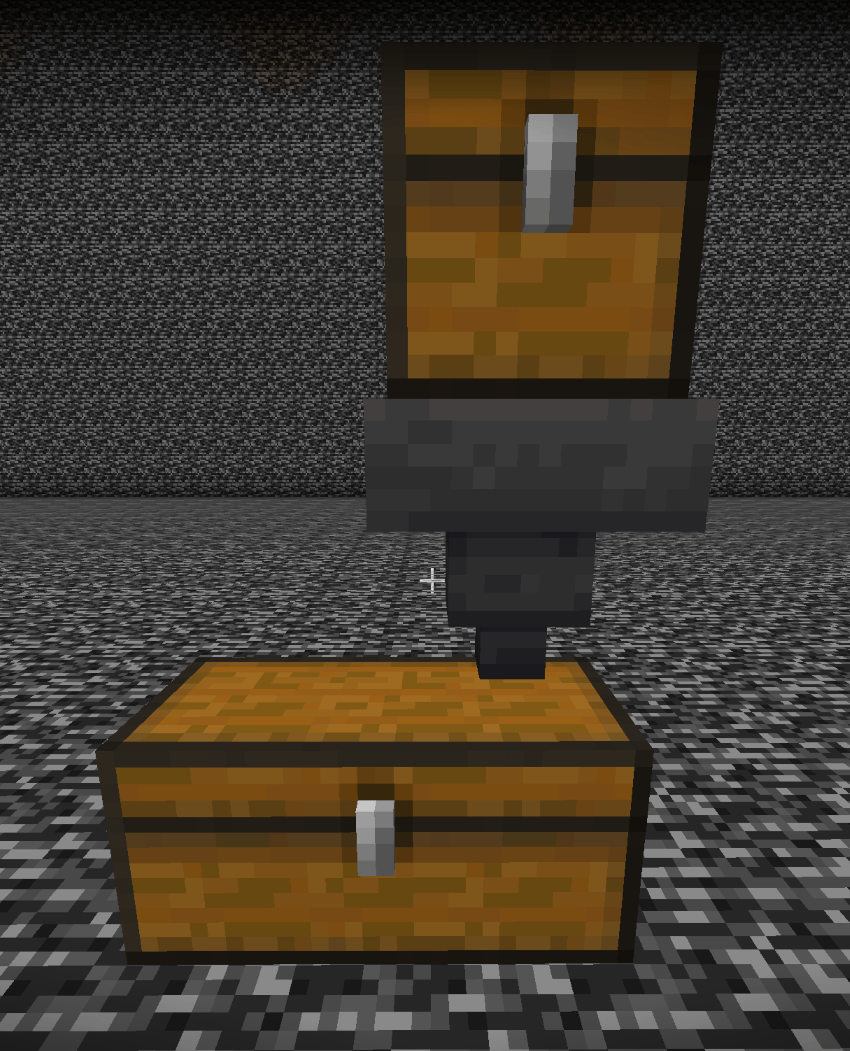
Mail Storage Hub
The mail storage hub requires a manually cleared area extending at least two chunks in every direction from X: 15000, Z: 15000, from Y: 0 down to Y: -58. Once the lower storage layer is full, the add-on begins placing a second layer above it.
As shown, I have enclosed my hub in bedrock to help prevent unwanted access by regular players. You must clear this area yourself; the add-on does not clear it automatically.
The add-on is scripted to create a session-based ticking area around the hub. To set up a persistent ticking area manually, run the following command while in the same dimension as the hub:
/tickingarea add circle 15000 0 15000 4 mail_hub true
This keeps a four-chunk-radius area around the hub loaded while the world is running, allowing mail transfers and access even when no players are nearby.
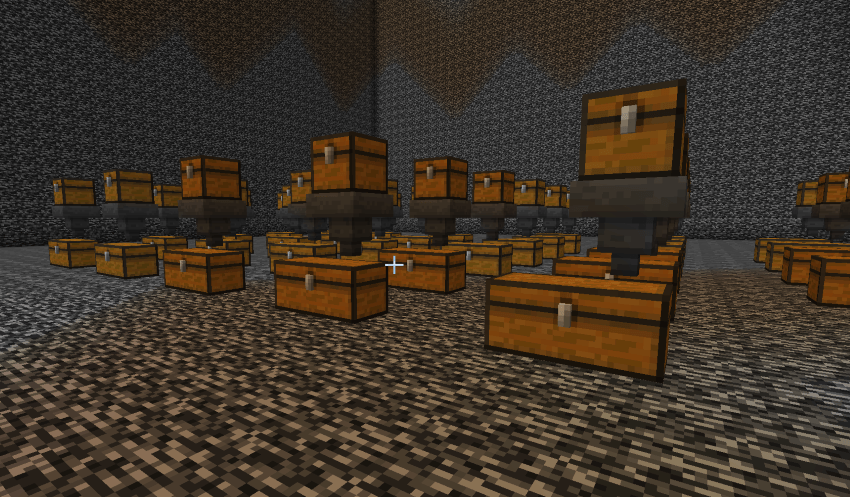
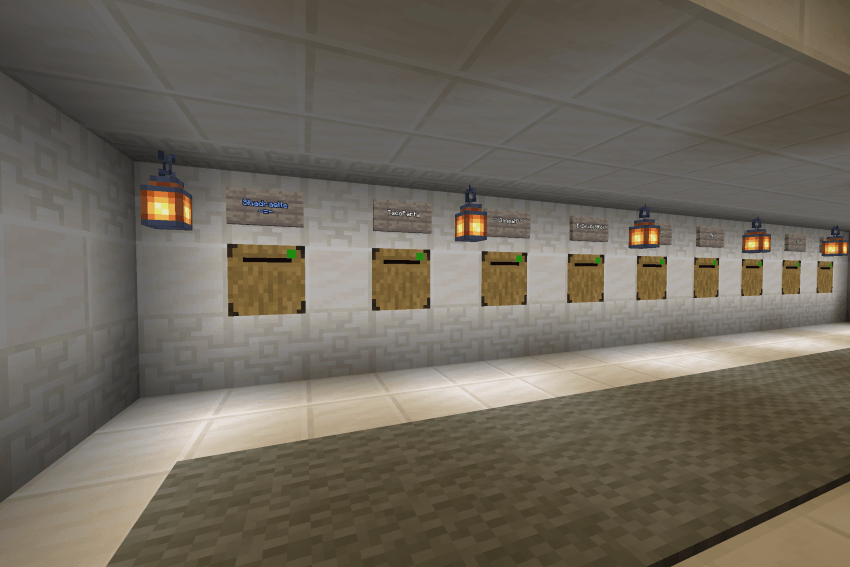
In game post office usage example. This is the post office on my realm we have set up for players to send items to each other.
Requirements
This pack requires beta API's to be enabled. It should run on realms. It also requires cheats for the manual set up of a ticking area but a session based ticking area should also load each time the world opens.
Please report any bugs you find.
Copyright
This resource pack is for personal use. You can use and modify it for private use.
You can
Use this resource pack in videos or livestreams.
You can not
Distribute, re-upload, or sell this resource pack, either in its original form or with modifications.
Claim ownership of any part of this resource pack.
Create and distribute a modified version of this resource pack without the authors explicit permission.
Sharing and Crediting
If you share a link to this resource pack, please link directly to the official download page. Do not use an ad-filled link shortener or a direct download link.
If you use this resource pack in a video or public project, please provide a link to the original download page and credit the author. Thank you!