This addon is required for any MCA‑compatible vehicle addon to function. It provides the control system — vehicles themselves are NOT included. You can also use MCA as a controller for your own custom addons. All control items (spawn eggs) are found in the Creative inventory. “Mode” items let you switch the destination sign, provided the vehicle add‑on you are using supports that feature. MCA is only a control tool – no vehicles are provided.
Please see the description of each vehicle add‑on for how to use it with MCA.
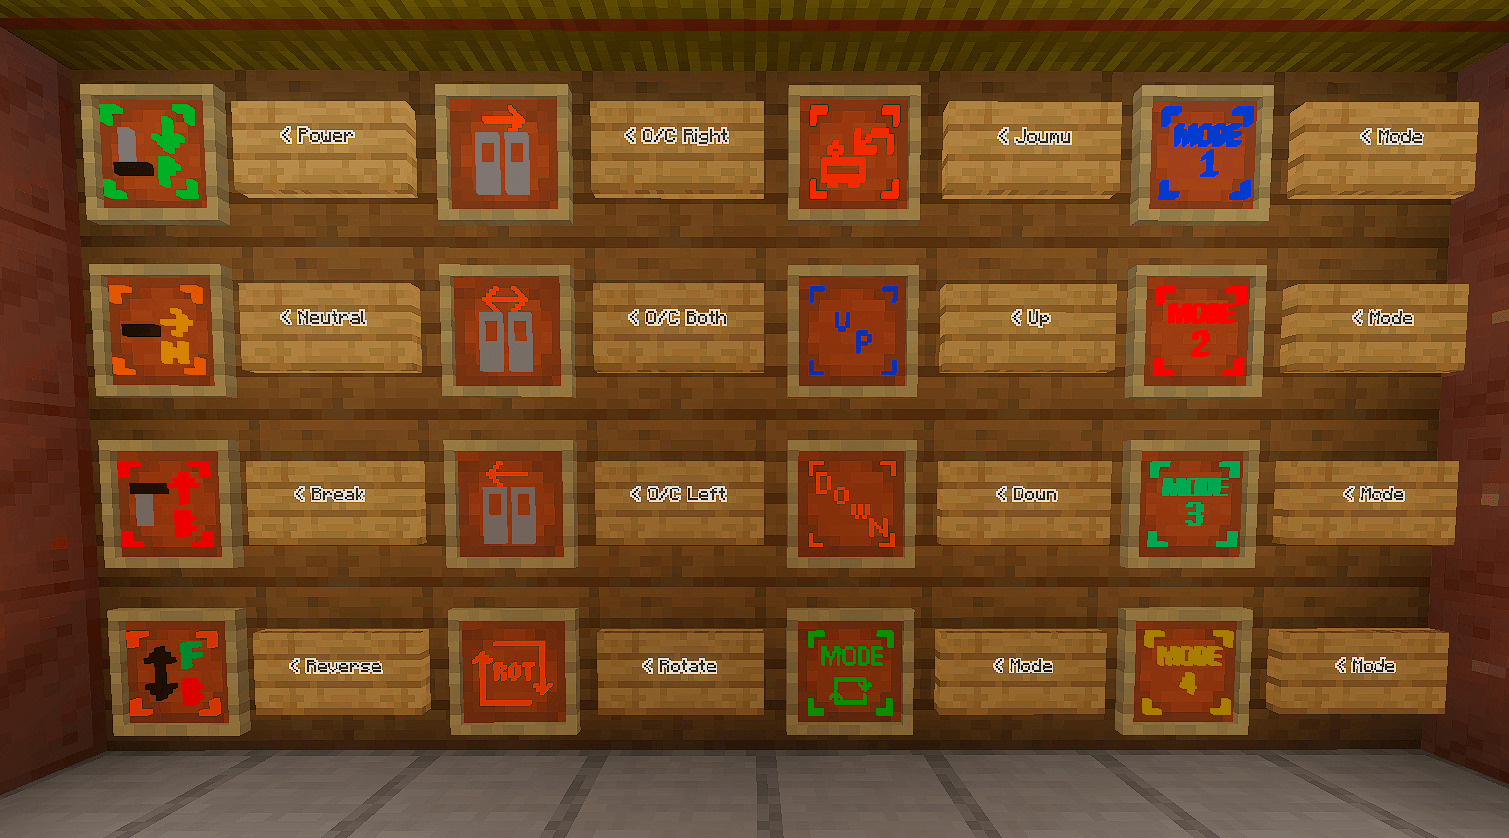
- Notch P (power) – increases speed.
- Notch N (neutral) – maintains current speed.
- Notch B (brake) – decreases speed.
- Reverse – reverses the vehicle’s direction.
- OC Left / OC Right / OC Both – open or close the doors on the selected side.
 Notice:
- Both MCA and a compatible vehicle add‑on must be installed.
- Creative mode is required to get control items.
- Ensure chunk simulation distance is set to at least 4 chunks.
- Some buttons may do nothing or perform different functions. This depends on how the vehicle add‑on interacts with MCA.
- The
/function setting required in previous versions is now automated and no longer needed.
To work with the addon, you need to enable experimental gameplay in your world and you may need to use powered rails for some addons like MTM.
How to…
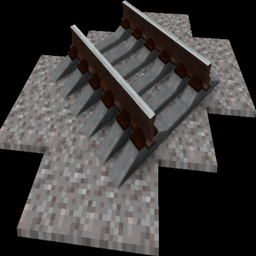
- About the track
This addon runs on regular rails. More powered rails = more stable operation.
- How to place a vehicle
Follow the instructions of each vehicle add‑on and place the vehicle on the rails.
- How to remove a vehicle
Take the spawn egg [Erase Vehicle] and use it near the vehicle you want to delete. Also you can use /kill @e[type=vehicle_id].
- How to crew a vehicle
Use the spawn egg [Joumu] near the coupling section of the vehicle you want to control. Once used, “On duty” will appear on screen. While on duty, control items only affect that specific vehicle. Use [Joumu] again to end your duty. If you are not on duty, the nearest vehicle will be controlled automatically. This feature depends on whether your vehicle add‑on supports it.
- How to rotate a vehicle
Use the spawn egg [Rotate] near a vehicle to rotate it by 90‑degree increments.
How to drive
While riding a vehicle:
- Use [B] → notch moves one step toward brake
- Use [P] → notch moves one step toward power
- Use [N] → notch off
- Use [Reverse Direction] → travel direction reverses
Note: If the vehicle’s orientation doesn’t match the rail direction, it may not run.
Auto Curve
This addon can automatically follow curves. ⚠️ High‑speed or sharp curves may cause derailment. To disable auto curve: /function cv_off. To re‑enable: /function cv_on.
Manual vehicle rotation
Use commands to set exact angles:
-
- Car 1:
/execute as @e[tag=c1,c=1] at @s run tp @s ~~~ [angle]
- Car 2:
/execute as @e[tag=c2,c=1] at @s run tp @s ~~~ [angle]
Combined with command blocks and detector rails, this can be used for curves when auto‑curve isn’t enough.
How to deploy ATS
The ATS function applies emergency brakes when a set speed is exceeded. Place a detector rail and a command block (Impulse, Unconditional, Needs Redstone, Delay 0) at the limit location. Command: /function ats_<speed> (speed: 0–120 in steps of 5).
How to couple vehicles
- Spawn all the trains you want to couple and bring them into positions where they appear connected.
- Stand in the centre of all the trains and execute:
/function F<n> (replace <n> with a number from 1 to 10).
- Trains with the same number are considered coupled.
- Finally, use N and Reverse once.
Now curtain operation and door opening/closing are synchronised across the coupled vehicles.
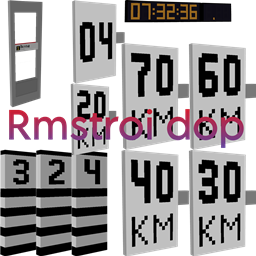
How to set the destination sign (curtain)
The "curtain" is the display on the front/side of the train that shows the direction (uphill/downhill) and mode. Uphill means one travel direction, Downhill the opposite. By changing the curtain, you also control which side doors open on.
Method 1
Use the spawn egg [Mode] (green with 🔄) near the vehicle you want to change. Repeated use cycles through the following in order:
- Uphill Mode 1
- Downhill Mode 1
- Uphill Mode 2
- Downhill Mode 2
- Uphill Mode 3 (curtain expansion compatible vehicles only)
- Downhill Mode 3 (curtain expansion compatible vehicles only)
- Uphill Mode 4 (curtain expansion compatible vehicles only)
- Downhill Mode 4 (curtain expansion compatible vehicles only)
Method 2 (legacy)
Use the spawn eggs [Uphill] and [Downhill] together with [Mode1], [Mode2], [Mode3], or [Mode4] near the vehicle. The combination determines the curtain setting.
| Combination |
Result |
| [Downhill] + [Mode1] |
Downhill Mode 1 |
| [Uphill] + [Mode1] |
Uphill Mode 1 |
| [Downhill] + [Mode2] |
Downhill Mode 2 |
| [Uphill] + [Mode2] |
Uphill Mode 2 |
| [Downhill] + [Mode3] |
Downhill Mode 3 (curtain expansion only) |
| [Uphill] + [Mode3] |
Uphill Mode 3 (curtain expansion only) |
| [Downhill] + [Mode4] |
Downhill Mode 4 (curtain expansion only) |
| [Uphill] + [Mode4] |
Uphill Mode 4 (curtain expansion only) |
How to operate doors
Method 1
Use the spawn eggs [Right Door Open/Close], [Left Door Open/Close], or [Both Doors Open/Close] in front of the vehicle to open. Use any of these items again to close. The left/right side that opens is determined by the uphill/downhill direction set with the curtain.
Method 2 (legacy)
First, use either [Right] or [Left] near the vehicle to select which door will be operated. Then use [Open] or [Close] in front of the vehicle. Doors will open/close on the side that faces the front of car No. 1.
 Caution:
- You are responsible for any issues caused by using this coupling feature.
- This coupling is unstable. Distance between vehicles may change at high speed or in curves.
To work with the addon, you need to enable experimental gameplay in the world and you may need to use powered rails for some addons like MTM. Download this addon from the author’s website.

![[MCA] NYTP | New York Train Pack r188,r142,r62 project image](https://media.forgecdn.net/avatars/thumbnails/1166/429/256/256/638736617881037060.png)
![[MCA] Russian Rialway (Trains, Deco) project image](https://media.forgecdn.net/avatars/thumbnails/1294/699/256/256/638841492797064909.png)