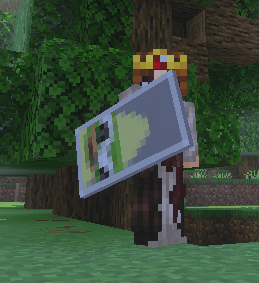
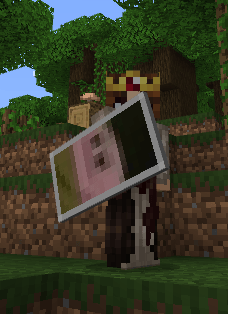
 Unlike a simple texture pack, every image becomes its own selectable shield. The shields include durability, enchantment support, first-person and third-person animations, and real damage blocking when you crouch, just like a normal Bedrock shield.


How It Works In-Game
- Craft the Shield Customizer.
- Hold the Shield Customizer in your main hand.
- Place a normal shield or one of your custom shields in your off hand.
- Use the Shield Customizer to open the texture selection menu.
- Choose one of your uploaded designs. You can also search for a shield by name.
- Equip the shield and crouch/sneak to block damage, following the normal Minecraft Bedrock shield controls.
You can return to the menu at any time and switch to another texture without crafting a new shield.
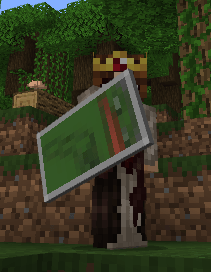
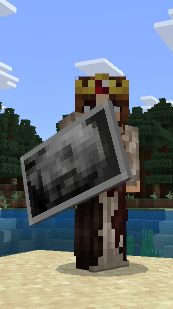
Crafting Recipe
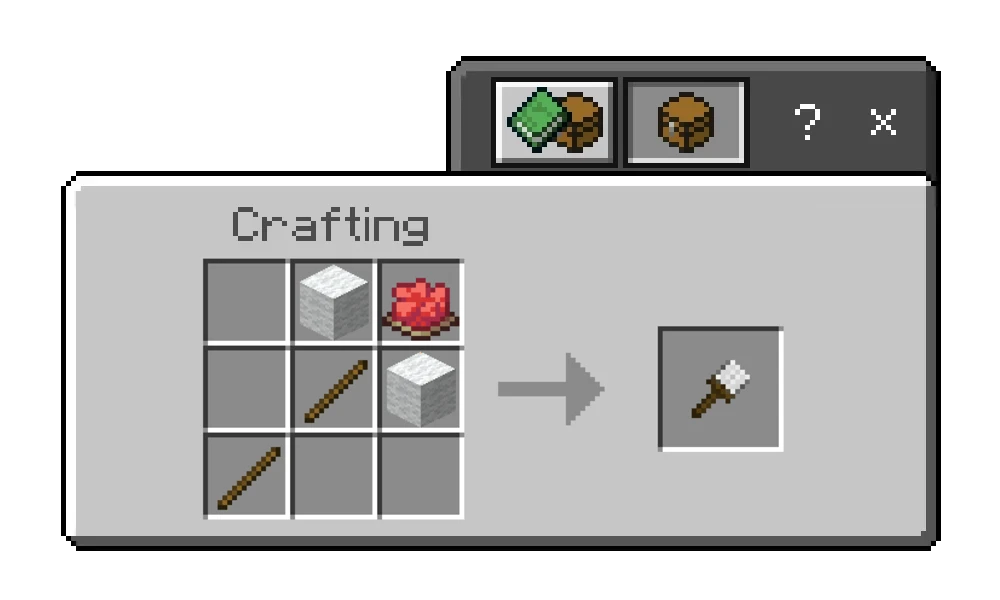
The Shield Customizer requires:
- 2 Sticks
- 2 White Wool
- 1 Red Dye
Place the ingredients in a crafting table like this:
Creative Ideas
- Personal worlds: Carry photos, drawings, flags, logos, or your own pixel art.
- Servers: Create shields for staff members, ranks, minigames, or special events.
- Teams and clans: Give every group its own recognizable emblem.
- Roleplay: Design medieval coats of arms, faction symbols, police shields, or fantasy equipment.
- Adventure maps: Use different shield designs as collectibles, rewards, or class equipment.
How to Get Your Custom Addon
Because every pack is personalized, there is no single standard download containing everybody's images. Create your own version with the official web editor:
Open the Custom Shields web editor
Tutorial: Using the Web Editor
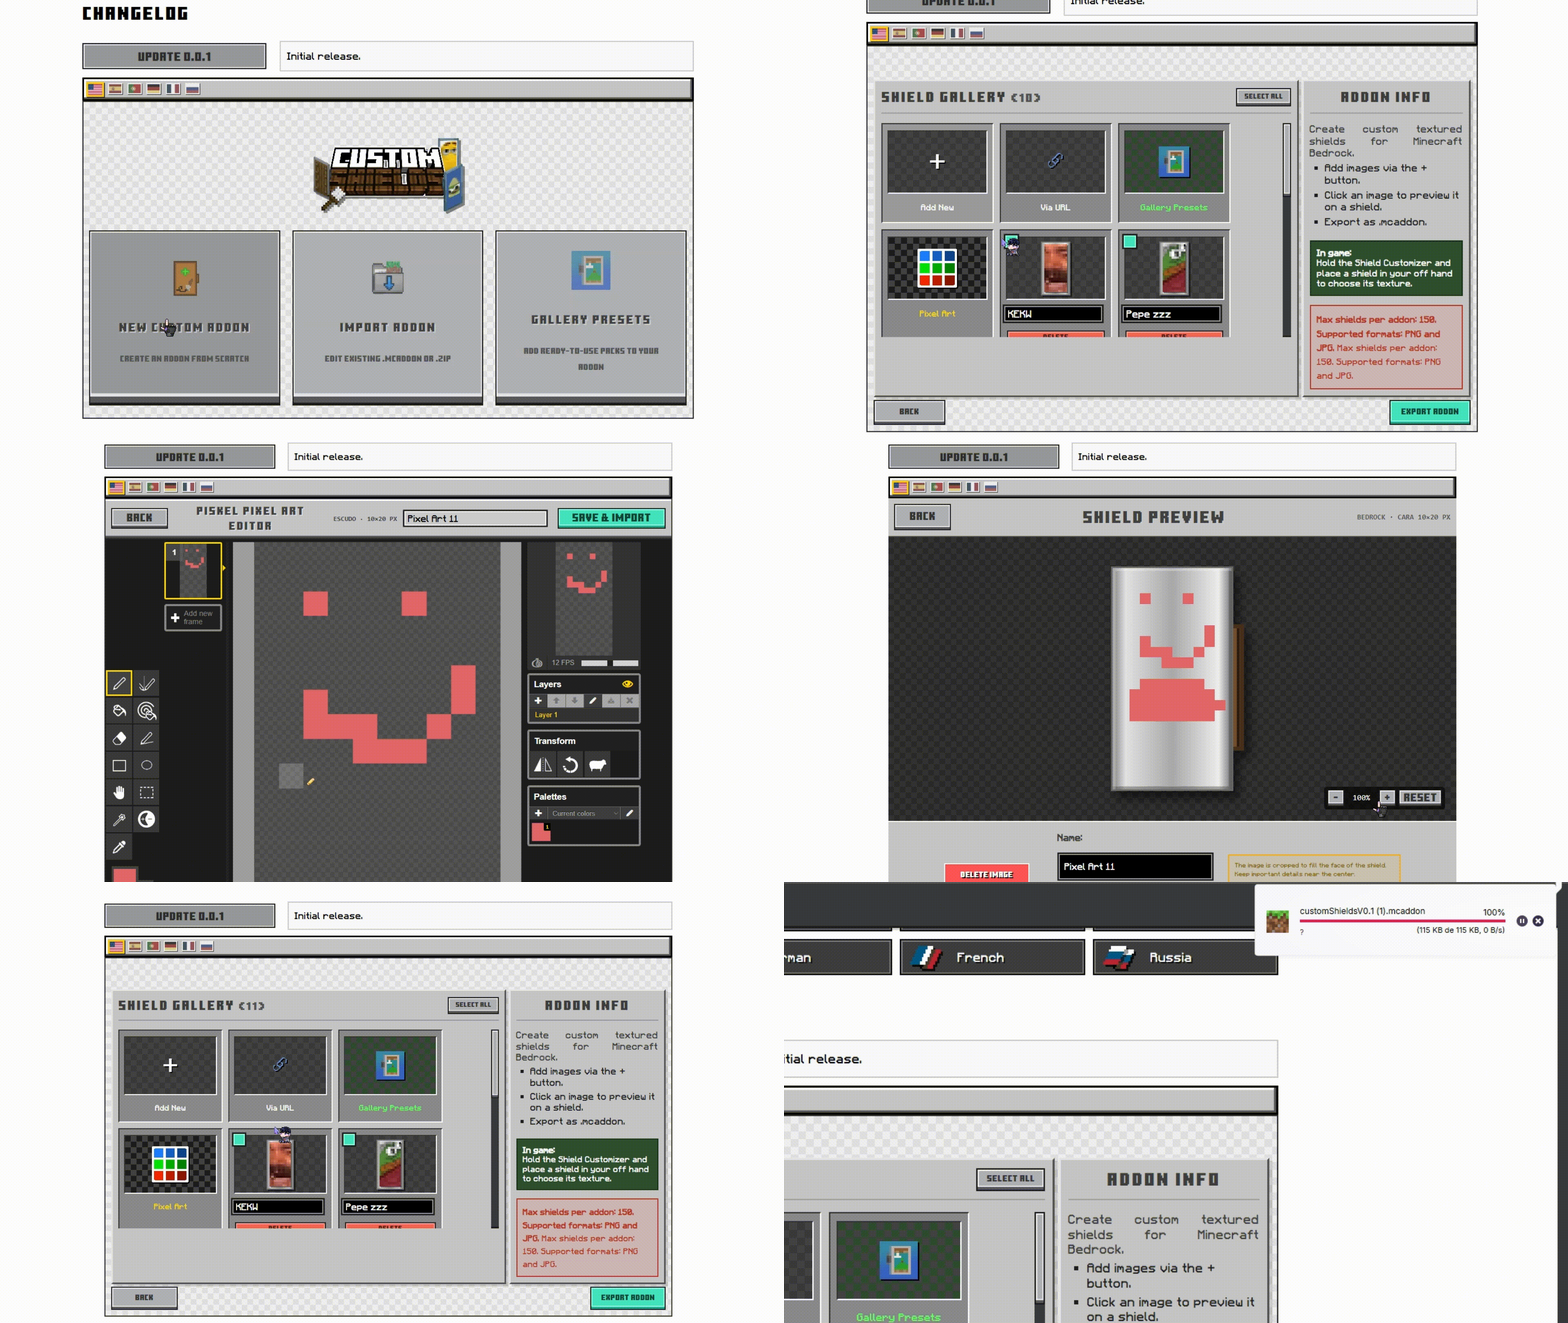
- Start a project: Select Create New Addon, or import an existing
.mcaddon/.zip to continue editing it.
- Add images: Upload files from your device, paste an image URL, choose a preset, or draw a new design with Piskel.
- Check the preview: Select an image to see its rectangular shield preview and the pixelated 10 × 20 result used in Minecraft.
- Organize your pack: Rename textures, delete individual images, or use bulk selection to remove several at once.
- Export: Press Export Addon. The editor builds and downloads your personalized
.mcaddon automatically.
- Install: Open the downloaded file with Minecraft and activate both the Behavior Pack and Resource Pack in your world.
Supported In-Game Languages
The Shield Customizer menu and its messages are available in:
- English
- Spanish (Spain and Mexico)
- Portuguese (Brazil and Portugal)
- Japanese
- Simplified Chinese
- Traditional Chinese
- German
- French
- Russian
Minecraft automatically uses the language selected in the player's game settings.
Image Tips
Minecraft displays each shield face at 10 × 20 pixels, so detailed images will become pixelated. The editor shows this final resolution before export.
For the best result:
- Use simple shapes and strong silhouettes.
- Prefer high-contrast colors.
- Keep important details near the center.
- Check the pixelated preview before exporting.
Installation Notes
- This addon is made for Minecraft Bedrock Edition.
- Install the exported
.mcaddon by opening it with Minecraft.
- Enable both included packs in the world where you want to use the custom shields.
- When playing on a server or Realm, players must be able to download the world's Resource Pack to see the custom textures.
Credits
Created by AgusTheKing.
The integrated pixel art editor is based on Piskel, distributed under the Apache 2.0 license.
Downloads | Official Site