


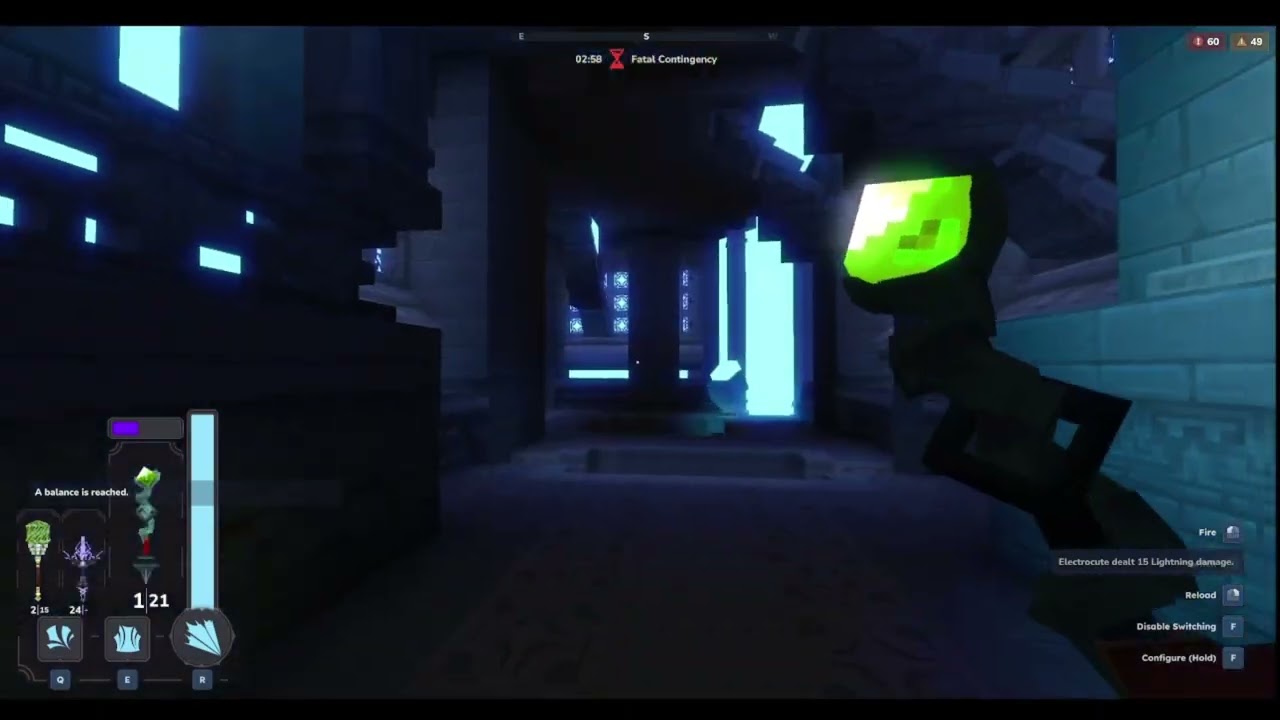
Description
NEW UPDATE 1.2.0 (updated for Chapter 1- version 0.7.0+)
Journey is a RPG mod for Hytale that implements Dungeons and weapons (through a looter-shooter perk based staff system)
Staff
To start, get the legendary wooden staff from the workbench, then open the User Interface by holding down the Use/Interact key (Normally F)
New staves can be acquired through kill drops for any enemy, or crafted through the Arcane Workbench. Acquired staves are random until opened by Right-Clicking.
To equip a staff, open the storage tab at the bottom and click on any staff, then click a slot to place it in.
You can Right-Click any staff or icon in the inventory to inspect.
You can use up to 3 staves at one time.
To swap between staves, press the Interact/Use key and use scrollwheel to switch between staves.
To stop swapping, press again.
Right-Click to reload
Left-Click to fire
Dungeon
There is currently one Dungeon, the Cathedral of Fallen Stars accessible through crafting the key at the Arcane Workbench and placing the key inside a portal frame.
Dungeons in Journey are not pure combat oriented. That is, the main focus of each encounter is to execute a puzzle (mechanic), while combat is only forces the player balance both macro and micro while keeping pace.
Bosses are also not immediately damageble unless the player completes the above-mentioned mechanics.
Each Encounter has a hard wipe time, meaning when the hourglass timer reaches 0 the encounter will kill all players and reset.
Dungeons are currently built/tested for solo-play, so there is no guarantee on buggy-ness with multiple people.
Cathedral of Fallen Stars Written Guide
1st Encounter- Li'al, Sentinel of Offerings
There are 6 statues around the room, 3 on the left and 3 on the right.
Interacting with a statue will allow them to blink some number of times.
Total the number of blinks across all 6 statues and then remove that number of diamonds from the middle pillars of the arena.
To remove a cluster of diamonds, you must have the Light Crux buff from shooting one of the pulsating star-shaped objects around the ceiling/walls. (Destroying a cluster removes the buff)
Removing a number of diamond greater than the total number of blinks causes a wipe.
Removing the correct number of diamonds will make the boss become damageable and change into his melee form.
If the boss is not killed in 3 damage phases, the encounter wipes.
2nd Encounter- The Labyrinth
This encounter has two sections of the map- an inner (light) ring and an outer (dark) ring.
When the encounter starts and with each phase, walls appear that block certain corridors that can be destroyed by killing the golem guarding it.
There are 4 statues in each section of the map, which will blink 1-4 times each.
The goal is to find a set of dark and light statues that have the same number of blinks, and destroy the respective diamonds/squares from the wall in front of them. While destroying the diamonds/squares, note each of their count as this will be important later.
For this encounter, the Crux buff is back but with an addition variant- Dark Crux. Light and Dark Crux can be gained by destroying star-shaped objects in their respective sections of the map.
The mechanic differs from the first in that you now need Dark Crux to destroy diamond clusters, and you need Light Crux to destroy square clusters. (The opposite colors)
After you have destroyed both the squares/diamonds of the matching pair of statues, you will gain the disorder effect if the number of diamonds you destroyed is not equal to the number of squares destroyed. You must then destroy the wall that contains the number of diamonds/squares that balances the number of squares and diamonds destroyed.
After doing this for 3 phases total, the encounter is completed.
3rd Encounter- Sevorach the Planesplitter
There are 8 light statues grouped in 2s at the base of each blue pillar, and 4 dark statues at the base of each red pillar.
To start there are 3 diamonds above each of the light statues, that when destroyed teleports/switches to the adjacent dark pillar. The goal is to make sure the total number of diamonds/squares on each pillar is equal to the total number of blinks from the statues below them. (Destroying a square will send it back to wherever it came from as a diamond)
When this is done the boss becomes vulnerable, but to actually able to damage him you need to be standing on one of the 4 white platforms at the center of the map.
Not being able to kill the boss in 3 phases results in a wipe.
For those struggling with damage, make sure you have either the blight, chromatic contingency, or dust devil equipped.
Journey Team
