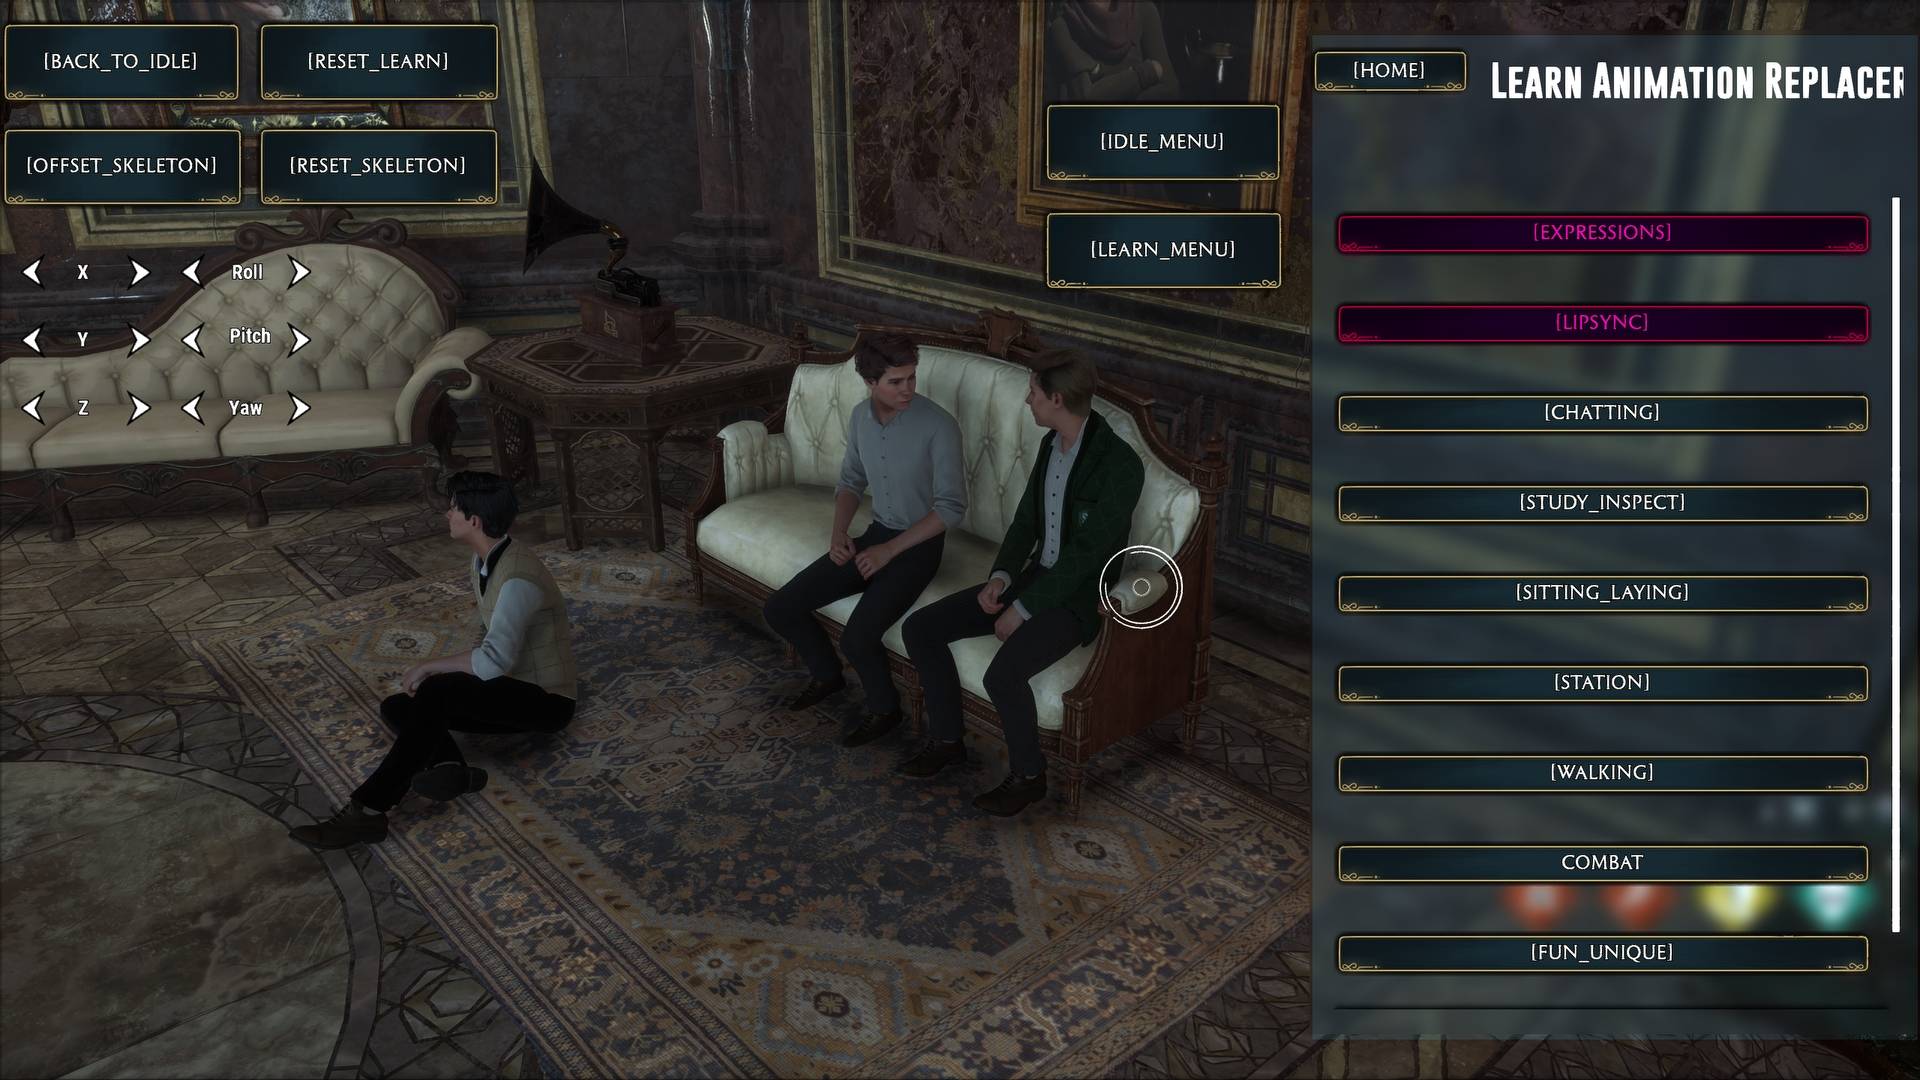
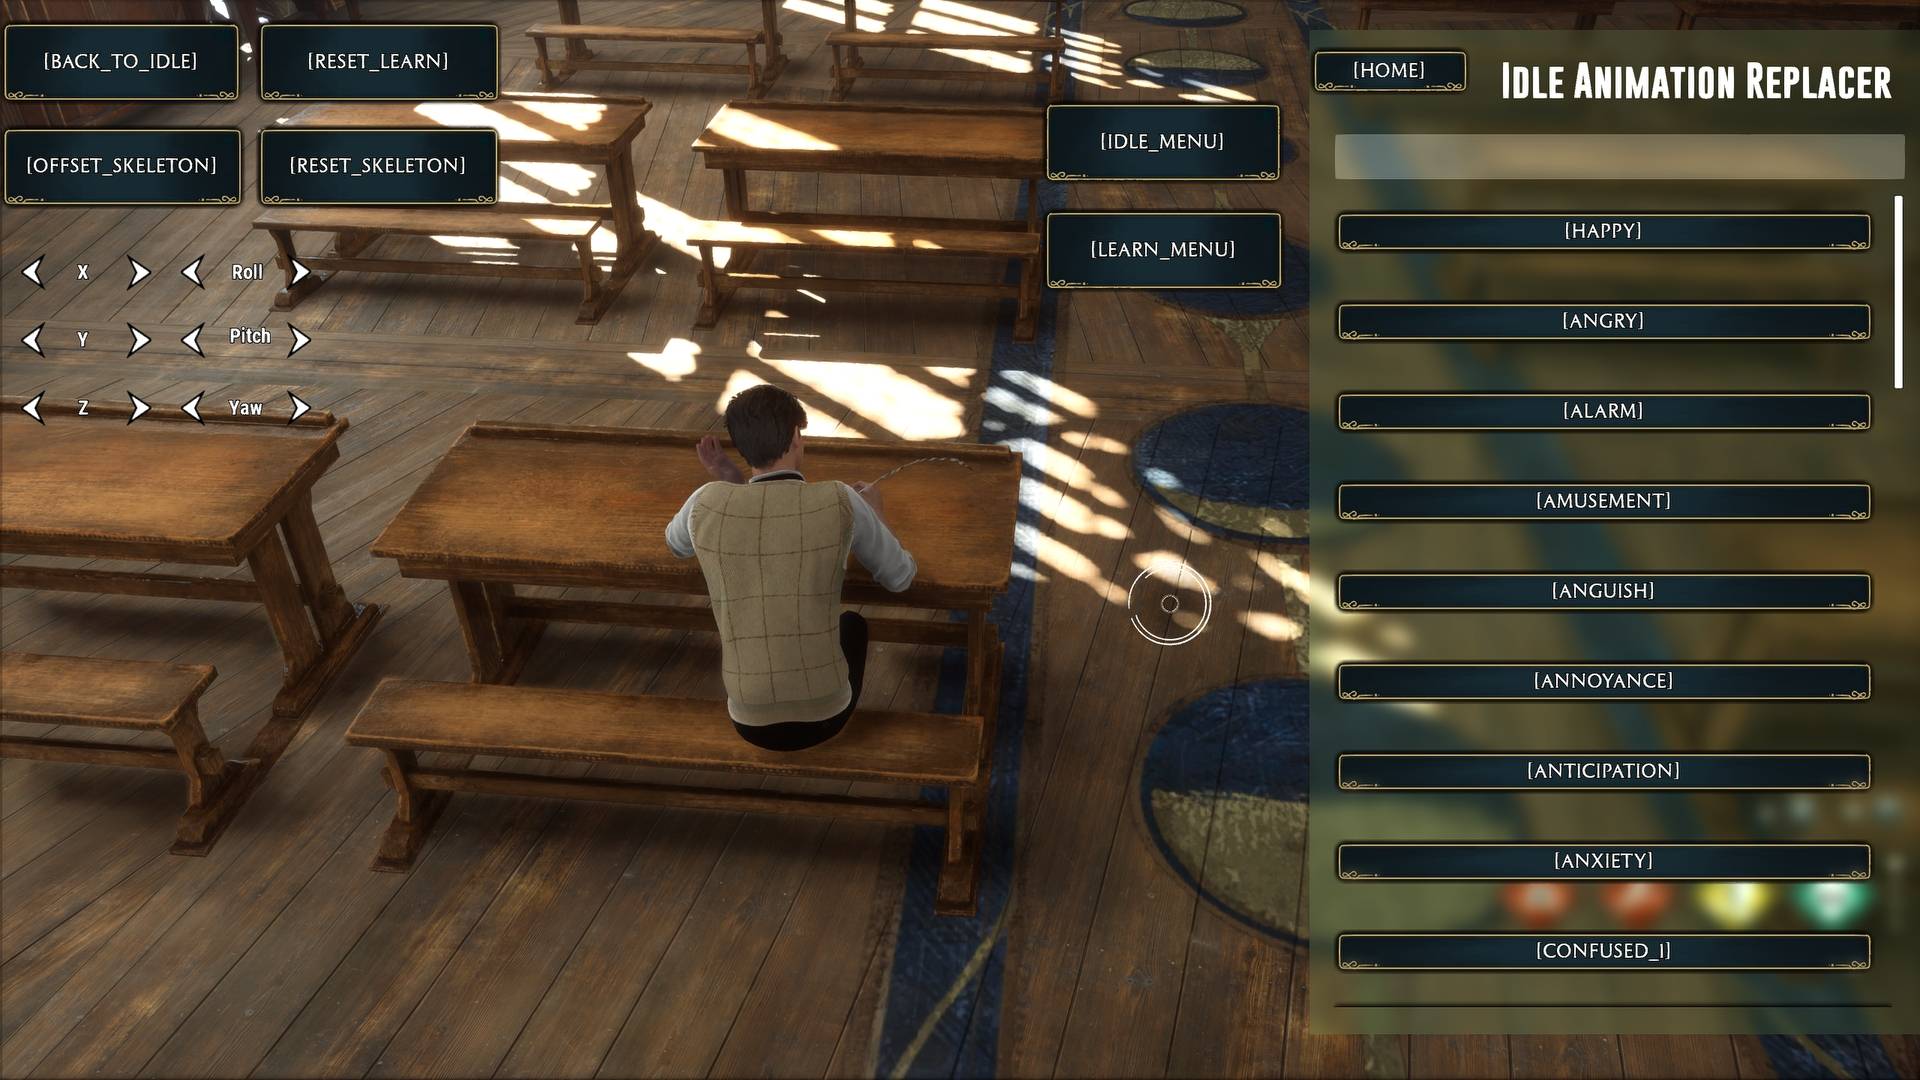
The Idle Animation Menu (Alt + Y) allows you to play and swap the following Ability's animation with a variety of select-able animations:
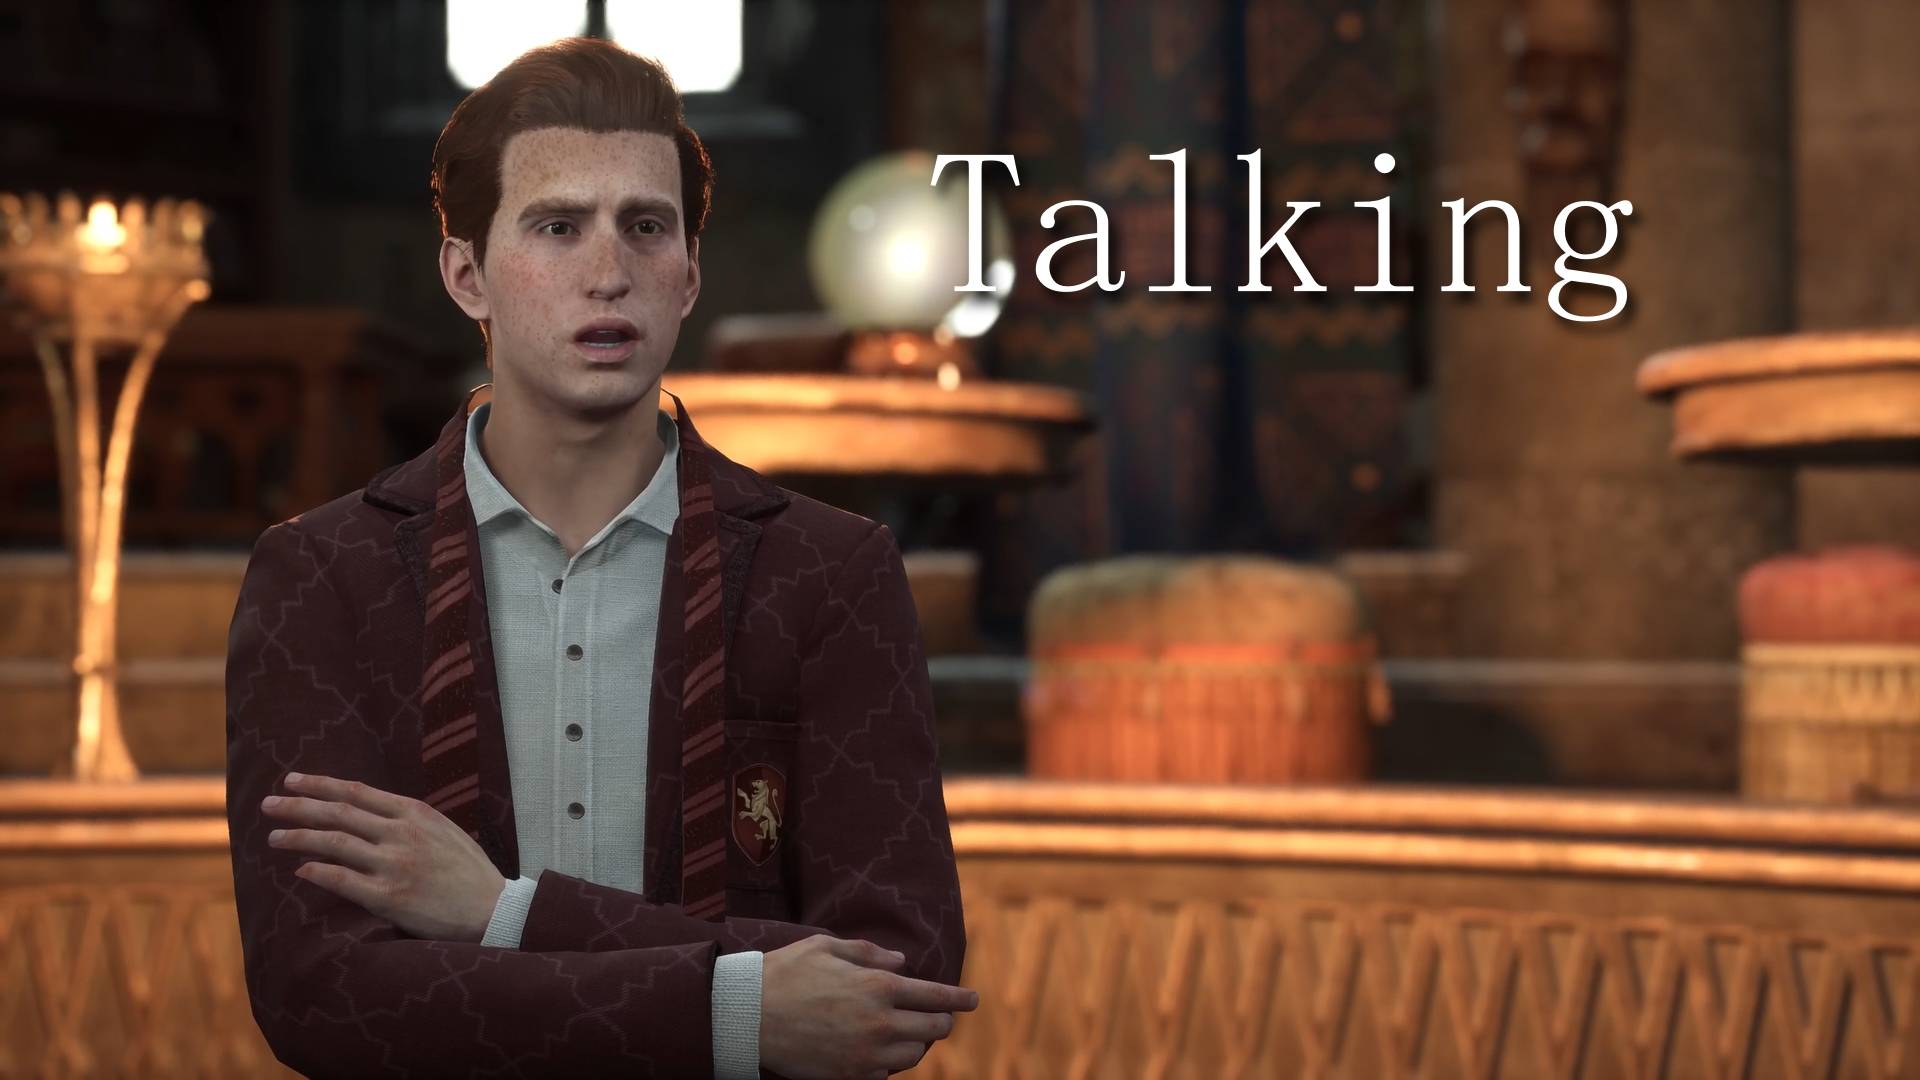
'Idle Casual' Ability -Body and Facial animation when the player stops moving and stands up straight
'Learn Spell' Ability -Body and Facial animation when the player is learning a new spell
Included Features:
-Search bars
-Reset animation/ability buttons
-Offset Skeleton button/Skeletal Mesh Mover to avoid 'CanCharacterStepOn' collision
Swap Idle Animation:
1. Press Alt+Y to pull up the Main Menu.
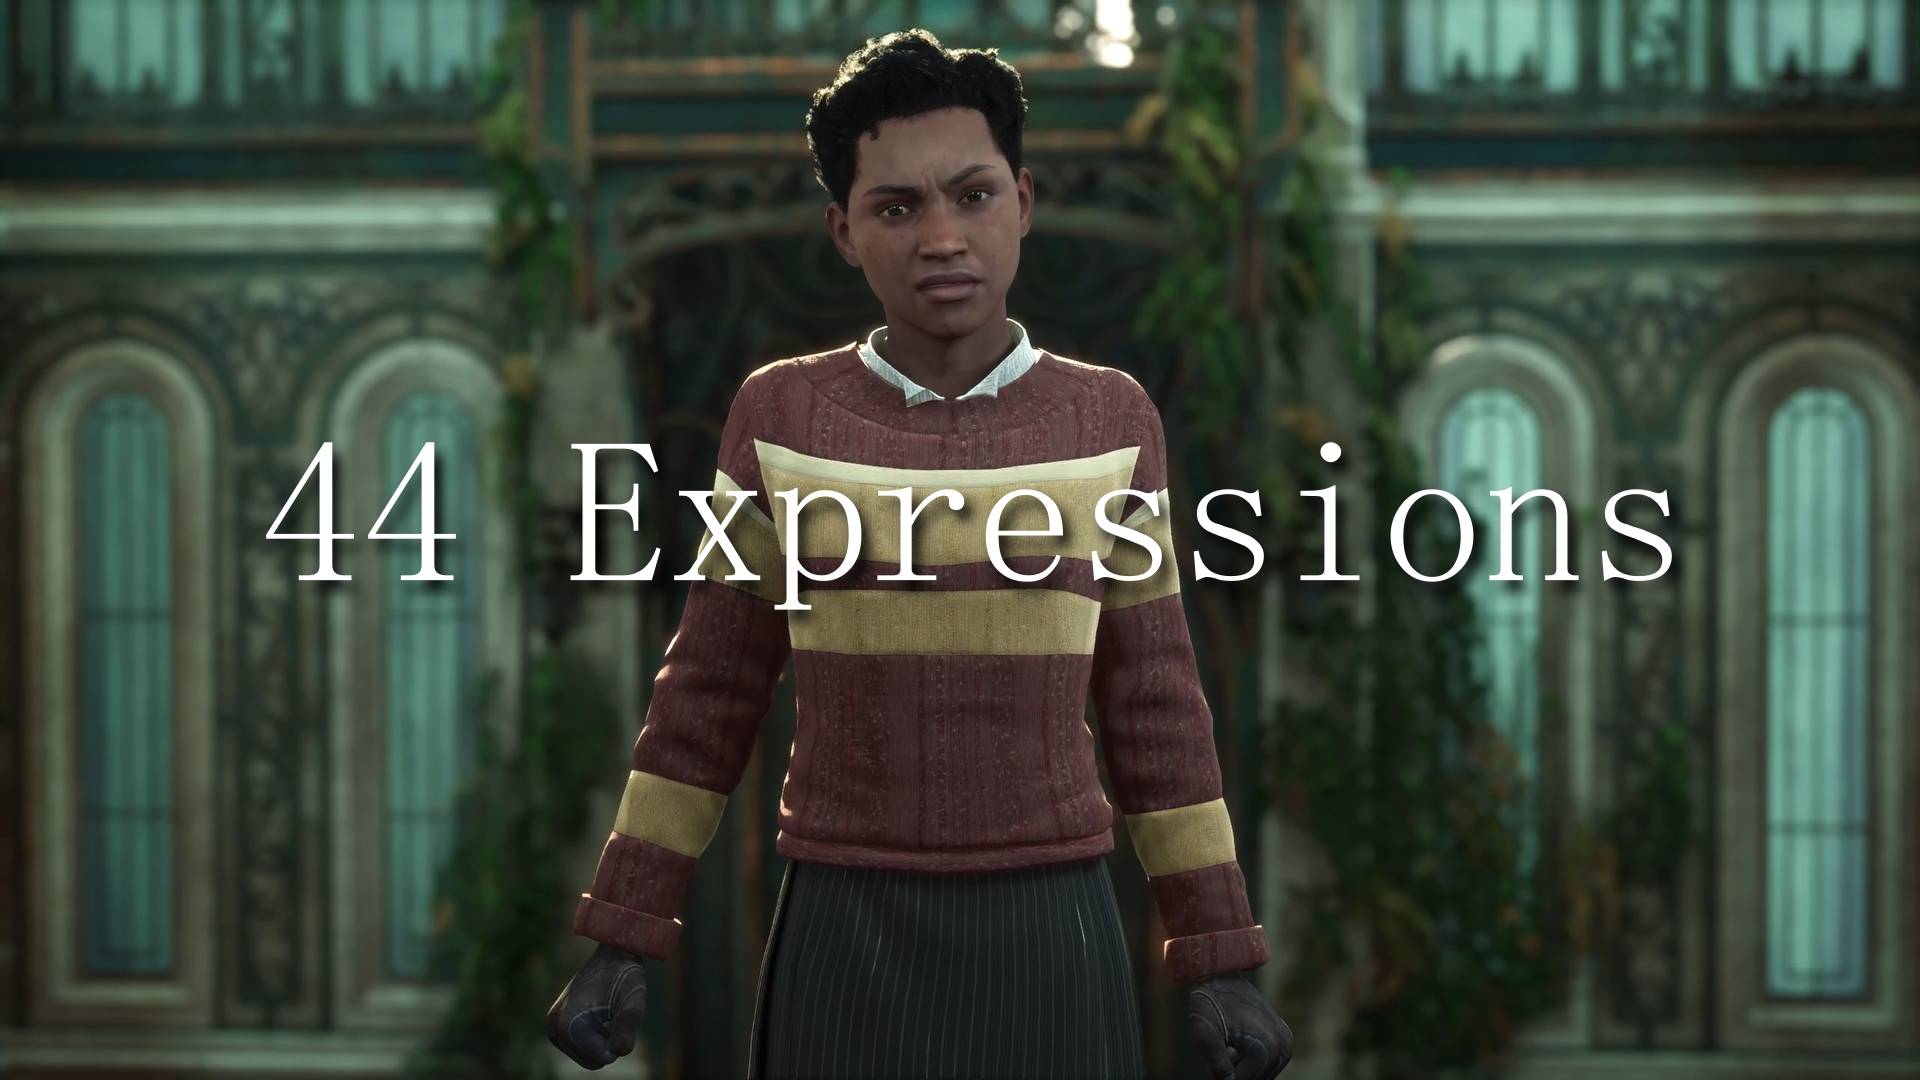
2. By default, you will be shown the 'Idle Menu'. Select your desired facial and body animation. (Note: 'Expressions' and 'LipSync' affect the face.)
3. Close the menu by pressing Alt+Y again
To reset the idle animation back to normal, click 'Back To Idle'.
Note: The following instructions require you to enter console commands via 'UETools - Developer Console . FreeCamera . Debugging' mod on Nexus. Replace '-' with underscores!
- For Cloning/Multiple Characters (Swap 'Learn' Animation):
- 1. Clone the player by entering 'UETools-SummonPossess BP-Biped-Player-C' into the UETools Console
- 2. Open Main Menu (Alt + Y)
- 3. Click 'Learn Menu'
- 4. Select your desired facial and body animation
- 5. Close the menu by pressing Alt + Y again
You should now have 2 characters running separate body and facial animations!
Note: When you are in any 'Learn' animation, you will no longer have access to game inputs (i.e walking).
To regain control, click 'Back To Idle'.
To reset the Learn animation, click 'Reset Learn'.
Note: Separate body animations are exclusive to Learn animations. Clones in Idle animations will match body and face. Clones in Learn animations will match faces. As such, you can have 2 unique facial animations and infinite unique body animations at a time.
Changing Animations for a Previous Clone:
1. 'UETools-FindActors Biped-Player' to see all player codes (or use Universal Unreal Engine 4 Unlocker)
2. 'UETools-PossessActor BP-Biped-Player-C-(Insert Player Code Here)' to re-possess the clone you want to change animations.
3. Change the animation
4. Remove codes on screen by entering 'UETools-FindActors'
Using Offset Skeleton Button (+ Universal Unreal Engine 4 Unlocker) to Bypass Collision:
Note: Clicking the 'Offset Skeleton' button pushes the player’s Skeletal Mesh up and away from its 'Collision Capsule'…Look up and you’ll see them!
This is a one-click solution used alongside Universal Unreal Engine 4 Unlocker (more commonly referred to as 'Otis') to avoid CanCharacterStepOn collision when placing your character. Non-Otis users can use the arrows provided.
- 1. Select Character with Otis
- 2. Enter 'UETools-GhostMode' in UETools Console
- 3. Click 'Offset Skeleton'
- 4. Use Otis to pull the character back down to the floor
You should now have full control of placing your animated character without collision.
To reset the Skeletal Mesh back to normal, click 'Reset Skeleton'.
- This mod conflicts with any mod that replaces animations (i.e 'Posture Check Anim Overhaul') or generally affects HL's GameMode (i.e Any mod that needs to be loaded via 'Blueprint Apparate Mod Loader' on Nexus).
- Any animation you select will affect ALL characters/clones that enter that ability until you use the Back To Idle or Reset Learn buttons to swap them back to normal
- When switching expressions, it will quickly play the other menu's animation for a second in order to refresh
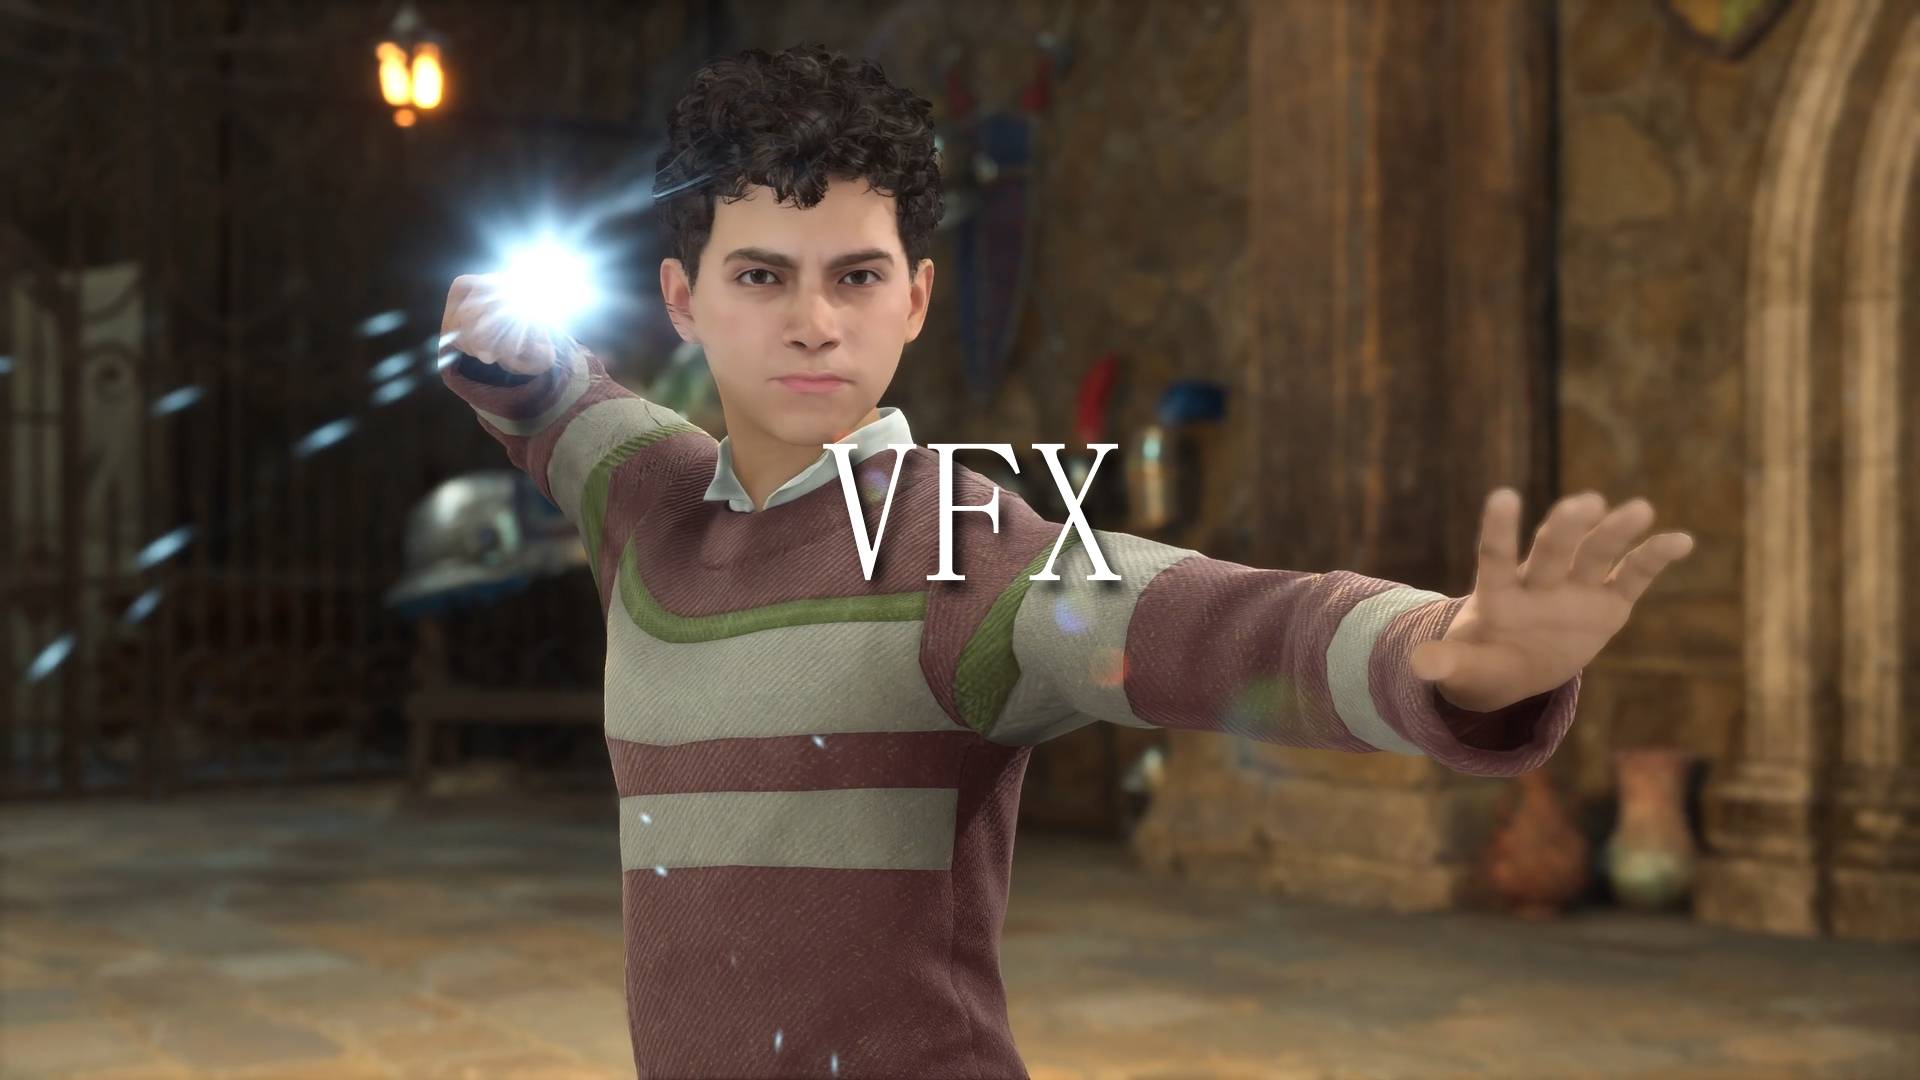
- If an animation has a prop/VFX and you switch animations, it will take a few seconds for that prop/VFX to disappear.
- If you want the player's wand to appear during Combat animations, cast a spell before putting them in an animation. Their wand will stay there for a while.
- Some animations are gender-specific and props may be askew on the opposite gender.
- For the Skeletal Mesh Mover, the position and rotation is relative to where your character is facing NOT where the camera is facing